Roasted Peppers

So long winter break. You will be missed.
Goodbye to sleeping in till 9, vegging out in front of the tv as we plow through multiple seasons of Outnumbered, and acting like a helpless child who has forgotten how to cook as my parents feed me multiple times a day.
Goodbye paradise (which seems shockingly similar to childhood).
Hello reality. We meet again.
This was my last legitimate winter break. Ever. I’m sad.
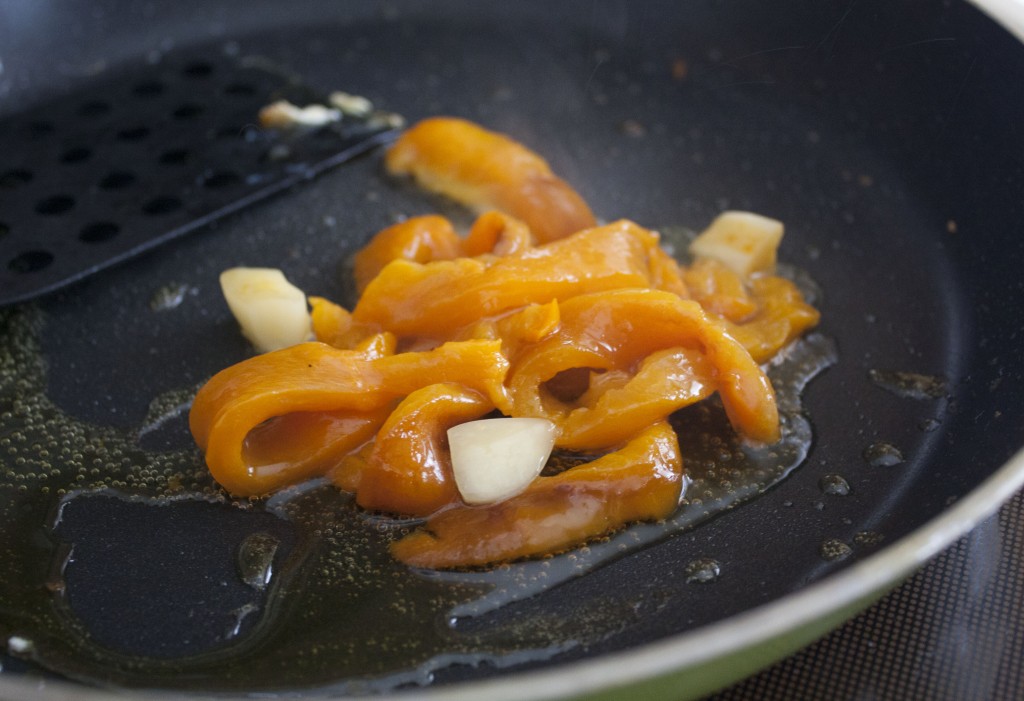
I love school, but I struggle to fake a smile as I leave the cozy confines of my home for the frustratingly chilly hospital (and I do mean temperature as opposed to attitude). At least I got a good send off breakfast – the traditional (at least in my family) “Egg in Bread” New Years Day meal…and this year we had the added treat of roasted red peppers.

What you need:

  • 6 large red or yellow peppers
  • 12 cloves of garlic, peeled
  • Olive oil
  • 2 mason jars

What you need to do:

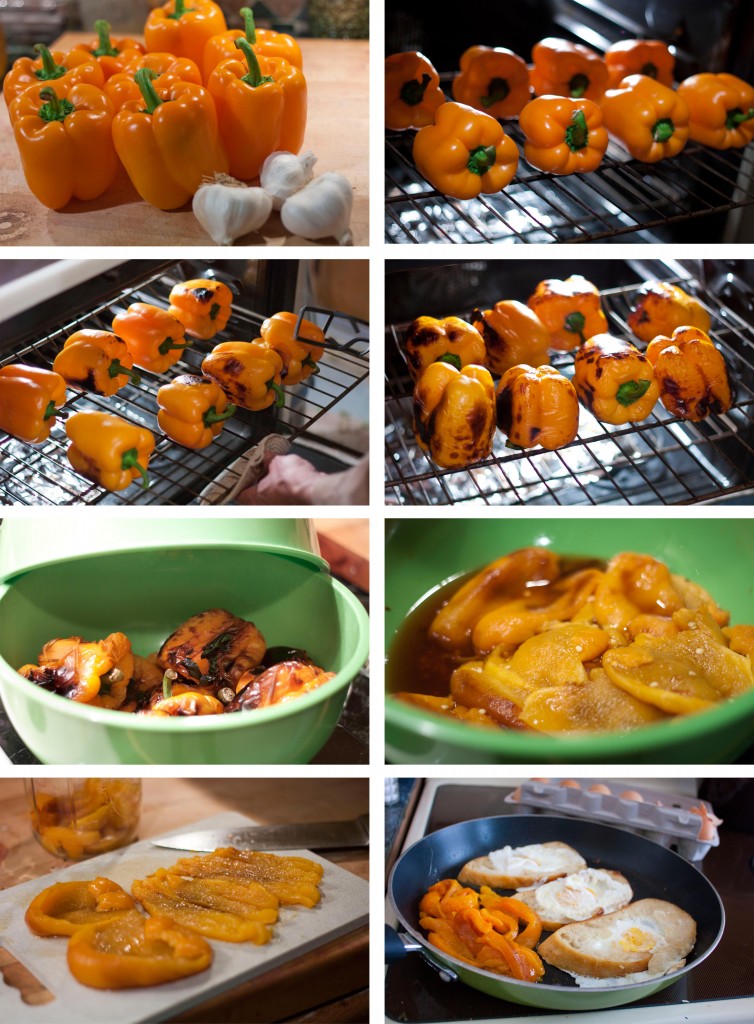
  1. Place your 6 peppers in the oven on the middle rack and set it to broil.
  2. Keep an eye on the peppers and rotate them whenever the top side starts to brown.
  3. When all four sides are adequately roasted, take them out of the oven and place them in a covered bowl (this is supposed to help loosen the pepper skin).
  4. After 5-10 minutes, take the peppers out of the bowl and peel off the skin.
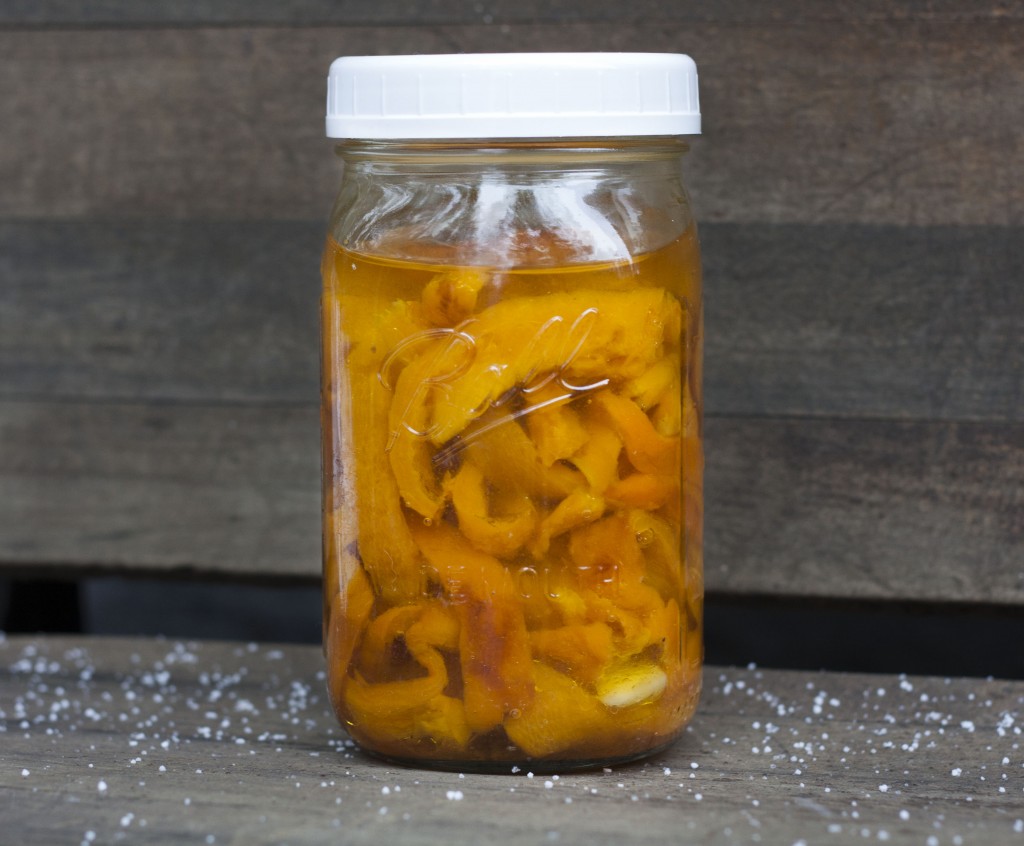
  5. Slice the peppers into long strips and place half of the pepper slices in each of the mason jars.
  6. Add 6 peeled garlic cloves into each of the mason jars.
  7. Add enough olive oil to top off each of the jars.
  8. Screw on the tops and place in the fridge.
  9. Let the peppers sit in the fridge for at least 3-4 days before you start to eat them.
(I’ll admit I don’t know how long these peppers keep in the fridge because my family usually eats them up within 2 weeks. If you want to store them for longer, be sure to can them “properly”.)
Posted in Condiment, Vegetarian | Leave a comment

Sriracha Salt

I’ve never met a plate of food I didn’t like. I’m not saying that I love all the food I eat, but if you put food in front of me, I’ll eat it…and most likely enjoy it. If my taste buds aren’t super enthused with the first bite, I typically add one of two things to turn the dish around – salt or sriracha (mmmm sriracha)…Granted, I have a salt tooth (as opposed to sweet tooth) and I tend to think food isn’t adequately spicy if my nose isn’t actively running, so I might be biased in my opinion of these “cure-alls”, but if they’re so delicious as individual condiments, why not combine them?
Given my obsession with Sriracha, I’m a little surprised it took almost a year to get my hands on The Sriracha Cookbook, but as they say, good things come to those who wait (or those who procrastinate?). This is only my first attempt at one of the 50 rhinorrhea-inducing recipes, and it was well worth the wait. Be sure to stay tuned for more “rooster sauce” flavored treats!

(Adapted from The Sriracha Cookbook)

What you need:

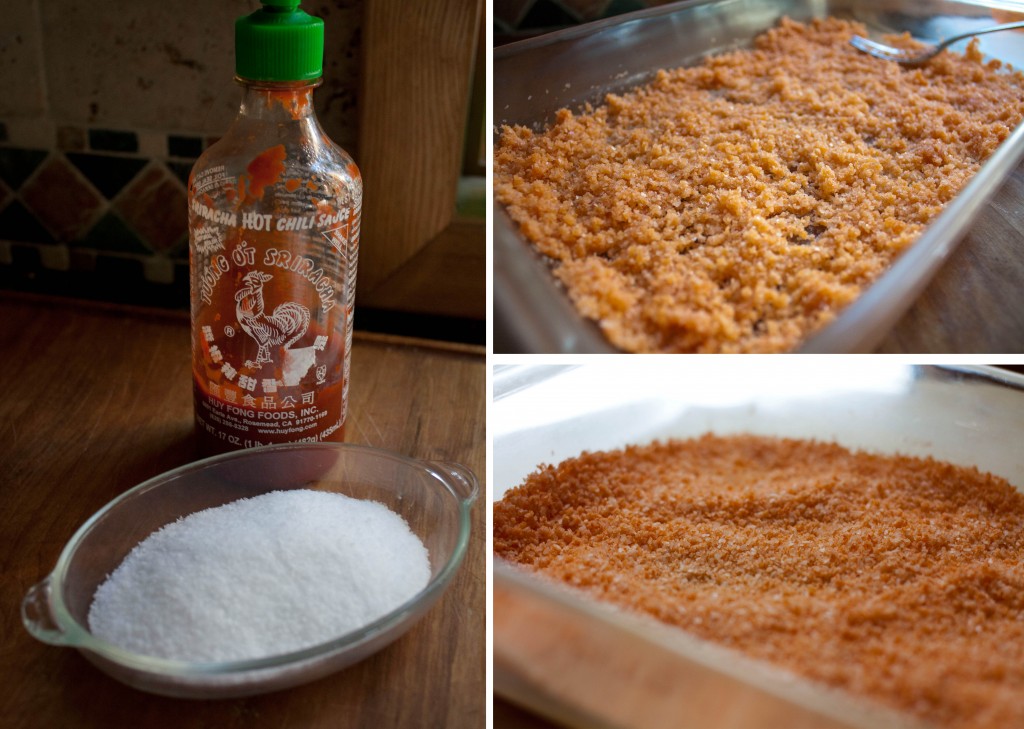
  • 1/2 cup coarse kosher salt
  • 5 tsp sriracha
What you need to do:
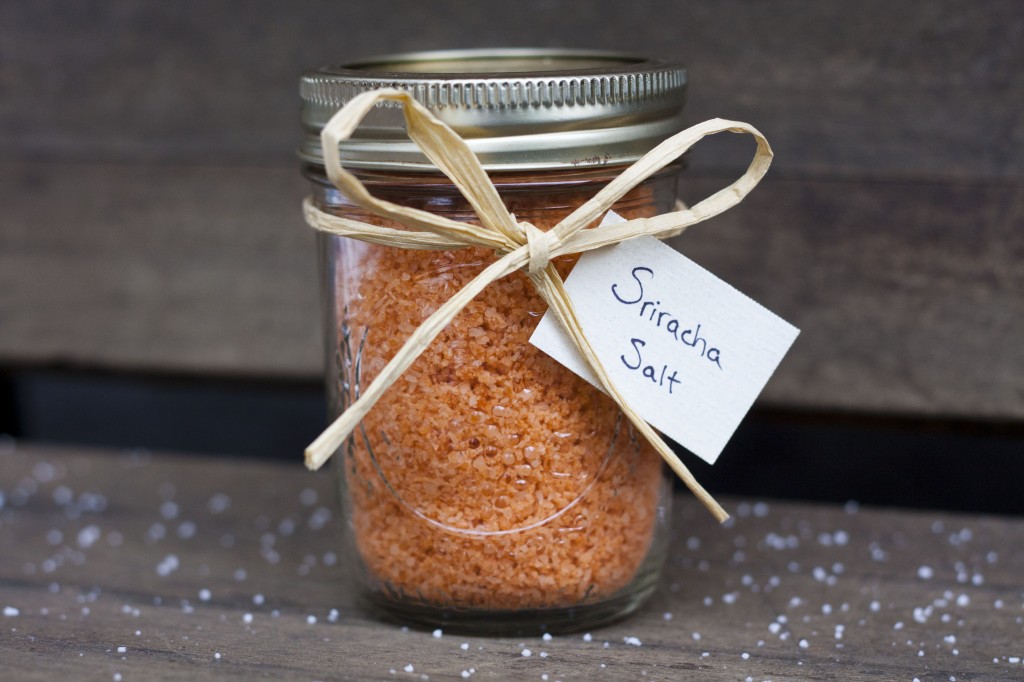
  1. Combine the salt with the sriracha and mix thoroughly.
  2. Spread out the mixture on a baking dish and set in a warm, dry location.
  3. Let dry for 1-2 days (I let it sit out for 2 days, but it was pretty dry after 1 day).
Posted in Condiment, Vegetarian | 12 Comments

Chicken Curry

My mom got married when she was 22.  She had spent her youth in places like Bombay, Tokyo, and London, only to find herself hitched and living in a city with a population a few orders of magnitude smaller.  At the time, Columbia‘s vegetable offerings had a low ceiling — there were peas, cabbage, carrots, potatoes.  Lettuce was iceberg.  And cilantro was just a twinkle in some food exporter’s eye.  
One day Columbia would turn into something special, a combination of college town and hippie crunchville that makes the food world easier to embrace from home.  But in 1979 the first meal she cooked in her kitchen was a staple dish: chicken and potatoes.  With a few spices from her suitcase thrown in.

Ingredients

  • 2 to 2.5 lbs of chicken ( thigh portions are the tastiest but breast pieces will work too), skinned. Cut each thigh piece into two one with bone in and the other boneless.
  • 2 medium onions, chopped fine.
  • 4 Tbsp neutral oil (I use canola)
  • 1 russet potato peeled and cut into 12 equal pieces
  • 2tps. chili powder
  • 2tps. turmeric
  • 3 TBS. coriander powder
  • 1 1/2 TBS. cumin powder
  • 1 1/2 TBS. garlic powder
  • 1 1/4 TBS ginger powder (for the spices, it’s best to measure them out ahead and put them in a glass to add all at once)
  • 1/4 TBS. salt
  • 1/8 TBS. garam masala
  • 1/2 cup plain yogurt
  • 1/2 cup chopped cilantro
I used a wok for this but my mom uses a large skillet with high sides or a dutch oven.  On medium-high heat, brown the chicken pieces.  You’re aiming to get the skin firm without fulling cooking the inside completely.  Once the chicken is brown on one side, use tongs to flip the chicken over.  When browned on both sides, place the chicken on a paper towel-lined plate.
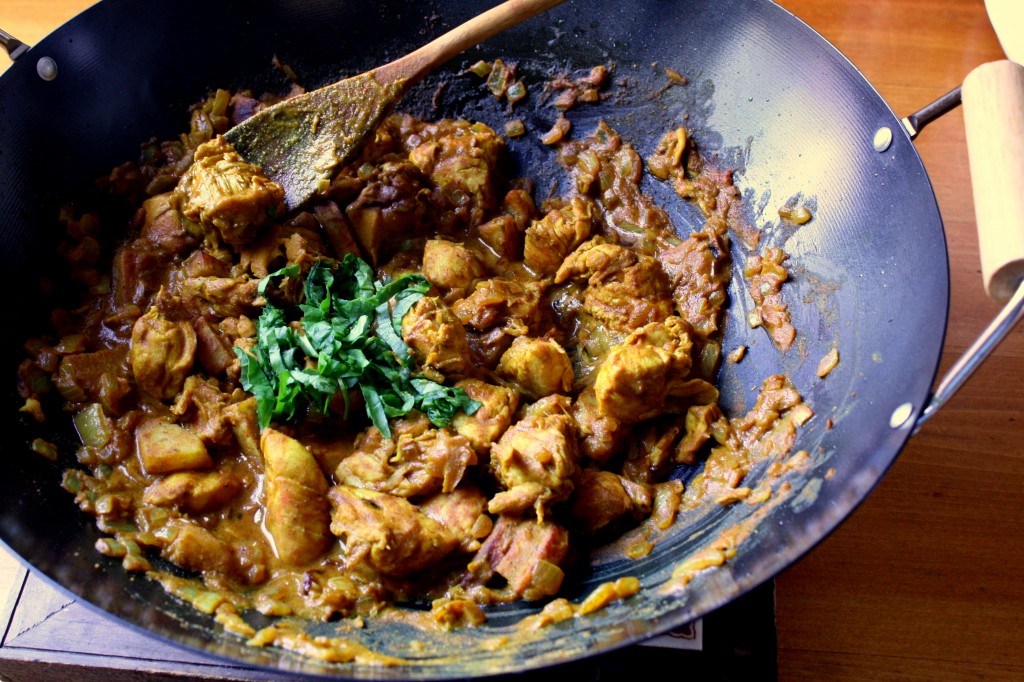
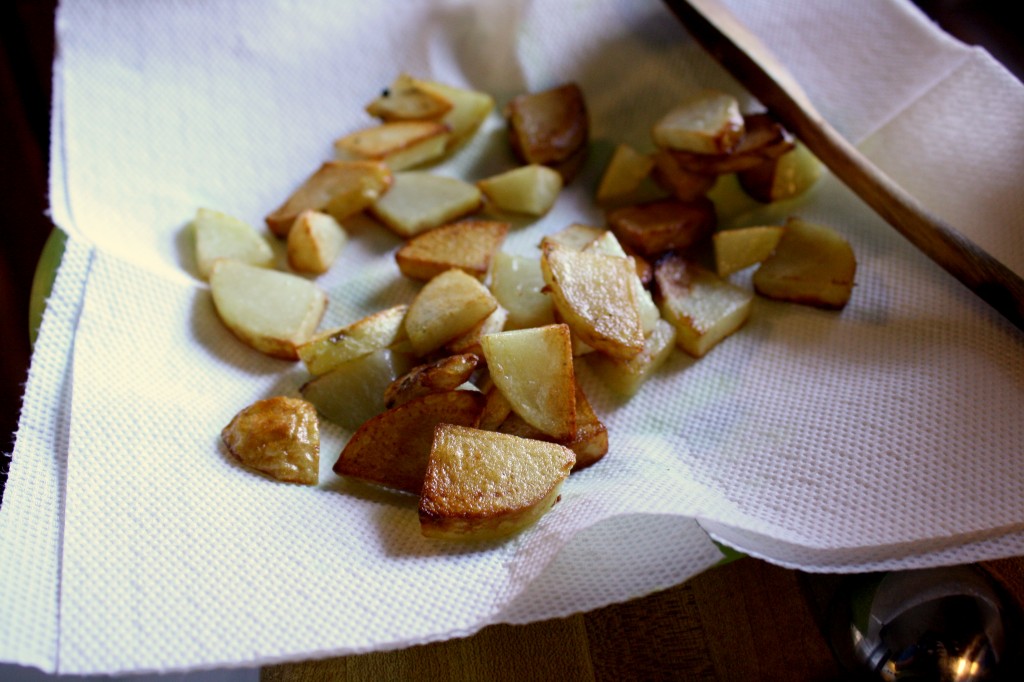
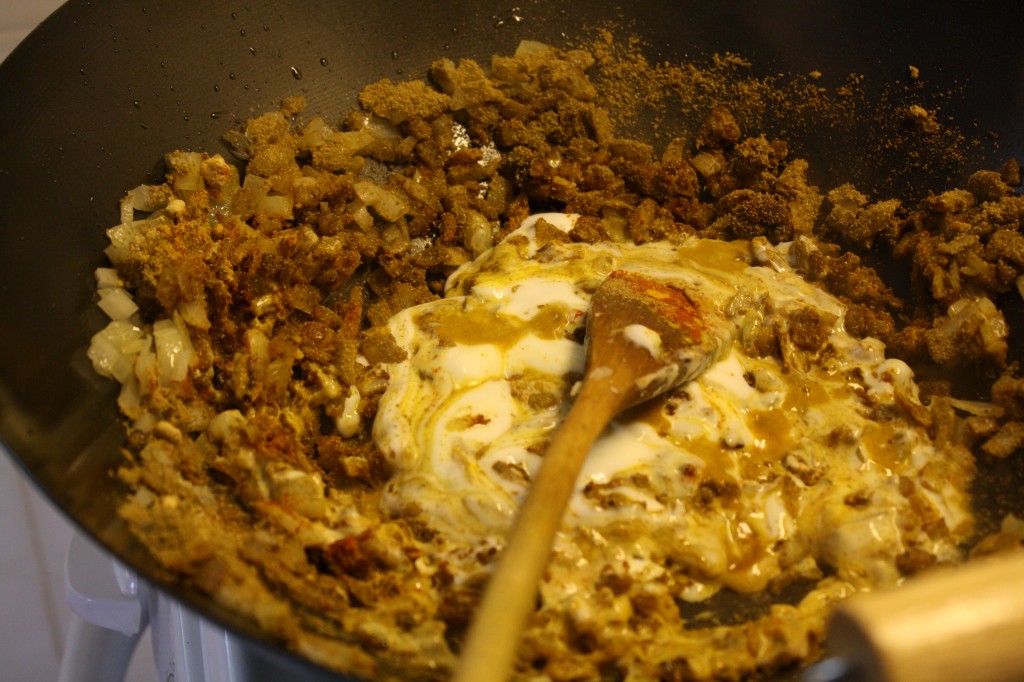
Clean the cooking vessel, then fry the onions in the oil for 5 minutes on medium-high heat.  When they start to turn yellow, add the potatoes until they become slightly fried and translucent  (this is the express way — you can fry them on the side to make sure they are super crisp, as in the photo of the potatoes above).  Add the spices, fry for about 30 seconds, then add the chicken and then the yogurt.  Stew this on low, checking after 10 minutes to see if the biggest pieces of chicken have been cooked through.  Add salt and pepper to taste, then turn off the heat and add the cilantro.  As with all Indian dishes, this tastes better on day 2 than day 1.
Posted in Chicken, Indian | Leave a comment

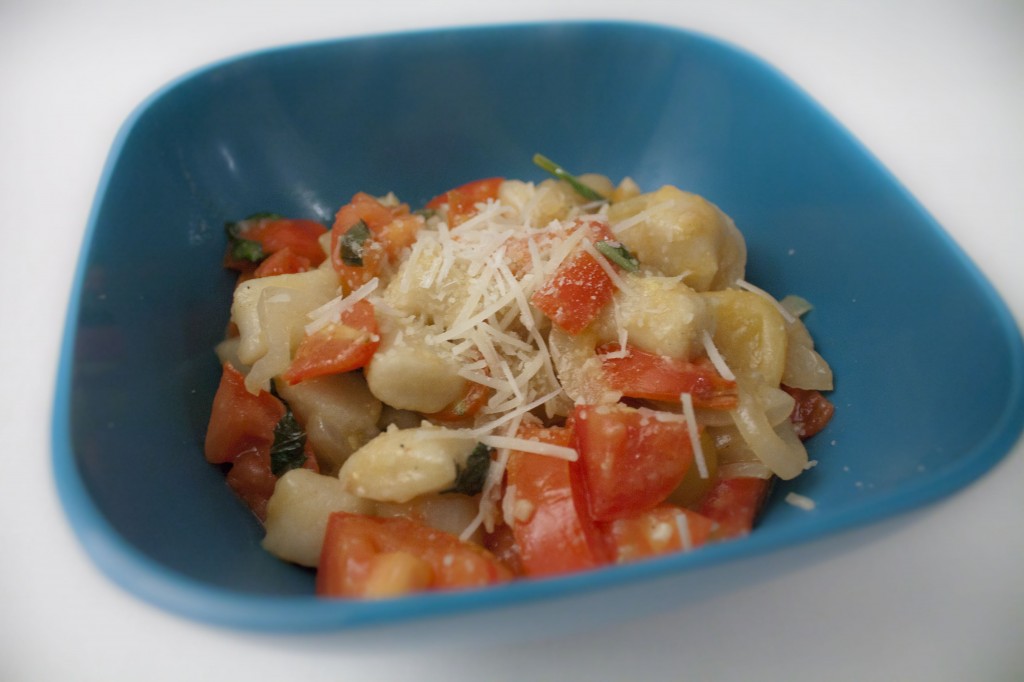
Gnocchi with Tomato, Onion and Basil

One of the things I love most about coming up with new recipes is how it allows for both creative and scientific exploration. I feel that the necessity for creative input is pretty much self explanatory, but the role of science can be a little more confusing. I’m not talking about science in the sense of chemical reactions (although those do take place)…I’m speaking more generally of the “scientific method” (cue flashback to Ms. Hiller’s 6th grade science class).

Steps of the Scientific Method:

  1. Ask a Question – What do I want to eat for dinner? Food.
  2. Do Background Research – What is in the fridge? Veggies, herbs, cheese…
  3. Construct a Hypothesis – If I combine frozen gnocchi, fresh tomatoes, onion and basil, my stomach will be happy.
  4. Test Your Hypothesis by Doing an Experiment – Chop up the ingredients, throw them in the pan, cook to perfection (always remember to take samples of the experiment along the way).
  5. Analyze your Data and Draw a Conclusion – Try out the recipe on an unsuspecting friend. Make record of the number of “yums” or “ews” elicited from said friend. Form conclusion of deliciousness of experiment based on overall satiety and contentment – 
    Conclusion: stomach = happy.
  6. Communicate Your Results – Write a blog post.

What y0u need:

  • About 5 cups uncooked gnocchi
  • 5 cups fresh diced tomatoes (baby or large)
  • 1 medium onion, cut in half then thinly sliced
  • 1/2 tbs sugar
  • 1/2 tsp salt
  • 1/2 tsp garlic salt
  • 1/3 cup fresh basil, minced
  • 4-5 cloves garlic, minced
  • 1/4 cup olive oil (or more depending on how soupy you want the sauce)
  • 1/4-1/3 cup parmesan cheese (with extra to top off dish)

What you need to do:

  1. Bring a large pot of water to a boil and cook the gnocchi until they float. Drain and set aside for later.
  2. In a large pan (which high sides), sauté the garlic in about 1 tbs olive oil until fragrant. 
  3. Add the onions and the rest of the olive oil to the pan, and cook until the onions start to soften.
  4. Add the tomatoes, basil, sugar, salt and garlic salt to the pan and cook until the tomatoes start to soften.
  5. Add the cooked gnocchi and parmesan cheese (and a little more olive oil if you want a “saucier” sauce) and cook for another 1-2 minutes (until the cheese has melted).
  6. Serve and top with extra cheese. Enjoy!


Posted in Pasta, Vegetarian | Leave a comment