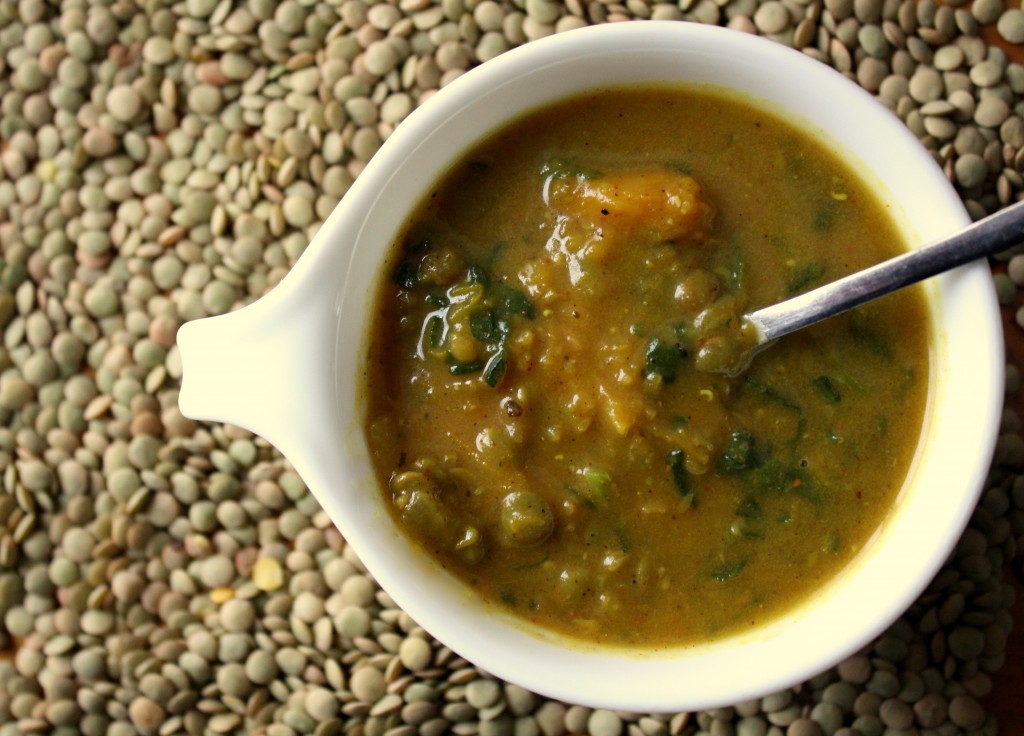
There’s this soup at Falafel Cafe that I’m trying to imitate. Every time I go there, the owners who feign familiarity with me wait patiently as I fixate on the lighted menu and bob about like a kid that needs to urinate. I usually end up choosing this soup when I’m eating alone because it’s just as stimulating as conversation–its deep heat of savory spices is slightly undermined by the sweetness of pumpkin, cinnamon, and nutmeg.
I think I got close with this recipe. Admittedly it was a little sweeter, but I used a sweet potato rather than a regular one. The spice list is prodigious, but if you used canned pumpkin the procedure is extremely simple. Again, you can get scant amounts of all of these spices at The Food Co-Op.
Ingredients
- 1 sugar pumpkin, baked and diced (see below)
- 2 Tbsp olive oil
- 1 medium onion finely chopped
- 5 cloves garlic, finely chopped
- 2 tsp ground cumin
- 2 tsp ground ginger
- 2 tsp ground cardamom
- 1 tsp cinnamon
- 1 tsp ground allspice
- 1 tsp ground coriander
- 1 tsp ground nutmeg
- 1 tsp turmeric
- 1 tsp ground black pepper
- 1 tsp chili powder (or…2 Tbsp in my case)
- 4 cups chicken/vegetable stock
- 2 cups water
- 1 baking potato peeled and chopped
- 1 cup lentils
- 1 cup frozen chopped spinach
- salt to taste
To prepare the pumpkin: Heat an oven to 400 and place the pumpkin on the middle rack in a pan for 30-40 minutes. The pumpkin is ready when you can stick a dinner knife into it without too much struggle. Let the pumpkin cool until you can handle it comfortably, then cut around and remove the stem, slice the pumpkin in half, scoop out the seeds/pulp, and remove the skin with your fingers. Chop. Orrrr…use canned pumpkin puree, a large can should do it.
For the soup: Heat the oil over a medium-sized skillet over medium-high heat. Add the onion and stir until they become translucent. Add the spices and stir until the onions are evenly coated. Combine the spiced onions and the rest of the ingredients (except for the spinach) into a large pot and bring to a boil. Reduce the heat to a simmer and cook for about 30 additional minutes. At this point taste the broth to see how much salt you need. After seasoning, transfer about 1/2 to 2/3 of the solid matter to a blender along with a little liquid to add some viscosity to your soup. Combine this back into the soup. Add the frozen spinach and stir until it thaws. As with many things, this tastes better on day 2.
Sugarfree update: So the first years have their block 3 exams coming up next week. The easiest thing to do would be to give them a sweet treat, but I’m a little wary of baking anything without being able to lick the bowl clean. Buying candy at this point seems a little unethical. Any suggestions? One MS1 made dinner for Ari and me for our block exams…at least for him, a little quid pro quo is in order.
And so it begins…the most dreaded, terrifying period in the life of any 2nd year medical student. [Cue ominous, yet dramatic music] Duh, duh, duuuuuuuuh – Board Study Period! For those of you who are less familiar with the med student exam schedule, the USMLE Step 1 Exam (aka boards) is the exam taken at the end of your first two years of medical school. During this 8 hour examination, you are expected to somehow recall all the information you learned (or were supposed to learn) over the previous two years of lecture-based learning. Completion of this exam marks the end of the “classroom” part of medical school, and the beginning of rotations in the hospital. Needless to say, it’s a pretty big deal.
January 15th (14th for Anita) marked the start of the 3 month countdown to the big day. With the realization that THE day is in the not too far off future, we’re both starting to feel the pressure to get down to business. Now “getting down to business” not only involves many grueling hours spent reviewing, but also reworking your daily schedule, life, eating habits, etc. in order to maximize your study time. This means figuring out where you plan to study, scheduling in gym breaks, stocking up on study snacks, and putting together the best “I’m going to have a super productive day” playlist so you have something to pump yourself up to when you drag yourself out of bed in the morning.
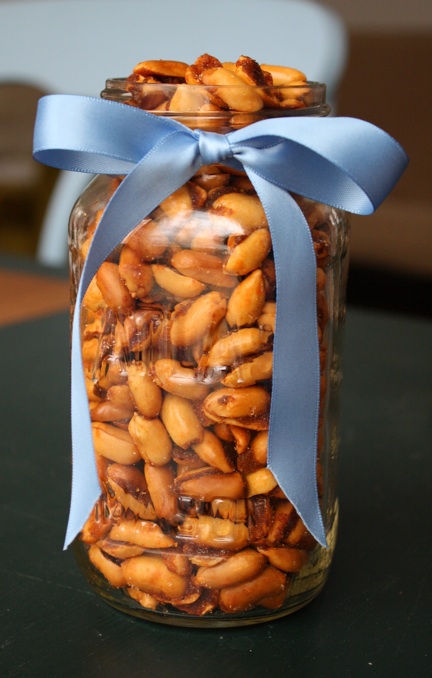
The biggest challenge that I know I’m going to face during bored studying…oops I mean BOARD studying, is the snacking problem. Now, I never really need a reason to eat, but boredom is kinda my go-to excuse to munch on whatever I find lying around…And while I try time and time again to convince myself this is not the case, I find studying pretty boring. I usually have an ample supply of snacks within arms reach of my desk, but I’m starting to get a little concerned that fritos from the vending machines and candy from the registrar’s office aren’t going to be able to sustain me for the next three months. With that in mind, I have begun my search for relatively healthy snack options. I already have a few favorites (for example, cheesy rice cakes, protein bars, and seasoned nori), but I’m gonna need a few more options if I plan to entice my taste buds into convincing my brain to stay focused on the task at hand. So now I turn to you, faithful readers. Please give me ideas for other easy, and preferably healthy, study snacks. To give you an idea of what I’m looking for, check out the wonderful recipe below, provided by our dear friend Hannah.
What you need:
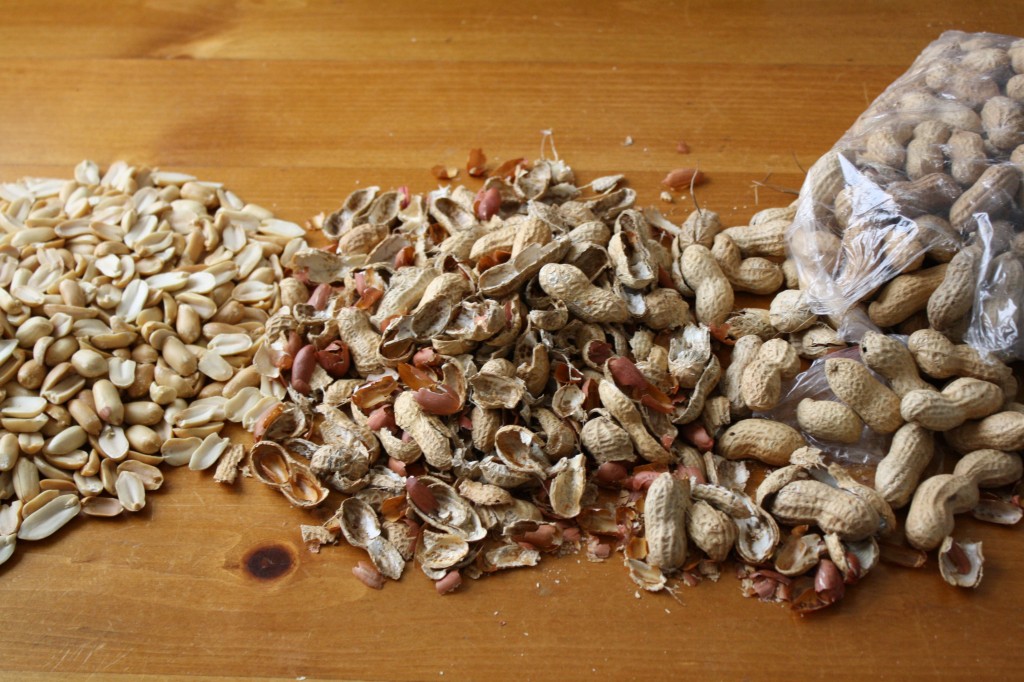
- 1 lb skinless, roasted, unsalted peanuts
- 2 tbs honey
- 2 tbs butter
- 1 tsp salt
- 1/3 cup brown sugar (or white sugar if you want a more “granulated” coating)
- 1 1/2 tsp chipotle chili powder (or a mixture of cayenne, cumin and chili powder)
- 1/4 tsp chili powder (more if you want them spicier)
- 1/4 tsp garlic powder
What you need to do:
- Preheat the oven to 325 degrees F.
- In a large saucepan over medium heat, stir together the butter, honey and salt until the butter has melted and the mixture in starting to bubble.
- Stir in the peanuts until they are well coated.
- Pour the peanuts onto a 9×13 in baking dish.
- Bake in the oven for 20 minutes, and be sure to stir the mixture every 5 minutes to be sure they’re cooked evenly.
- While baking, mix together the sugar, chipotle powder, chili powder and garlic powder.
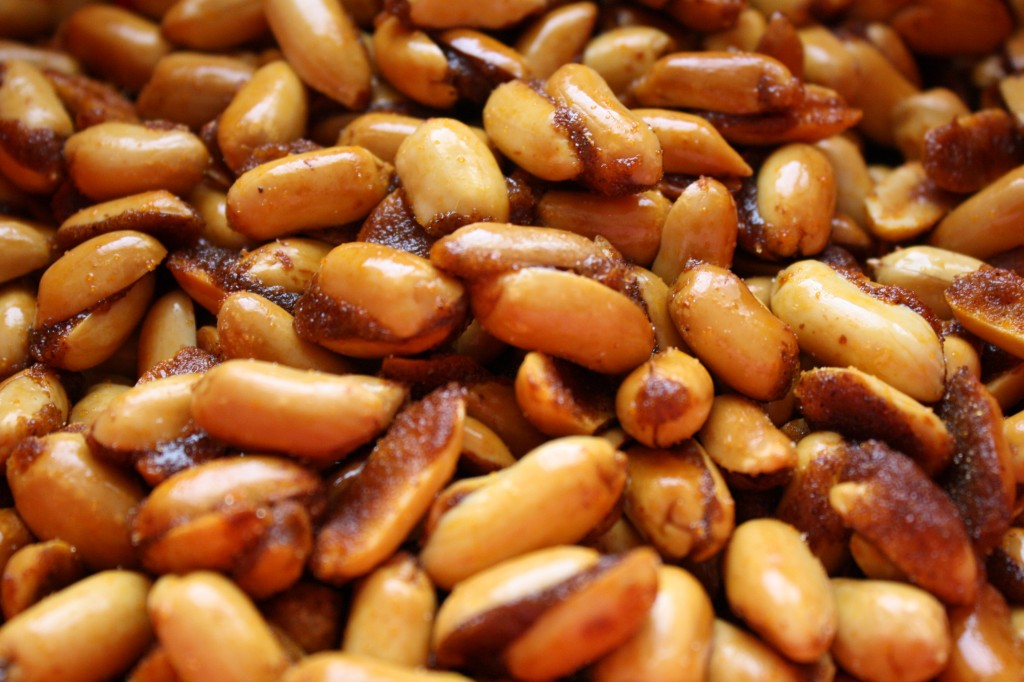
- Once done, scrape the peanuts into a large metal bowl and sprinkle with the spice mixture. Toss the peanuts to evenly coat them with the spices.
- Allow the peanuts to cool to room temperature, and be sure to toss them every few minutes so they don’t stick together.
- Break out the USMLE Step 1 First Aid and start snacking…I mean studying!
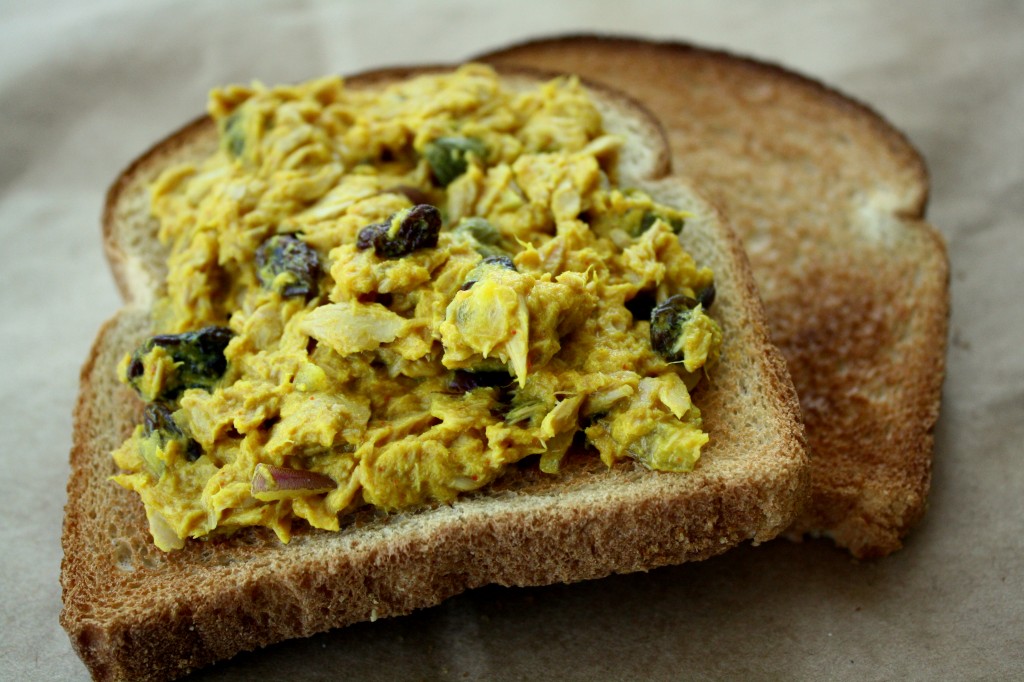 Here at the Braised Anatomy household, leftovers become lunch. That’s probably the best part about the end of dinner–the promise of another taste at 12pm the following day (or in my case, 9am in lecture after staring down my tupperware for an hour). In addition, we avoid the usual lunch fair that plagues many a brown bag.
Today I’m taking a stab at true lunch with this knock-off of the Stone Oven Bakery’s Chicken Curry Salad Sandwich because 1) I love that place (perfect way to detox after too much coffee at Phoenix) and 2) the thought of a classic getting remixed gets me all excited about being the gustatory DJ.
A note — I balked at using mayo in the dressing for this salad and used plain yogurt instead. Mayo (especially Ari’s spicy version) would probably up the flavor and meld the spices nicely. I would still make this again as is, though.
Ingredients
- 1 3oz pouch tuna in water
- 3 Tbsp plain yogurt
- 1 tsp cumin
- 1/2 tsp turmeric
- 1/2 tsp chili powder
- 1/4 tsp salt
- 1/8 cup raisins (optional)
- 1/8 cup capers (optional)
- 1/8 cup red onion, chopped fine
Mix together and serve on toast, probably with sliced tomato and some lettuce. Refrigerate if you’re not going to eat immediately.
Sugarfree update: Still going strong, although I forgot about 3 times this week that gum counts as a prohibited item. Currently craving Phoenix’s Chocolaccino and pretty much all of Presti’s bakery. Are you familiar with the Beer Tour at the Winking Lizard? A few months ago I thought about doing a dessert tour at Presti’s–try all of the desserts/cookies within a year. Currently I visit the place, get my lowly cup of black coffee, and stare at the glass counter like a kid who’s never going to get that puppy she wants. Not even the half-priced one going stale in the back. Hopefully this is just a phase.
Posted in Seafood, Snacks
|

Whether you’re home sick with a stomach bug, just got off a rather tortuous roller coaster, or (like I’ve done far too many times to count) just stuffed your face with more food that you thought humanly possible, the simple fact is stomachaches suck. You sit there. You will yourself to keep your stomach contents where they belong. Maybe you pop some tums or take a swig of pepto-bismol, but let’s face it, with the exception of berry flavored tums, that stuff is pretty gross. Now you think to yourself, there’s gotta be a better way! Well there is [insert name here]! Allow me to introduce your soon to be dear friend – ginger. Now I realize that using ginger to treat stomach aches is somewhat of an old wives’ tale, but they’ve actually research that proves the effectiveness of treating nausea with ginger. Studies have also that ginger can be used to treat arthritis and lower cholesterol…But you don’t have to take my word for it, next time you’re not feeling too well, try this tea out for yourself.
As a quick side note, honey has its own list of wonderful uses, but I’m gonna save that for another day. The simple fact is, my mother would be pretty disappointed in me if I let honey take a back seat to ginger (for those of you who don’t know, my mom is an apiarist and honey holds a pretty special place in my heart).
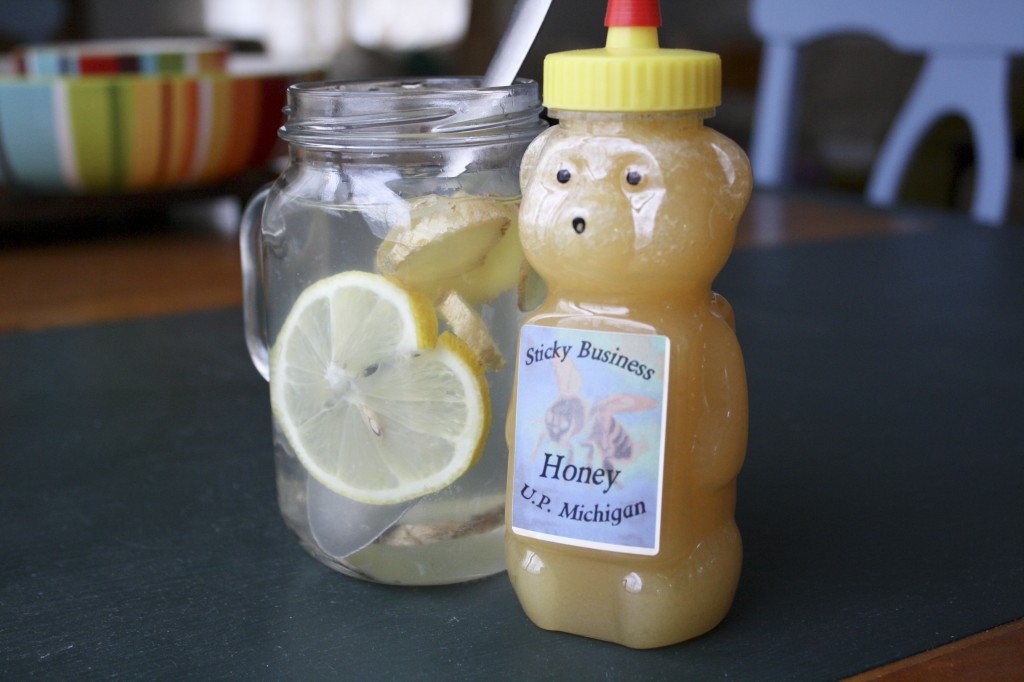
What you need:
- 5-6 cups of water
- 1 medium/large lemon (plus a couple extra slices for garnish)
- about 1/2 cup thinly sliced ginger
- 2-4 tbs of honey (depending on how sweet you want it)
What you need to do:
- Start to boil your water.
- While the water is heating up, slice up your ginger into thin strips (about 2-3 mm thick), and juice your lemon.
- Once the water is warm enough, turn off the heat and add your ginger slices, lemon juice and honey.
- Let the mixture seep for 5-6 minutes before drinking. Some people might want to remove the ginger, but I just let it keep seeping until the pot is empty.
- Enjoy!


