-
Recent Posts
Recipes
July 2026 M T W T F S S 1 2 3 4 5 6 7 8 9 10 11 12 13 14 15 16 17 18 19 20 21 22 23 24 25 26 27 28 29 30 31 Yestermonths
-

-


I realize this post is a month late…but let’s just pretend I managed to get this up before passover. Deal?
In some ways passover still isn’t over in my household. Why? Because it turns out that matzah is REALLY CHEAP after passover, and as Anita has pointed out, I can’t pass up a good deal (notice the price tag – it’s was 85% off!!).

In truth, it was my fiance who insisted we buy this heavily discounted cracker treat. He’s obsessed with matzah pizza, and bet me that he could finish the entire box before we moved out of our house in May…so far I’m winning the bet.

(Adapted from Epicurious)
Ingredients (makes about 30 cookies)


 Ingredients (this recipe was actually a merger of this Simply Recipes and this Steamy Kitchen posts)
Preheat oven to 325F. Put the spice rub into a gallon ziplock bag. By hand, coat each drumstick in some of the butter and drop into the bag. Shake the bag, tossing the drumsticks to evenly coat them with the spice mixture. Line a rimmed baking sheet with foil that overlaps the edges, and put the drumsticks on top. Sprinkle a little more salt and pepper on the drumsticks, then use a slightly bigger sheet of foil to create a tent on top. Crimp the two sheets together and put in the oven for 90 minutes. In the meantime:
Over medium heat saute the onion in the oil until translucent and browning. Add the ginger and garlic and fry for just a minute. Add the hoisin, orange juice, vinegar, and sambal and lower to a simmer so that it can thicken. Once thickened, turn off the heat and add the zest and stir. When the 90 minutes is up on the chicken, remove the foil tent and use a brush or a spoon to spread the glaze evenly over the chicken. If there’s left over reserve it for after the chicken is done cooking. Put the uncovered chicken back into the oven for 15-30 minutes until the chicken is about ready to fall off the bone. Serve with rice and vegetables.
 Remember those old Hasbro commercials about family game night? Everyone is getting along. There’s no yelling, crying or screaming. The competition is only of the “friendly” persuasion. Yeah…that’s not how it works in my family. It may start out that way, but before long I’m sulking in the corner because I’m in last place (I’m a horrible loser), my brother is gloating about his win, my parents are shaking their heads in disbelief at their overgrown babies, and my sister is just trying to get everyone to come back to the table so we can resume the game. There are a few ways to remedy this issue. 1 – Try out a new game no one has ever played before (only works for 1 round before someone “masters it”). 2 – Make loud noises to distract family members while I steal the cards/money/desired pieces (only really improves the situation for me rather than the rest of the family). 3 – Make a lot of food so everyone is busy munching and no one has time to cry/scream/gloat/sulk/etc. One game that is particularly sulk-inducing is poker. Somehow my brother, sister, mother and father all have some talent when it comes to this tricky little game…a talent that I seem to lack. Maybe next time I can distract them my new favorite, not-so-tidy, no-utensil-requiring finger food.
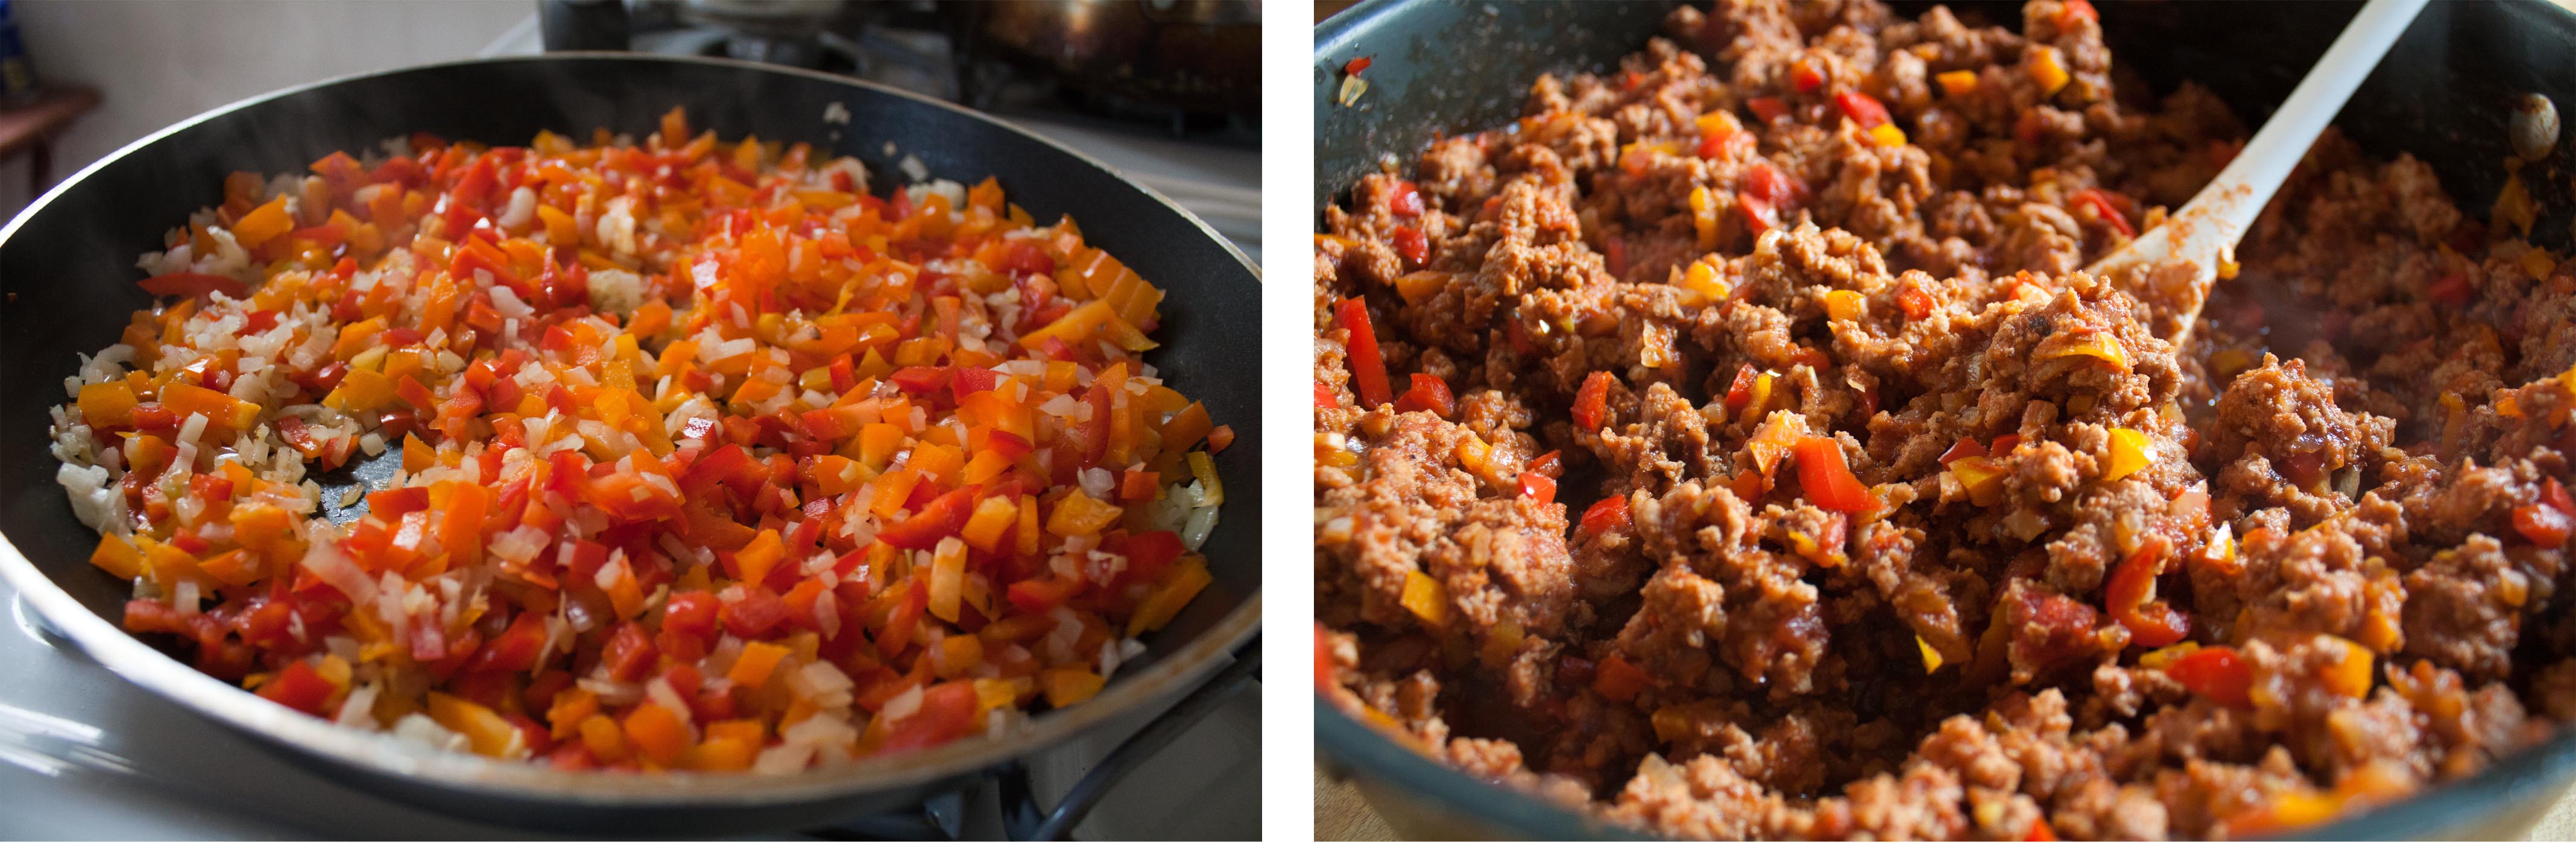
Ingredients (makes enough for 8 sandwiches):