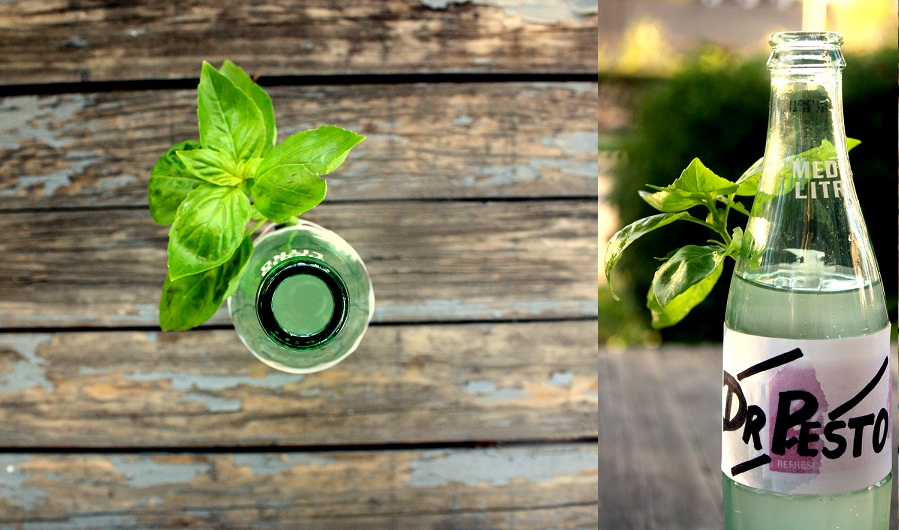
Basil Soda

I find reasons to be grateful for my pre-med education all the time, but rarely inside the medical school.
I’d never made flavored simple syrup before, and if you had watched me do it that would have been obvious: I threw in 1/2 cup sugar, 1/2 cup water, and 1 cup of our precious garden basil into a shallow pan and boiled until the herb had completely given up the ghost.  And the taste?  Plain sugar syrup.  What went wrong?
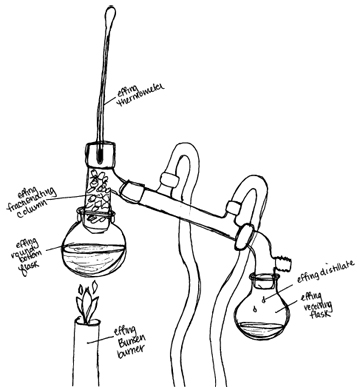
Then, I remembered:  ugh…organic chemistry lab.  That hellish 2 hour period that stood between me and lunch every Tuesday and Thursday of sophomore year.  In the lab session on distillation, we had to isolate aromatic oils by slowly heating a solution so that the molecules of interest would reach their boiling point, vaporize, and then condense in another place without the other crap in the solution.

I suppose in my first attempt I was boiling off all of the flavor and leaving behind the dregs of the plant.  I looked up the volatile oils usually found in basil, and the only one that seems to have a boiling point below that of water is thymol (I welcome anyone, including Ari, to out-nerd me on this one).  But whatever, the addition of basil at a cooler temperature did produce a green, basil-flavored syrup that I added to soda water.
A more popular application of simple syrup is the cocktail.  But I have class tomorrow.

Ingredients

  • 1/2 cup water
  • 1/2 cup sugar
  • 1 cup packed basil leaves (cheap at Park2Shop or Zagara’s.  I’m trying lavender next)
  • 12 ounces carbonated water
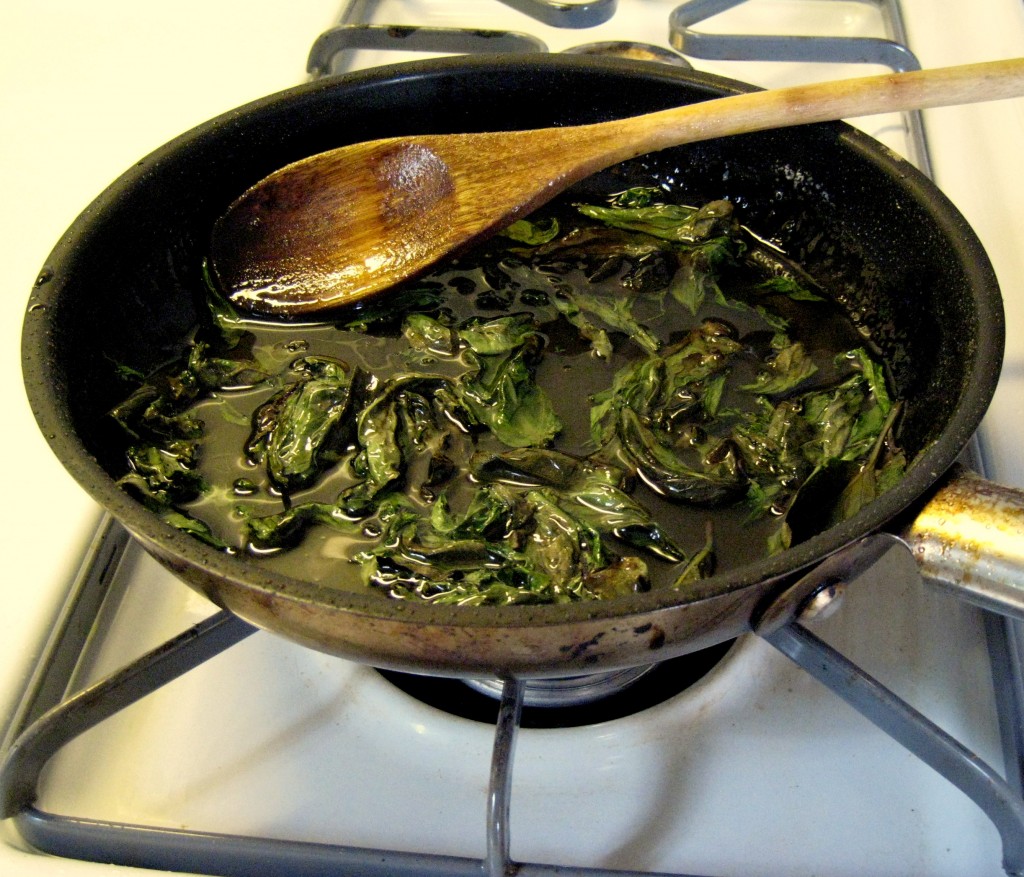
Boil the water and sugar in a shallow pan over the stove until the sugar is dissolved and the syrup has reduced a bit.  Turn off the heat, and when the mixture is still hot add the basil.  Let steep for 30 minutes, then strain the syrup through a fine mesh strainer into an air-tight container.  Seal the container, and keep (in the fridge? in a dark cool place? for up to a month?  I have no idea) until you’re ready to use it.  I added about 3 tablespoons of the syrup to the carbonated water to make the soda.
Posted in Drinks | 3 Comments

Pumpkin Flan

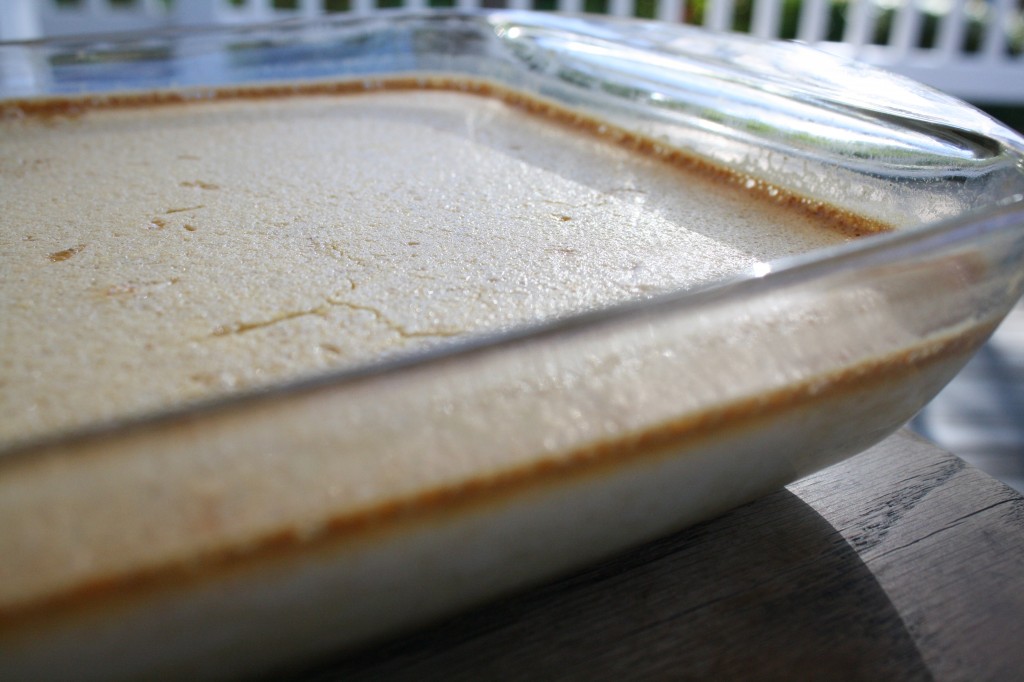
Now I never claimed to be good at baking…in fact, the oven terrifies me. The thought of putting a bunch of ingredients in the strange rectangular box, leaving it alone for an hour, and then magically something edible appears is not a concept I am quick to get on board with. I much prefer watching my food cook on the stove top. I can taste it as I go and add a little extra of this, or sprinkle on a little extra of that. I realize, however, that with the responsibility of co-owning a food blog, I need to learn to step outside my comfort box (or comfort stove, dare I say) and take a stab at something new. So in the interest of trying new things I attempted to make not just “flan”, but pumpkin flan.
I realize that flan tends to have a somewhat negative connotation…and not unreasonably so. Fact is it’s a strange gelatinous substance that often tastes strongly of eggs. It’s not quite a pudding and it’s definitely not a cake. It’s…flan. If done correctly, I think it can be quite tasty, but there are lots of opportunities to mess up the recipe…In fact, I experienced quite a few of them while trying to create this dish. Despite all of these opportunities for failure, I think this recipe will satisfy most “flan haters”, and with the addition of pumpkin, is rather fitting for the month of halloween. If you’re still looking for a reason to make this dish,there is also the promise a flan-high.

What you need:

  • 1 and 3/4 cup of sugar
  • 3 whole eggs
  • 3 egg yolks
  • 3 cups of half and half (or 3 cups of cream)
  • 1/2 cup of pumpkin puree
  • 1/2 tsp of cinnamon
  • 1/2 tsp of nutmeg
  • pinch of salt
  • a 9X9 baking dish and a larger baking dish that the first one can sit inside of

What you need to do:

  1. Heat 1 cup of sugar and 1/3 cup of water in a sauce pan on the stove (yay! stove action!). Allow the sugar to caramelize to a brownish color. I am told this should take about 10 minutes (side note: my sugar never did reach a brownish color…not sure why).
  2. Pour the caramelized sugar in the bottom of the 9X9 in baking dish (do this quickly as it doesn’t take long for the sugar to harden).
  3. Preheat the oven to 350 degrees F.
  4. Add the remaining sugar (3/4 cup), eggs, egg yolks, and pinch of salt to a bowl and whisk with an electric beater until the mixture is homogenous and pretty thick. Fold in the pumpkin puree until everything is evenly mixed.
  5. In a sauce pan, heat the half and half, nutmeg and cinnamon for about 3-4 minutes (until the mixture just barely starts to steam).
  6. Add the milk/cream/spices mixture to the eggs/sugar/pumpkin little by little. Be sure to continuously whisk the mixture as you combine the two.
  7. Add the contents of the bowl to the 9X9 in baking dish.
  8. Place the baking dish in the larger baking dish and fill the larger baking dish with boiling water until it is about 1 in. from the top of the smaller baking dish (for an example of what this looks like, see this image.
  9. Place the 2 baking dishes in the oven and bake for about 1 hour and 15 minutes. It’s important to note that the higher the cream content in your recipe, the faster the dish will set. In the future, I plan to use all cream instead of half and half so I don’t have to cook it as long.
  10. After an hour and 15 minutes, remove the dishes and let cool for about 30 minutes.
  11. After it has cooled, flip the contents onto a serving dish. The caramelized sugar will serve as a sugar glaze. Supposedly if you do this right, there should be a hard sugar layer one top…but I didn’t manage to pull that off.
  12. Enjoy!
Posted in Dessert, Eggs | 6 Comments

Eggplant Curry

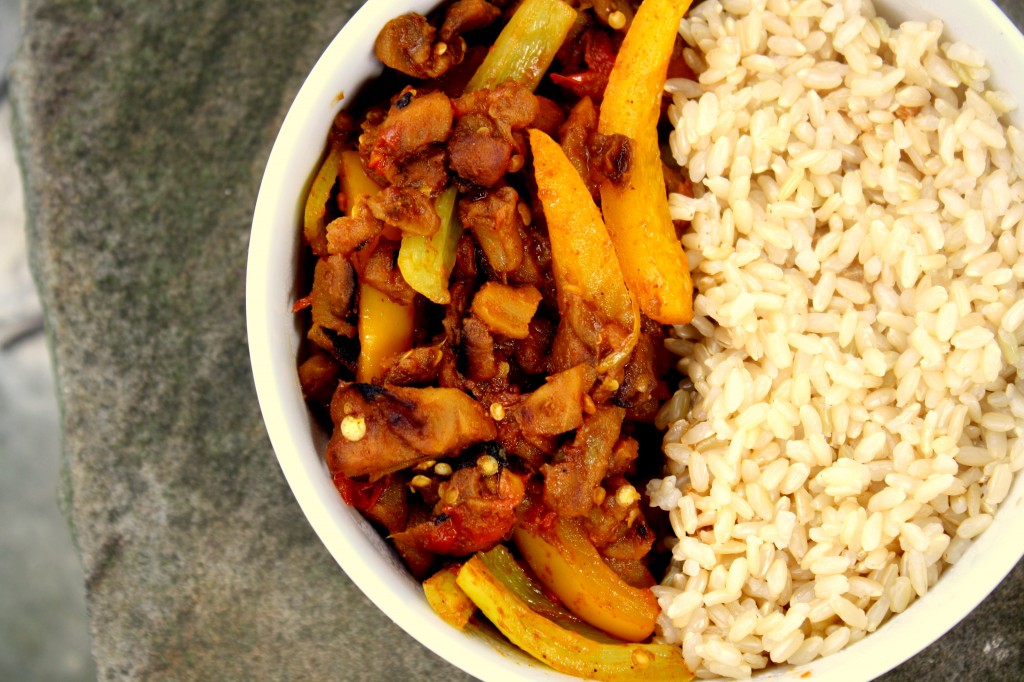
It has happened!  An eggplant dish, starring eggplant, that actually tastes good.  This curry uses the smokiness and the creaminess of the vegetable to make a comforting bowl for lunch or dinner.  The trick to making eggplant meaty instead of mushy is to maximize  surface area, dehydrate as much as possible, and let it cook until it almost burns. Truth: I think I did burn it a little bit because I got distracted momentarily.  Still tasty.  I hope you enjoy!

Ingredients

  • 1 Italian or globe eggplant
  • 3 Tbsp canola oil
  • copious salt
  • 1 large tomato
  • 2 tsp cumin
  • 1/2 tsp chili powder
  • 1/2 tsp coriander
  • 1/2 tsp turmeric
  • vegetables: I used 1 yellow bell pepper and 2 banana peppers: destemmed, split, deribbed, sliced.
Use a knife and a cutting board to slice the skin from the eggplant, leaving only the white flesh.  Split the eggplant in half, and proceed to dice into cubes a little smaller than…well, dice.  Throw the dice into a colander, and coat with a lot of salt, up to 1/4 cup.  Put the colander with a plate underneath it in the fridge for a few hours (I did 8 because I fell asleep).  Afterward,  wash the eggplant thoroughly in water to expunge much salt as possible, and then squeeze out as much water as possible using some paper towels.
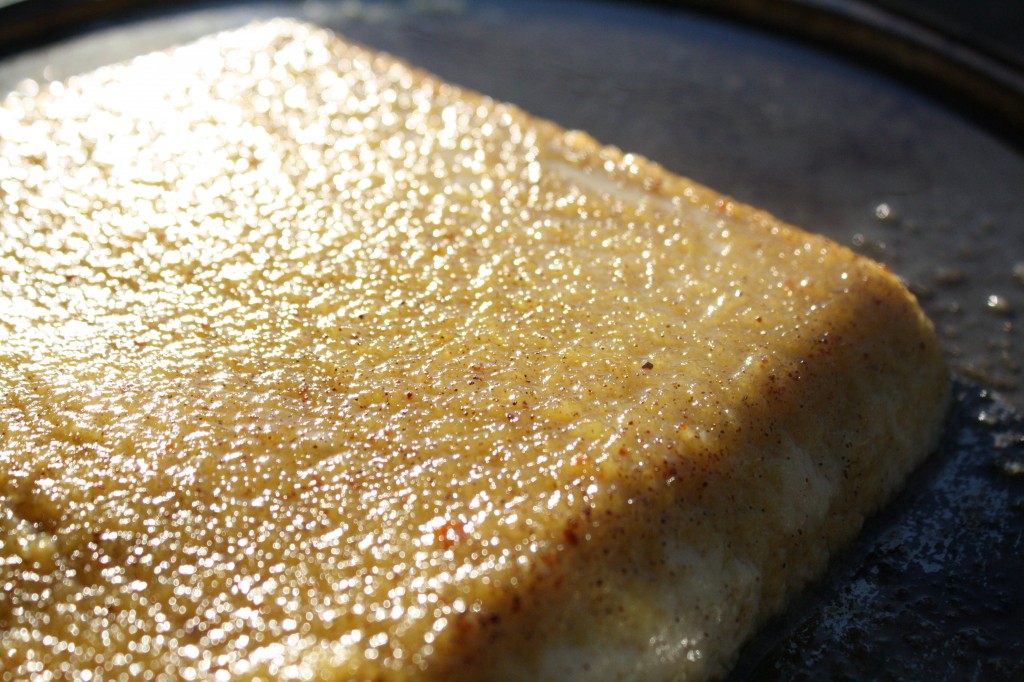
Heat the oil in a large skillet over medium-high heat for 3 minutes.  Add the eggplant, and let it sit and sizzle on one side before turning the dice to cook another side.  Don’t be afraid of burning–as long as you hear a brisk sizzle, you’re still evaporating water.  I cooked my eggplant pieces alone for upwards of 15 minutes.  Add the spices, then give them a stir for 15 seconds, then add the tomato.  After 3-4 minutes of mushing the tomato pieces, add the peppers and stir periodically.  Cook until the peppers are tender but still hold their shape, about 5 minutes.  This dish shouldn’t need any additional salt, but taste and adjust for seasonings anyway.  Again, if the spice level is too high, you can add plain yogurt (this will make it even creamier).
Posted in Vegetarian | 4 Comments

The Beer and Butter Mussels Adventure…

Falling in love with a new home can be a difficult thing to do. Sometimes it only takes a few weeks and sometimes it takes a year…or in my case, 4 years… I began my relationship with Cleveland in 2005, and we’ve definitely had our ups and downs. The first 4 years were mostly downs, but over the last year and a few months, Cleveland has really begun showing off for me. Somehow, during my 4 years of undergrad, I never managed to venture very far off campus. It was only since beginning medical school, in fact, that I have discovered such not-so-hidden treasures as the bar and restaurant scene (let alone music and art scene) in Ohio City and Tremont. I’ve also been lucky enough to see some amazing concerts at Beachland Ballroom (shout out to Cowboy and Indian) and shows at Playhouse Square.

This particular recipe highlights one of my favorite areas in greater Cleveland – Ohio City. The recipe comes from Bier Markt, the primary ingredients come from Kate’s Fish at the West Side Market, and the forks with which we ate the food came from Unique Thrift (that’s right, we buy our cooking utensils from thrift stores…we’re med students on a very tight budget…). I still remember the first time I had this particular dish…and not to sound overly dramatic, but I’m pretty sure it coincided with the week I decided Cleveland really wasn’t that bad. I’ve been meaning to try to recreate it for a really long time, but was intimidated by it. I assumed that it had to be incredibly difficult and time consuming. This past week, however, I decided to just try asking the cooks at Bier Markt how they did it, and sure enough they were kind enough to tell me. Our new friend Pat told us what we needed (turns out it was a pretty simple recipe), where to get it, and even gave us a quick lesson in the proper pronunciation of “Hoegaarden” (pronounced Hoo-garden, not hoe like the…gardening tool). Unfortunately, in telling us what went into the dish, he managed to leave out exactly how to make it so that was a bit of a challenge, but we managed to figure it out and ended up with a pretty tasty lunch.
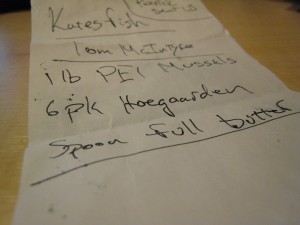
Pat's Instructions

To prepare for this recipe, I recommend watching the Good Eats episode on mussels (pay particular attention to how to remove the “beards” and how to make sure the mussels are still alive). I will admit that even though we followed his “how to store mussels” instructions to a T, we did have a few casualties by the time we made the dish. But I guess that’s the risk you have to be willing to take when working with live seafood. Okay…enough talk, on to the recipe.

What you need (serves 3 people as a meal):

  • 3 lbs of mussels (about 40 mussels)
  • 3 bottles of Hoegaarden Beer
  • 1 1/2 sticks of salted butter (12 tbs)
  • a loaf of french or italian bread

Food photos taken and edited by Gayan De Silva

What you need to do:

  1. Before trying to work with mussels, I really recommend watching the Good Eats episode linked above…you don’t want to end up eating a mussel that was dead before you cooked it…hello food poisoning.
  2. Make sure to wash and scrub the mussels in cool water as well as remove any remaining “beard” (I used pliers and it was relatively easy).
  3. In a large pan (with high sides), melt the butter.
  4. Add the beer and cook down the sauce until you can no longer smell the sharpness of the beer.
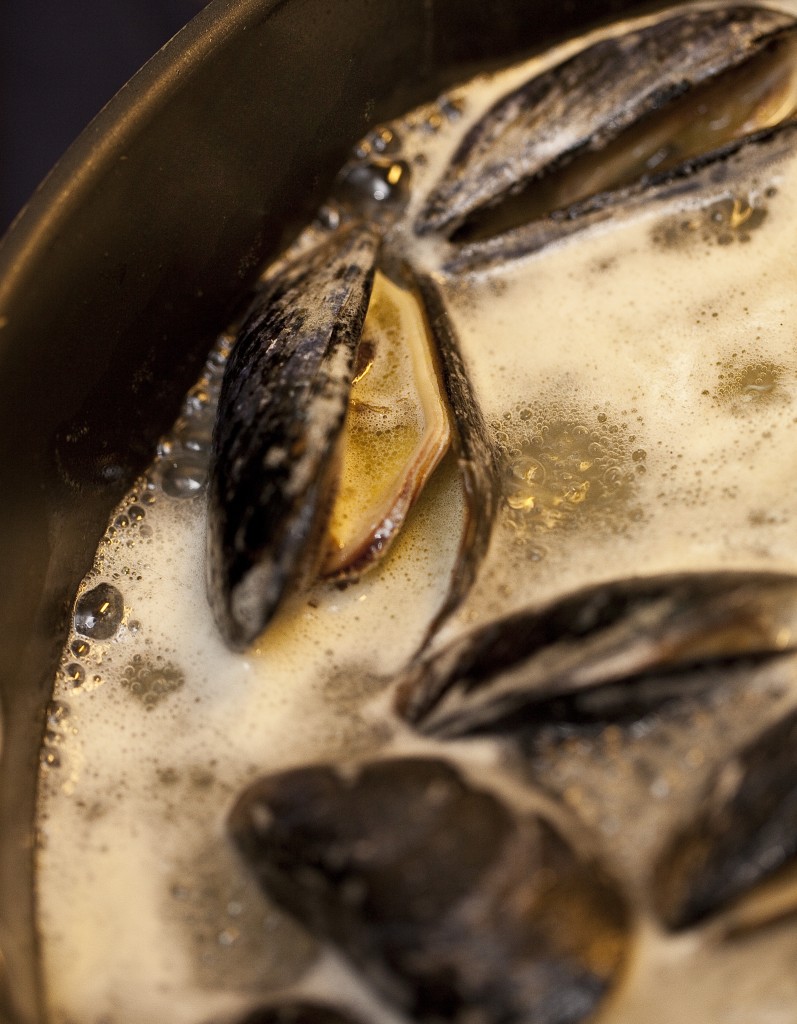
  5. Add the mussels directly to the pan and cover with a lid for 3-5 minutes.
  6. The mussels should open up as they are cooking. If any remain closed, be sure to discard them.
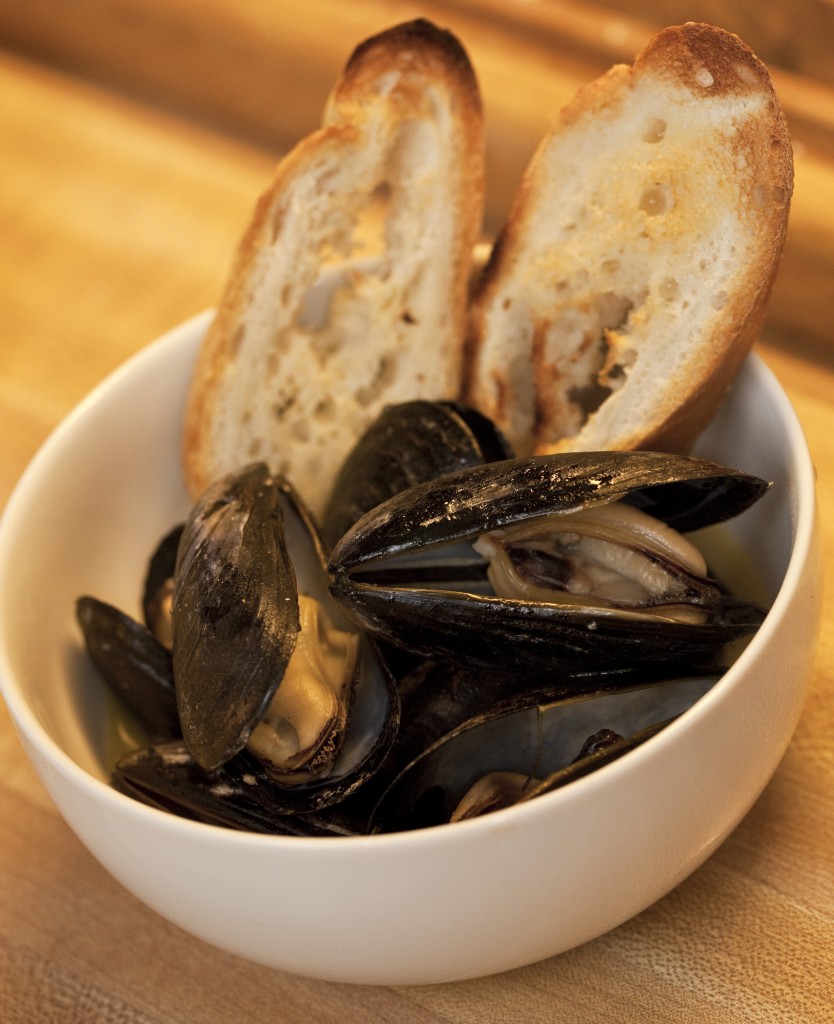
  7. Serve the cooked mussels in a bowl with the broth, and be sure to include some toasted french or italian bread to soak up the broth after you’re done with the mussels.
Posted in Seafood | 4 Comments