Substitution Fudge


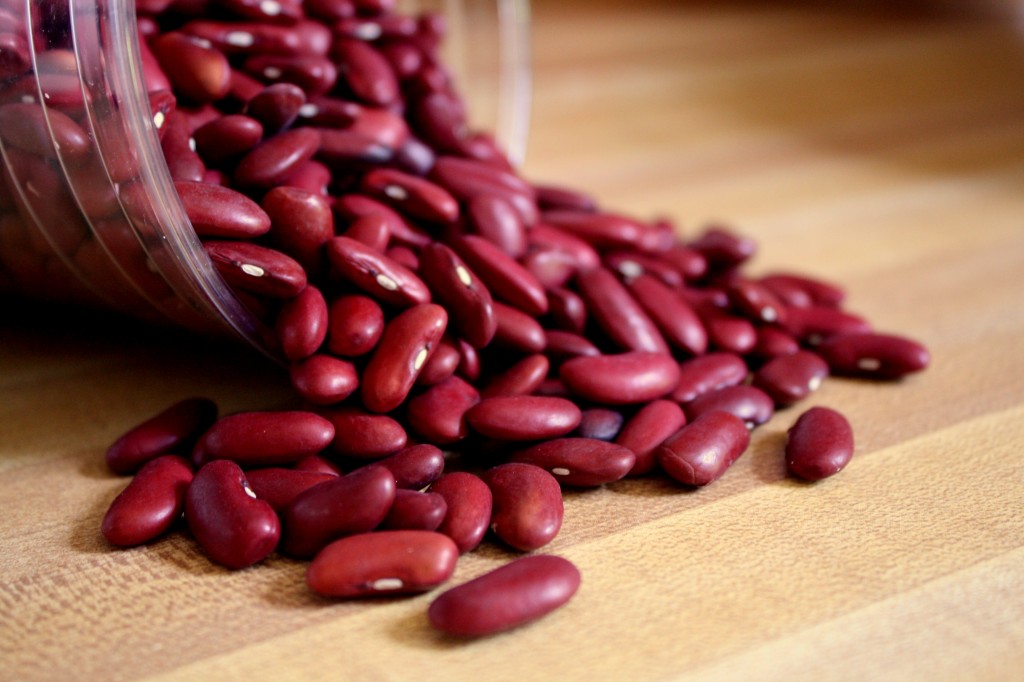
The Cleveland Food Co-Op, the whole foods store before Whole Foods, closed about five weeks ago.  I had seen signs of ailing for a few months: from email newsletters to signs for 50% off everything.  I happened to stop by on the last, unadvertised day of business.  The darkened warehouse had shrunk to about 30% of its normal size and most of the merchandise had been scavenged.  The remaining customers and one long-time volunteer hobbled up and down the remaining wholesale aisle like hospice patients.  I didn’t need anything, but I bought two cups of dried red beans and left for the last time.

The Co-Op represents the first time I bought my own spices, the first time I ever tried cooking tofu and making yogurt.  I learned about steel cut oats and spelt flour and wheatgrass shots (which are disgusting, by the way).  I tried making vegan things for my Jain roommate.  To me, the Co-Op wasn’t a hippie health food store — it was a gateway for experiments in food.  After my mom and Alton Brown, it may be the biggest influence on my cooking today.
Can’t fight change  — the Co-Op had become really expensive, and they couldn’t carry the necessities along with the novelties.  But after its demise, shopping anywhere else seems less like groceries and more like a fashion statement.

Ingredients (adapted from 101cookbooks)

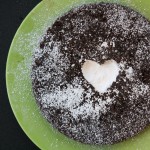
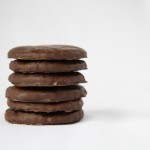
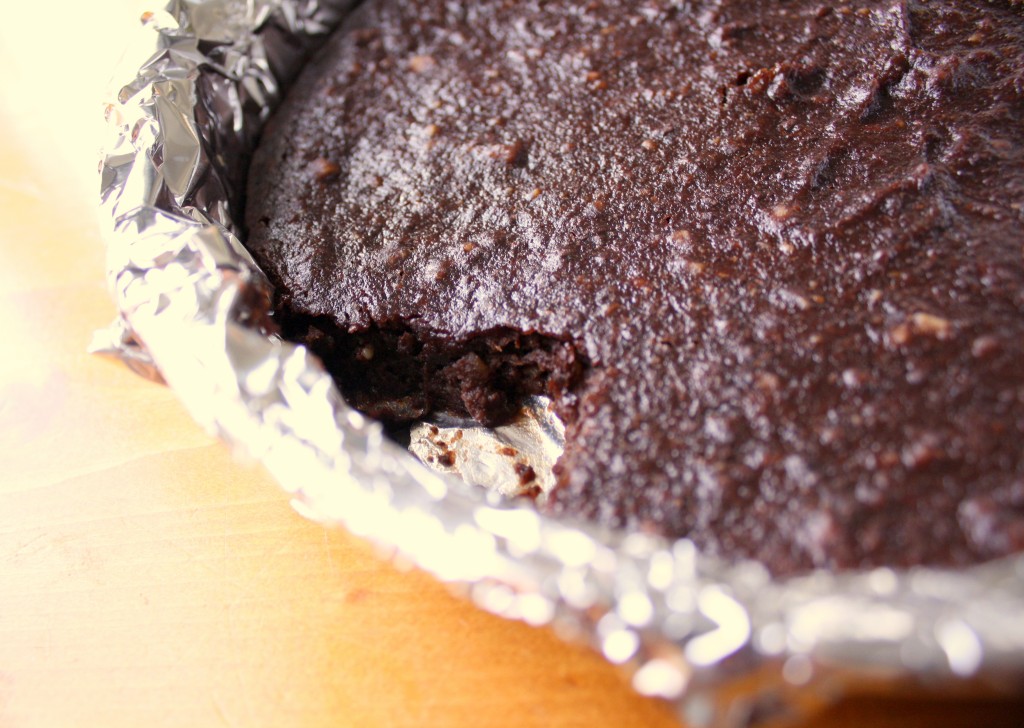
So this is called Substitution Fudge because there are replacements in what was already a unique brownie recipe rewritten in 101cookbooks.  I used red beans (the original recipe has black beans replacing flour), and replaced the butter with applesauce and the egg with banana.  The result is much more fudgy than brownie, and definitely not as decadent, but definitely still spoon worthy.  And in case you were wondering, I think this is a vegan recipe.  Yikes.
  • 2 oz unsweetened chocolate
  • 1/2 cup applesauce
  • 1 cup soft cooked red beans, canned is fine (or soak overnight covered in at least 6 inches of water)
  • 1/2 cup walnuts, chopped
  • 1/2 Tbsp vanilla extract
  • 1/8 cup instant coffee
  • 1/4 tsp salt
  • 1 overripe banana
  • 3/4 cup sugar (white I think?  I can’t remember honestly)
Preheat oven to 325F.  Line a 8×8 or 9×9 baking pan with parchment paper or tin foil and spray with nonstick spray.
Melt the chocolate glass bowl in the microwave, it should only take about 3-4 10-second intervals (watch so it doesn’t burn!).  Then mix in the applesauce.
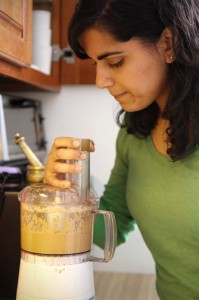
Beans, half of the walnuts, vanilla, and the melted chocolate go into the food processor.  Process until smooth — this took me a while and I used a spatula to periodically manipulate the proto batter so that everything got evenly pureed.
Add the chocolate-applesauce mixture toward the end, this may help with the blending.
In a big bowl mix together the other half of the walnuts, coffee, and salt.
In a small bowl mash up the banana and mix the sugar in it thoroughly.  You might consider using a hand mixer for a minute or two to get some air into it.
Add this banana mixture to the bean-applesuace mixture, and fold in gently with a spatula.
Pour the batter into the lined baking pan, and bake on the middle rack of the oven for 30-40 minutes, or until the mixture does not jiggle upon wiggling.
Let cool in the pan completely.  The flavor develops after a few hours, so store in the fridge if possible.
Posted in Dessert, Vegetarian | Tagged , , | 3 Comments

Pumpkin Pasties and “Dobby’s” Pasties

So there’s been something I’ve been meaning to get off my chest for some time now. I’ve been hesitant up until this moment to share it with all of you, but I guess I’ve reached the point where I can’t hold it back any longer…I’m a nerd. That’s right. I said it. I’m a nerd, a geek, a dork, if you will. Now I’m not telling you this in hope that you show me pity. In fact, I am quite proud of my geek-dom. I wear my nerd badge with pride as I announce to the world that I love math, science, tech gear…oh yeah, and Harry Potter. I first discovered Harry Potter at the tender age of 11…and 12 years later, I’m as big a fan as ever. I’ve read and listened to the books more times than I care to admit (nothing speeds up the 12 hour car ride home like Jim Dale‘s rendition of Harry Potter and the Half Blood Prince). Every time I pick up one of the books, I’m transported to this amazing world that I refuse to accept doesn’t exist. Magic is definitely real.

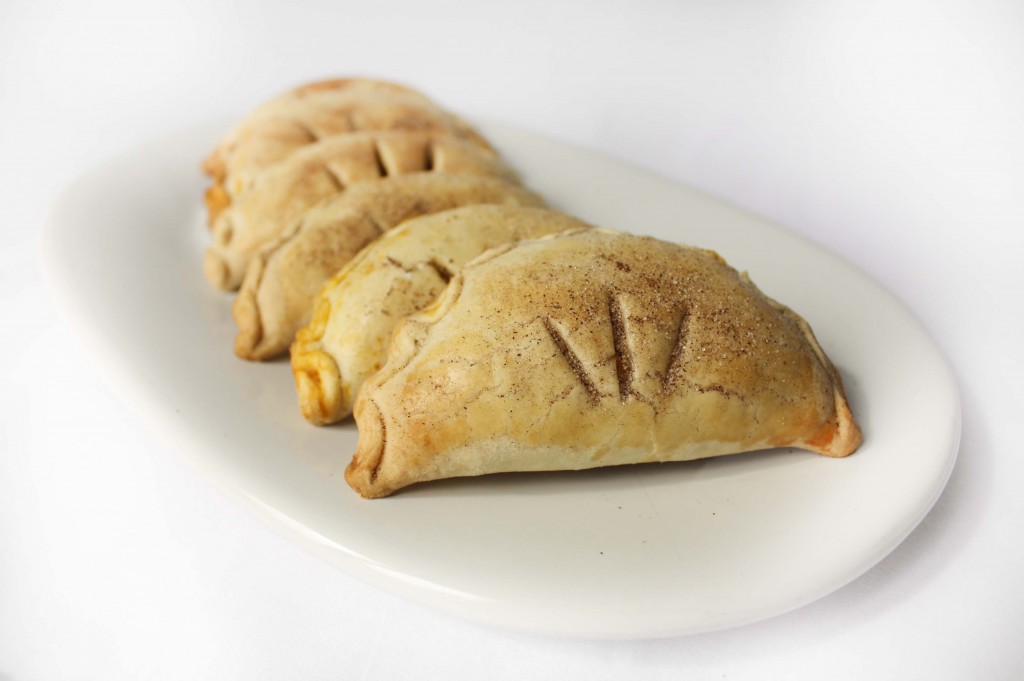
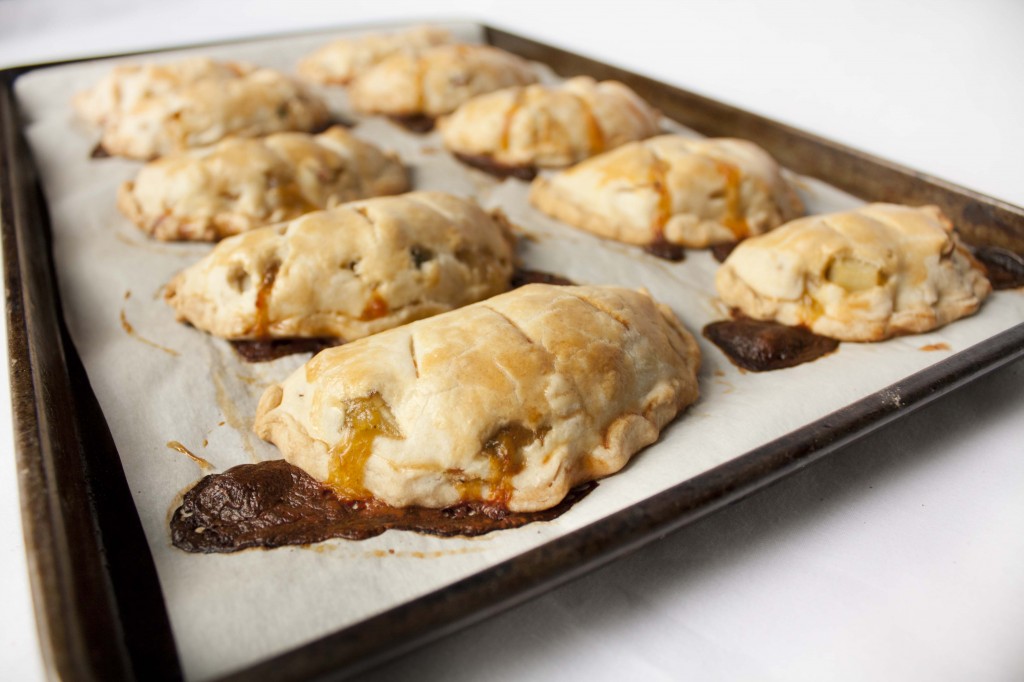
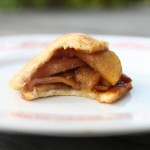
As many of you know, July 15th marked the release of the last Harry Potter movie. In honor of this historic event, I decided to take a stab at some HP themed treats. At first I figured I’d attempt to make Butterbeer…but then I remembered, I’d probably have to eat/drink whatever I made, so I went something that I already knew I loved – pasties (pronounced pas-tees, not paste-ies…trust me, you don’t want to eat the second thing). A pasty is typically a meat and veggie filled pastry that you can eat without any utensils. They’re very popular in England (hence the numerous references found in the HP books), as well as the Upper Peninsula of Michigan (my hometown!). Before this weekend, I’ve only ever had savory pasties, but after all the times J. K. Rowling has mentioned Pumpkin Pasties, I decided to attempt a sweet pasty as well. The recipe for the savory pasty is especially exciting for me at it is the first time I’ve attempted to make my favorite style/brand of pasty – Dobber’s Vegetarian Pasty, and I’m happy to say it tastes pretty close to the real thing. This pasty is especially appropriate for this post given that “Dobber’s” sounds an awful lot like “Dobby‘s”…I know it’s cheesy, but it makes me laugh.

What you need:

Pumpkin Pasties (adapted from Libby’s Famous Pumpkin Pie Recipe) – makes about 20 pasties

  • 1 15oz can of pumpkin puree
  • 1 12oz can of evaporated milk
  • 3/4 cup sugar
  • 1 tsp ground cinnamon
  • 1 tsp ground ginger
  • 1/2 tsp nutmeg
  • 1/4 tsp ground cloves
  • 1/2 tsp sat
  • 2 large eggs
  • 1 extra egg and 1 or 2 tbs of water (for egg wash)
  • cinnamon-sugar mixture (2 tbs sugar and 2 tbs cinnamon)
  • Pie dough, enough for 4 9-inch crusts

Dobby’s Pasties – makes about 20 pasties

  • 5 or 6 medium sized red potatoes (washed, peeled and cut into small chunks)
  • 1 medium sized onion, diced
  • 2 carrots, grated
  • 1/2 cup frozen peas
  • 1/3 cup grated cheddar cheese
  • 1 can (10 oz) condensed cream of mushroom soup
  • salt and pepper
  • Pie dough, enough for 4 9-inch crusts

Quick note on the pie crust – I was short on time and decided to use pre-made crust. If you want to make your own crust, you can try this recipe.)

What you need to do:

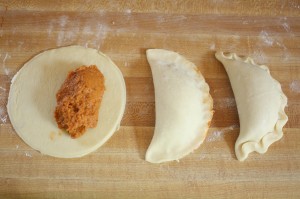
how to fold a pasty

Pumpkin Pasties

  1. Preheat the oven to 425 degrees F.
  2. Grease a 1 1/2 quart oven safe dish with butter, and set aside.
  3. In a small bowl combine the sugar, cinnamon, salt, ginger, nutmeg and cloves.
  4. In a separate bowl, beat the two eggs, then add the pumpkin and sugar-spice mixture.
  5. Slowly add the evaporated milk to the pumpkin mixture; stirring to combine.
  6. Transfer the pumpkin mixture to the baking dish, and bake for 15 minutes.
  7. Lower the temperature to 350 degrees F, and continue baking for an additional 30 minutes.
  8. Cool the pumpkin filling on a wire rack.
  9. Preheat the oven to 375 degrees F.
  10. Roll out your pie crust to about the thickness of a tortilla and cut the dough into 4-inch circles (I used a knife to trace around a plate).
  11. Place 1 to 2 tbs of pumpkin filling in the center of each dough circle, fold the circle in half, and crimp the edges with your fingers or a fork (see image above).
  12. Transfer the pasties to a parchment paper lined baking sheet.
  13. Cut three small slits in the top of each pastry, and lightly brush them with the egg wash.
  14. Sprinkle the pasties with cinnamon sugar and bake for about 12 minutes, or until light brown.

Dobby’s Pasties

  1. Preheat the oven to 400 degrees F.
  2. In a large bowl, combine the uncooked potatoes, onion, carrots, peas, cheese, soup, salt and pepper. Stir to combine.
  3. As with the pumpkin pasties, roll out the dough, cut into 4-inch circles, place 1 to 2 tbs of veggie mixture in the middle of the dough, fold in half, and crimp the edges.
  4. Transfer the pasties to a parchment paper lined baking sheet.
  5. Cut three small slits in the top of each pastry, and lightly brush them with the egg wash.
  6. Baken them at 400 degrees F for 10 minutes, then lower the oven to 350 degrees F and continue baking for an additional 40 minutes, or until light brown.

Posted in Dessert, Pumpkin, Vegetarian | 7 Comments

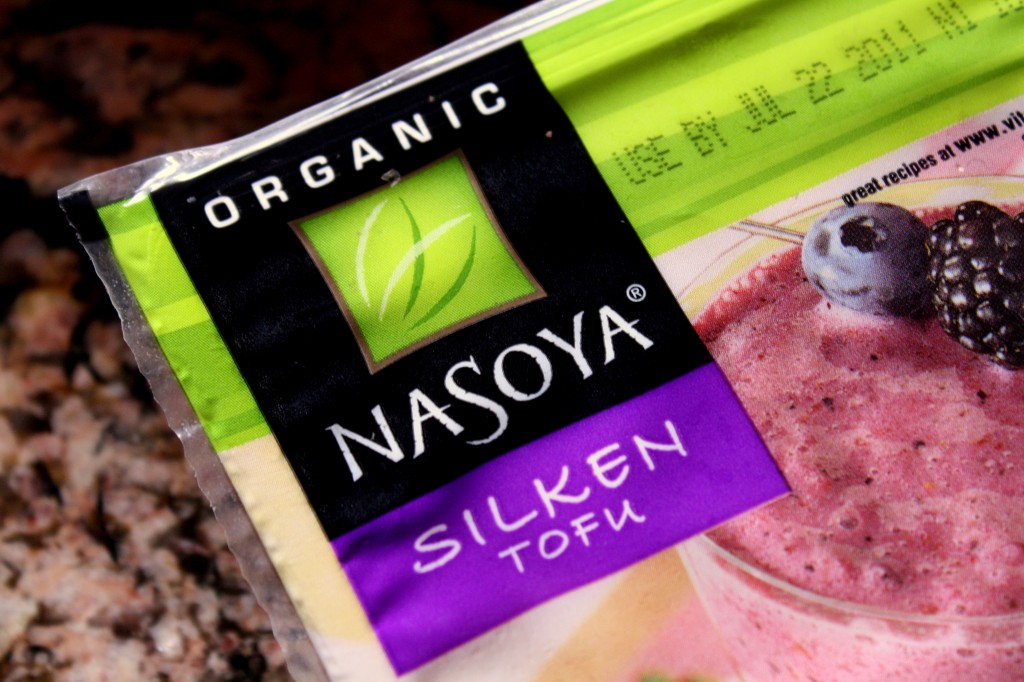
Lemon Tofu Cheesecake & Balsamic Strawberry Compote

Until February of this year, Ari and I participated in a weekly ritual called Inquiry Group (IQ for short).  In IQ, we would assemble in groups of eight people to discuss patient cases written by our professors for whatever discipline we were studying.  For instance, Down syndrome for genetics, Crohn’s for gastrointestinal, heart failure for physiology.  And diabetes for everything.  I was talking to a female classmate at the end of one of our blocks, and she said that her preceptor left the women in her group some unique feedback.
“Ladies,” he said, “you do great research and you present yourselves very well.  However, when you make a statement or get up to the whiteboard to illustrate something, you preamble it by saying ‘this probably isn’t right,’ or ‘I may be making this up.’  You’re not willing to commit to what you’re saying, even though it is usually correct.  Stop pre-apologizing.  The lack of confidence dismisses your contribution before you even share it.”

These words stayed with me because I realized I live my life that way.  In medical school, I’m loath to assert my opinion or be the most confident person in a group.  Deference is usually yielded to a male classmate, and I don’t blame him for taking over in the wake of my own silence.  The same goes for cooking — I tend to serve people my food, including this cheesecake, with a side of limp, overcooked regret.  “This really didn’t turn out how I meant it,” or “you’re not going to like it.”  I convince myself that if I’m the first person to hold myself back or self-disparage, then no one else will have to do it.
I’m declaring today the last day of apologies.  I can still admit when I’m wrong, but until then I’m going to be proud of my work in the hospital and proud of the food I make because I did both with all of the knowledge I have and everything I’m capable of.  It’s both the easiest and the hardest way to become better at something–to dismiss the master critic crouching inside your own head.

Ingredients (adapted from rsarahl on food.com.  Although the topping is mine!)

  • 1 lb soft silken tofu
  • 1/3 cup sugar
  • 1 tablespoon tahini
  • 1/2 teaspoon salt
  • 2 tablespoons lemon juice
  • zest of two lemons
  • 1 tsp vanilla extract
  • 2 tablespoons cornstarch or potato starch
  • 2 tablespoons soymilk (or regular milk)
  • 1/2 packet gelatin (one of my additions.  skip this for a less solid and more creamy result, I suspect)
  • 1 pre-made graham pie crust
  • 2 Tbsp honey, 2 Tbsp balsamic vinegar, and at least 8 strawberries for the compote

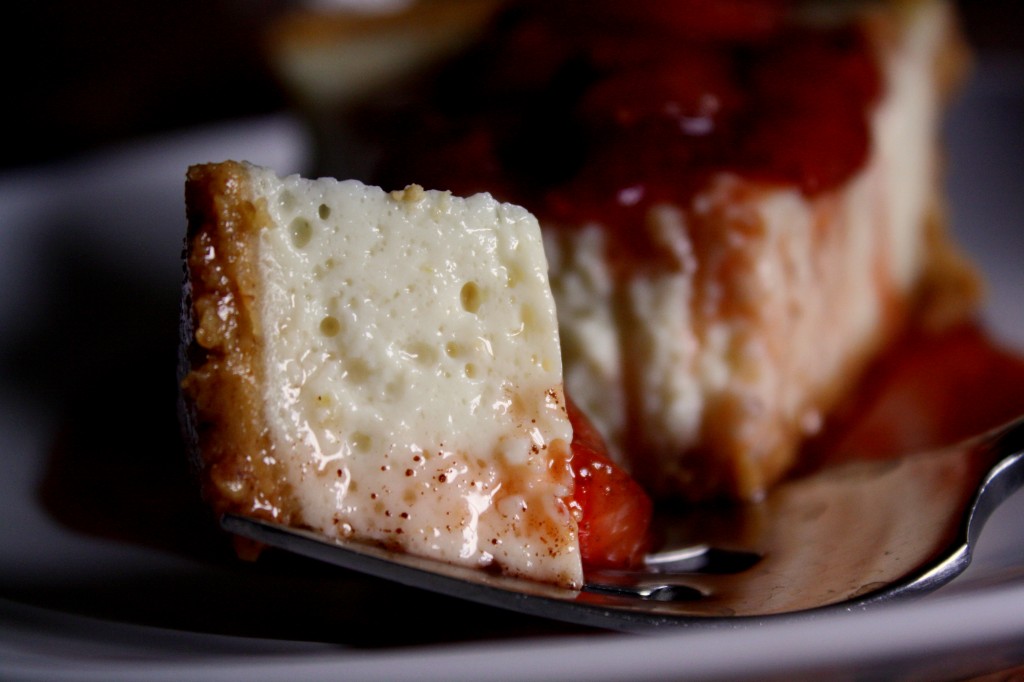
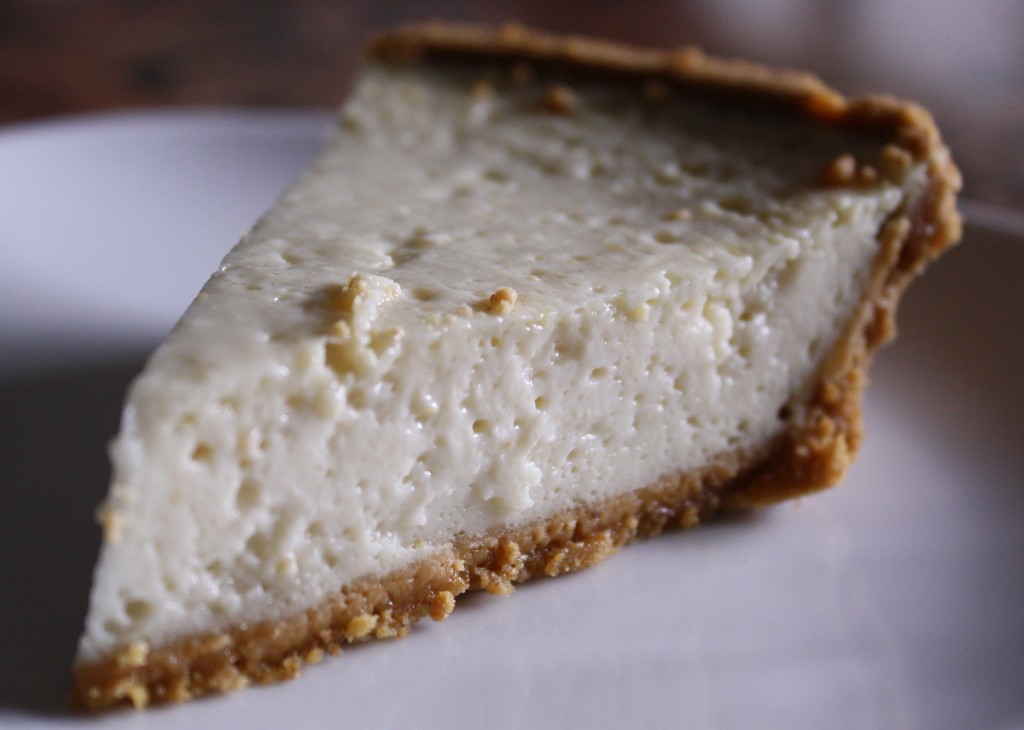
Fair warning:  This eats more like a custard than a cheesecake, and there’s no denying a bit of a tofu taste.  However, the lemon does shine through, and combined with a classic crust it’s something I ate half of before the requisite 24 hour wait had passed.  The compote brings it all together.
Plan to make this a day ahead.  Preheat the oven to 350F.  Combine all ingredients in a blender and blend until smooth.  Pour into the pie crust, and place on the middle rack of the oven.  Bake for about 30 minutes, plus or minus 5 minutes to try to get a slightly golden top.  Cool on top of the stove, then put a plate or some plastic wrap on top and store in the refrigerator.  The weird tofu flavor mellows out after 24 hours of fridge time.
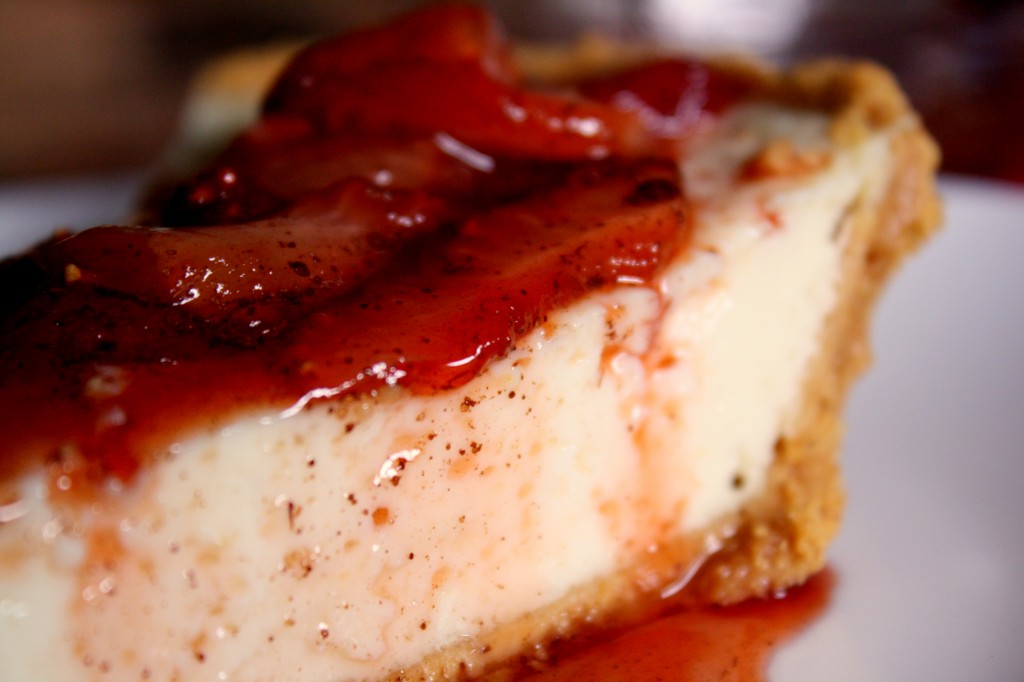
To make the compote: place 2 tablespoons of honey and 2 tablespoons of balsamic vinegar in a medium saucepan and cook until it looks like it’s going to simmer.  Hull and slice 8 medium strawberries and place in the mixture, gently mixing to coat the strawberries but keep them intact.  Keep cooking on medium to medium-low heat until the mixture looks thicker.  Store in a tupperware in the fridge and spoon over the sliced cheesecake the next day.
You could also top the entire cheesecake with it.  I recommend this compote because it masks the residual tofu taste.  You might actually be able to fool people into thinking it’s a real cheesecake with this extra gustatory distraction.
Posted in Dessert, Vegetarian | 7 Comments

happy 1 year to us!

Happy one year blogiversary to Braised Anatomy!

July 7th marked the one-year “blogiversary” for Braised Anatomy. I guess I should feel honored to write the celebratory post, but to be completely honest it makes me a little stressed. How am I supposed to write a post to sum up everything (food, school and otherwise) that’s happened over the past year?! I mean the fact that we’ve kept this up for a whole year is kinda surprising. Maybe surprising isn’t the right word…Anita and I are both pretty stubborn individuals, so I didn’t really expect this to be a failed experiment, but we’re also pretty busy people and I guess I assumed it would reach a point when we decided maybe the blog wasn’t worth it anymore. But here we are – one year (plus a couple days) since that first blog post. We’re already 101 (well this makes 102) posts in, and still going strong.
If I think back to when we first decided to do this, the whole exchange seems a little fuzzy, but I can remember the key moments in the decision making process. We had just moved into our new place, and were taking full advantage of our well-equipped kitchen. We were both really enthusiastic about all the things we were going to accomplish during the 10 weeks we had off from school, and for some reason I suggested that we add food blogging to the “to do” list. Anita had been an avid follower of food blogs for some time, but I was a bit of a newbie. I knew I liked to cook, but I also knew that I couldn’t stand writing, didn’t really know how to take pictures “properly”, and figured I only had about 10 good recipes I could contribute. Despite these shortcomings, we decided to go ahead with the experiment. We agreed that we would only continue the blog as long as we were both enjoying the experience, and that it wasn’t adding any stress to our lives. We realized that not only would this be a fun way to keep our families up-to-date on the goings on in our lives, it would also be a cool way to archive our adventures in cooking and something we could one day look back on remember what life was like in med school.
This whole experience has been a game of trial and error. We’ve gone through a few site redesigns (thanks to my partner in crime), I learned (well I’m learning) how to use a camera, and have more or less gotten over my stage fright when it comes to writing blog posts. I realize that most of you probably just look at the pictures (and I definitely don’t fault you for that given that I usually do the same with other food blogs), but some of you might have noticed that we also write little introductions to each recipe. We try to tie them into whatever we decided to share in that post, but in reality, these “intros” are supposed to be an opportunity for us to jot down a few notes on life so we can one day look back on it and recall those little snapshots in our earlier lives. As much as I’ve always hated writing, and as much as this has been a challenge for me, it’s also been pretty cathartic. At the end of the week, I am given a platform to voice my thoughts, opinions and concerns, and regardless of whether or not anyone reads it, getting it out of my brain and onto my computer allows me to evaluate everything in a new light (the glow of my computer screen that is).
Perhaps the most important thing this blog has done for me is that it’s given me something to be proud of. I’m not saying that I’m not incredibly proud of everything I’ve accomplished in my short life, but the blog is something tangible. Each blog post is like a small accomplishment in and of itself. The fact is, medical school can really beat you down sometimes. Studying for exams is like trying to fit the Pacific Ocean into a bathtub…oh, and the bathtub has a leak. So no matter how hard you try, it won’t all fit…and it’s only a matter of time before the stuff that you do manage to squeeze into your brain leaks out. Simply put, it can be pretty discouraging. The blog somehow manages to combat some of that discouragement. The support we’ve received from friends, family members, and even some strangers has been overwhelming. There few better feelings than having someone approach us and mention having tried out one of “our” recipes.
Now I’m supposed to tell you about this week’s dish… Well I’ve spent the last week trying to figure out what would be the most “appropriate” recipe for this particular blog post…and I came up with nuthin’. I mean I could have braised something in honor of our name, but let’s face it, BA isn’t exactly known for meat heavy dishes. I also considered some anatomy inspired dish (brain shaped jello perhaps?), but it still didn’t feel special enough. So finally I decided to take a rain check, and force all of you to read through my sappy reflection on the last year. Now this doesn’t mean we’re not gonna post an awesome “blogiversary” recipe, but you’re gonna have to wait a little longer until we find one worth of this honor. In the meantime, we’ve decided to share some photos taken by our good friend Myles Nickolich (the co-author of our first ever guest post).

Stay tuned for more recipes, stories and photos from Braised Anatomy…

Posted in Non Recipe | 5 Comments