Seasoned Cucumber Cilantro Soup (Cucumber Raita)

The hospital’s air conditioning is set permanently to “early fall,” and every day around 4pm I find myself dreaming about a fitting dinner.  Hot soup always sounds good.  Maybe some sort of stew.  Or maybe something with a long bake, like a casserole.
Then I step outside into the desert of the real: it’s August in the midwest and I can’t breathe without breaking a sweat.  My dreams of supper quickly turn to freezer pops.
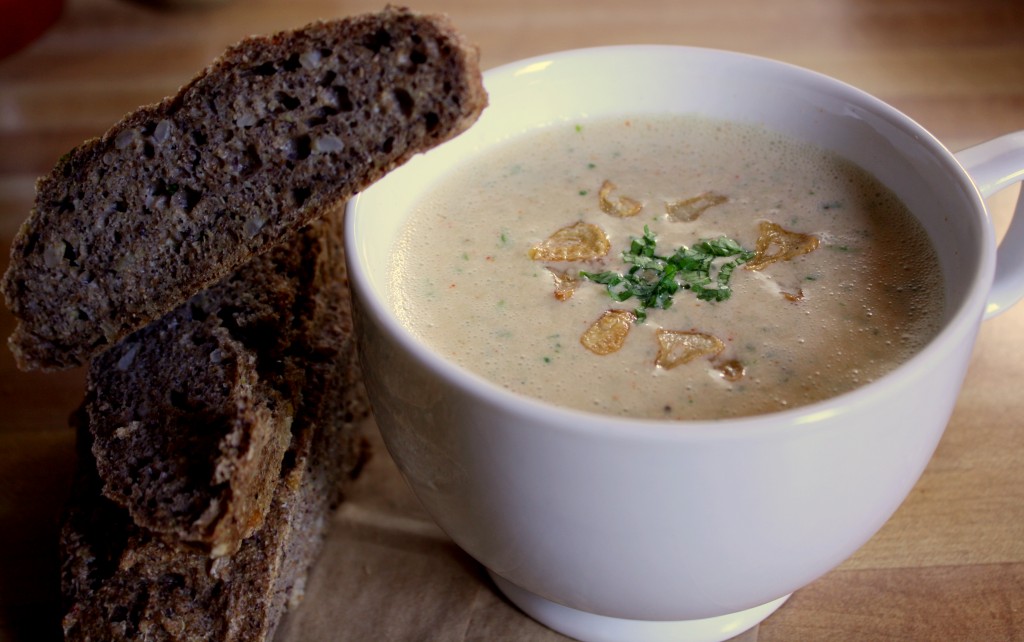
This is a cold soup I made with an amended yogurt recipe — I’ve started incubating the yogurt for as many as 18 hours, as per Ari’s preference, to get a much tangier batch.  In India, yogurt or seasoned yogurt is used as a cooling dip or condiment in most Indian meals.  And if anyone knows about deep heat, it’s those people.

Ingredients

This soup is pretty thin if you use plain yogurt, but it was good accompanied with a hearty bread.  If you’re looking for something thicker, you might try strained (Greek) yogurt, which is pretty easy to make yourself.
  • 3 cups of plain yogurt (mine has become nice and sour this summer)
  • 1/2 cup chopped cilantro
  • 1 cucumber, chopped
  • 1 tsp cumin
  • 1 tsp chili powder
  • salt and pepper to taste
  • garlic chips: 5-6 cloves of garlic sliced and fried in a tablespoon of sesame oil
Blend.  Garnish with more chopped cilantro and the garlic chips.  Serve with bread.  Ta da!
Posted in Indian, Soup, Vegetarian | Leave a comment

Quinoa Burgers

I’m happy to say that I am currently at home in Michigan spending some quality time relaxing with the family. I won’t say that it’s all that much of a “well deserved” break given my not-so-stressful research block, but there’s no denying that I’ve been pretty homesick over the past couple months, and a healthy dose of U. P. air is always the best cure. And I realize it’s not just the homesickness that has put me in a funk over the past month…it’s also all the junk I’ve been putting into my body and how I’ve been spending my time. Going along with my roommates previous post, I’m beginning to realize that you can only get away with so many quick trips to the hospital cafeteria’s french fry line before your body starts to respond. The sedentary lifestyle of research block is also not helping. I’ve made a conscious effort to start heading back to the gym regularly, but I feel like it’s not really canceling out the subsequent 12 hours I spend on my butt each day. When I’m not eating healthy or not getting enough exercise, I can feel myself start to shut down. Thankfully, heading home has definitely put a stop to all that. Upon waking every morning, my mom and I immediately jump in the lake for a quick swim. We then head up to the house for a delicious breakfast of eggs, beans and rice (which we eat on the deck to ensure proper sun basking…everyone needs Vitamin D). After breakfast, we do yard work, run errands in town and read for a little while. Our lunch and dinner consist mostly of veggies from my mom’s garden, plus some more eggs (man do I love eggs). Finally we finish off the day with a movie and a quick night swim before bed. Basically this is a stress-free, toxin-eliminating, rejuvenating space that I am lucky to call my home.
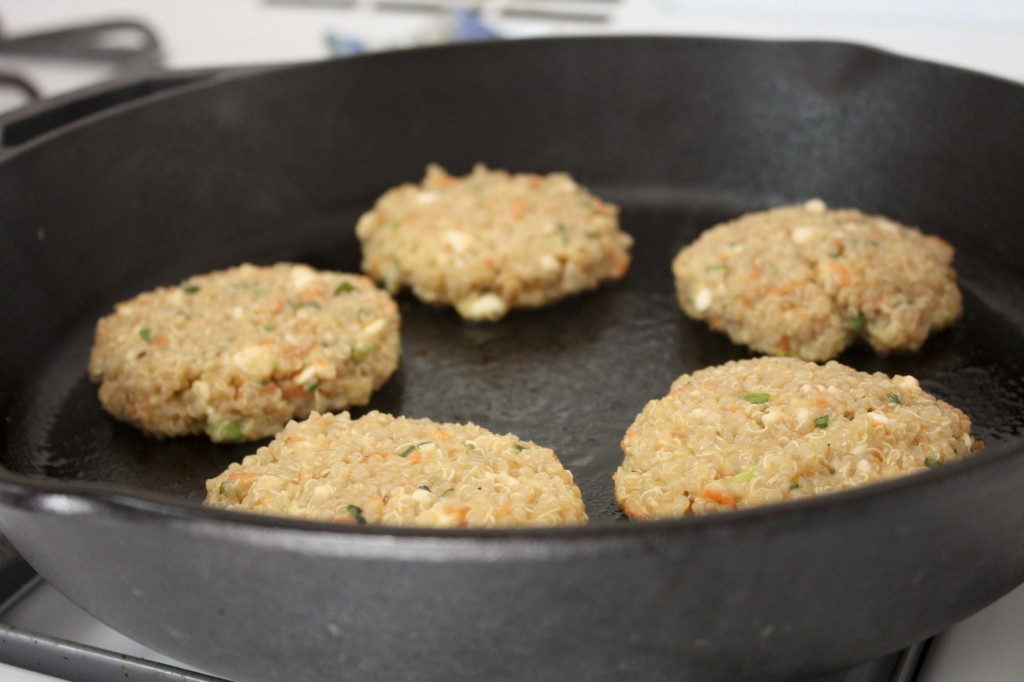
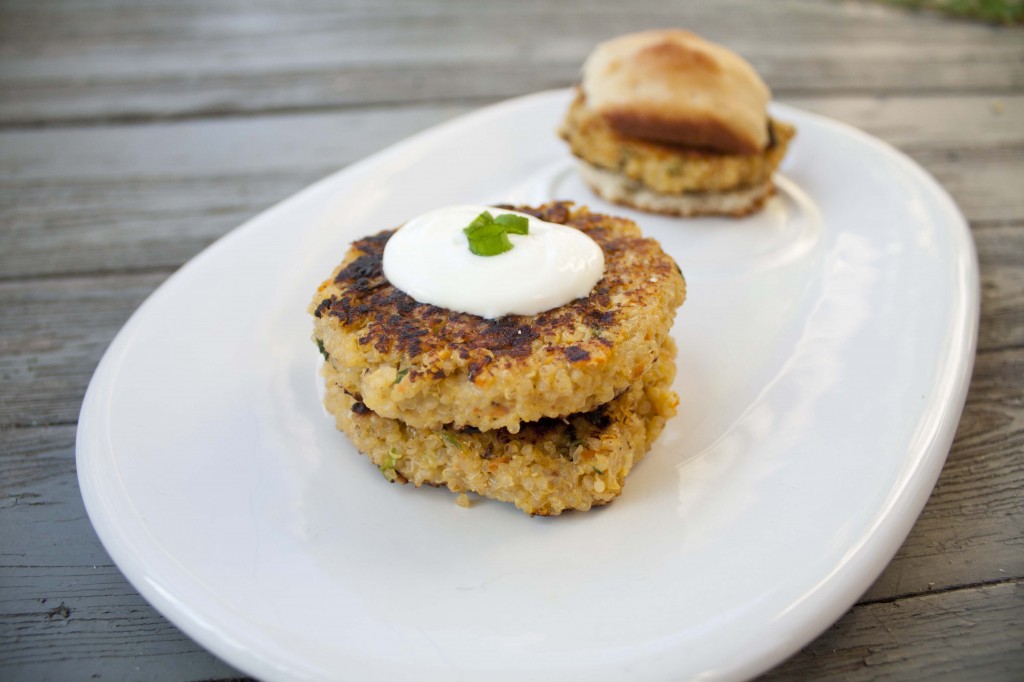
Today’s recipe goes along with Anita’s Kobi Chi Bhaji (cabbage stir fry), in that it’s a healthy dinner option, but with the little twist that it fits in well with the BBQs and campfires that frequently accompany the evenings in the U. P. These “burgers” are pretty cool since the quinoa actually adds a meat-like texture, and the spices give it some good flavor.
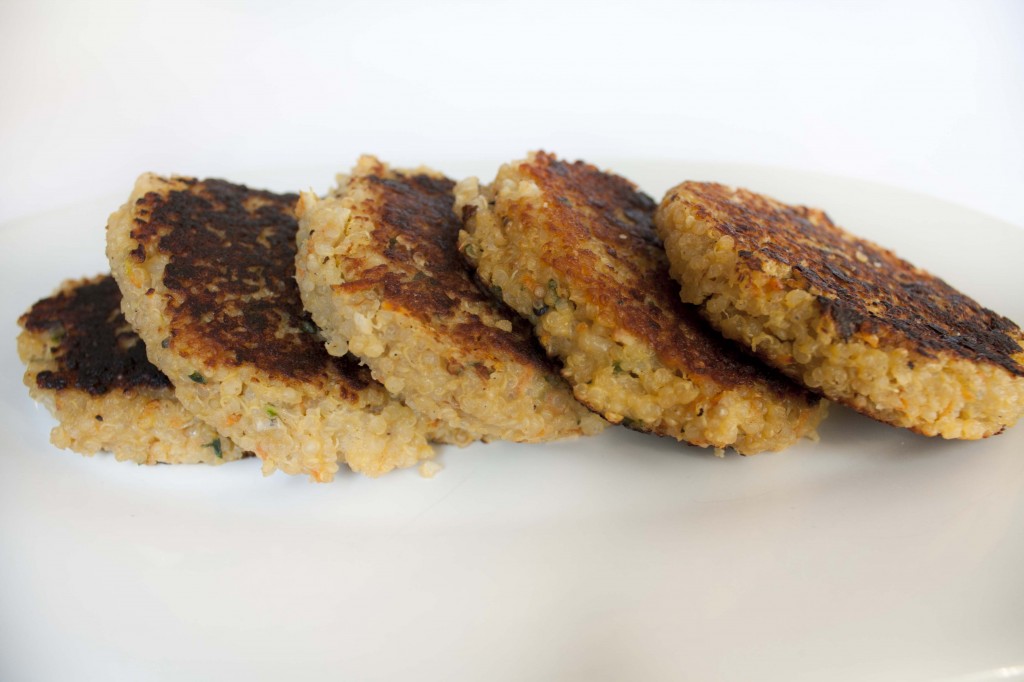
(Adapted from Eat Well Living Thin) What you need:

  • 1 cup uncooked quinoa
  • 3/4 cup shredded cheddar cheese
  • 1/2 cup cottage cheese
  • 1 carrot, grated
  • 3 eggs
  • 2 green onions, diced
  • 1/2 tsp sugar
  • 1/4 tsp pepper
  • 1/4 tsp cumin
  • 1/8 tsp salt
  • 1/8 tsp garlic powder
  • olive oil for frying

What you need to do:

  1. In a medium sized saucepan, add 2 cups of water to your 1 cup of uncooked quinoa along with 1/2 tsp salt. Bring the contents of the pot to a boil then reduce to low heat and simmer for 15-20 minutes (till the seeds are tender).
  2. In a large bowl, combine cooked quinoa, cheddar cheese, cottage cheese, carrot, eggs, green onion, sugar, pepper, cumin, salt and garlic powder.
  3. Heat a frying pan (I used a cast iron skillet) with 1 to 2 tbs of olive oil over medium-low heat.
  4. Measure out spoonfuls of quinoa mix (about 1/4 cup per burger) and form patties. Just a warning, the patties will be sticky.
  5. Fry each patty for about 4 minutes per side (until golden brown).
  6. Top with sour cream, hot sauce, ketchup, etc. and enjoy!
Photo Challenge Update: I’m still going strong with the photo challenge. I’ll admit that I have fallen a day or two behind, but I figure that as long as I finish on the 30 day mark, I will consider this challenge “met”. If you’d like to see the photos I’ve taken so far, check them out here.
Posted in Vegetarian | 2 Comments

Cabbage Stir Fry (Kobi chi bhaji)

For the past few weeks I’ve been spending most of my day in the fleet of operating rooms at university hospitals.  At all times, we’re required to wear surgical scrubs, the official uniform of attending surgeons, residents, nurses, techs, and medical students alike.  That I’m required to wear expandable pajamas all day is a pretty ridiculous blessing.
But, Lo: my scrubs have deceived me.  This past Saturday I got out of bed and realized that I didn’t have to go to the hospital, and that scrubs are so comfortable because…they expand with you.  I broke out in a cold sweat when I saw, across the room, my skinny jeans staring darkly (and skinnily) back at me. Muffin top does not even begin to explain the horror.
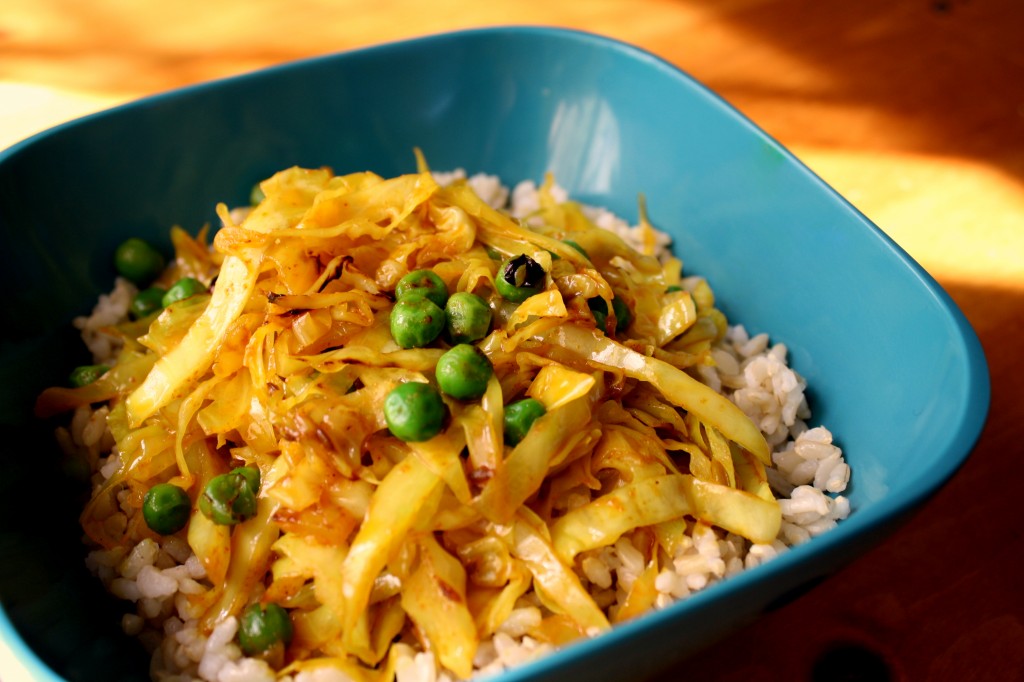
So, while I combat my new abdominal companion, here is one of my favorite healthy vegetarian recipes that delivers all the fun without any of the subterfuge.  A meal like this, minus the half-n’-half-sodden coffees I’ve been pounding during breaks, is just what the doctor ordered.

Ingredients

  • 3-4 Tbsp oil
  • 1 medium onion, diced
  • 2 tsp cumin seeds
  • 1-2 tsp turmeric
  • 1-2 tsp chili powder
  • 3/4 head medium sized cabbage, cored and shredded
  • 1 cup frozen peas
  • salt to taste
Fry the onions in the oil on medium-high heat, then add the cumin and let the seeds sizzle for about 30 seconds to 1 minute.  Add the turmeric and chili powder, and fry for 30 minutes.  Add the cabbage and stir to mix the cabbage into the spicy oil.  Add a little bit of water if you have trouble coating the cabbage.  Cook until the cabbage is definitely yellow and starting to lose its crispness.  Add the peas, mix, and add salt to taste.  Eat with bread or rice, with daal on the side.
Posted in Indian, Vegetarian | 1 Comment

White Bean Hummus

Quick warning…this intro has nothing to do with the recipe, but I wanted to share my thoughts, so bear with me (or skip down the recipe and enjoy a delicious snack).
One psych concept that many people are familiar with is the idea of protecting oneself with the aid of defense mechanisms. We’ve all seen little kids act out when they feel like they’re being ignored, and I’m sure we can all think of someone in our lives that takes on the passive aggressive role when they don’t feel like confronting their problems. While I can catch myself using any one of the defense mechanisms from time to time, I think I am most likely to resort to intellectualization any time I’m afraid of embarrassing myself. Rather than taking a risk and putting myself out there to be criticized, I overanalyze, in excruciating detail, the different ways to attack a problem/task/goal rather than just going out and doing it. I’m aware of this shortcoming, but up until this point, I haven’t really felt the need to do anything about it. To be honest, the worst that has come of this is that I’m considered a cautious person. I drive like an old lady, and like to have every second of my day planned out, but that’s about it. At least it has been till now.
At the start of my research block, I decided I was going to use my newfound free time to learn to take photos. I bought a camera, checked out the necessary manuals from the library, and have spent the last month pouring over books explaining everything from food photography to portrait taking. I can now explain to you what all (or at least most) of the buttons on my camera do. I understand how shutter speed, aperture and ISO affect exposure. I’ve even begun learning some new photoshop tricks. The simple fact is, I felt kinda guilty spending all that money on my camera, but was able to tell myself that it was money well spent since I was learning all this great new stuff…and then I realized that I hadn’t actually taken any photos. Sure, I had used it a couple times to take photos for the blog, but I was able to do that before buying the camera by borrowing Anita’s…and that was free. The more I thought about it, the more I realized that the scary thing about taking the photos was the fact that people would be able to judge my work. If I just sat there reading about how to take a picture, rather than actually doing it, there was nothing to judge or criticize.
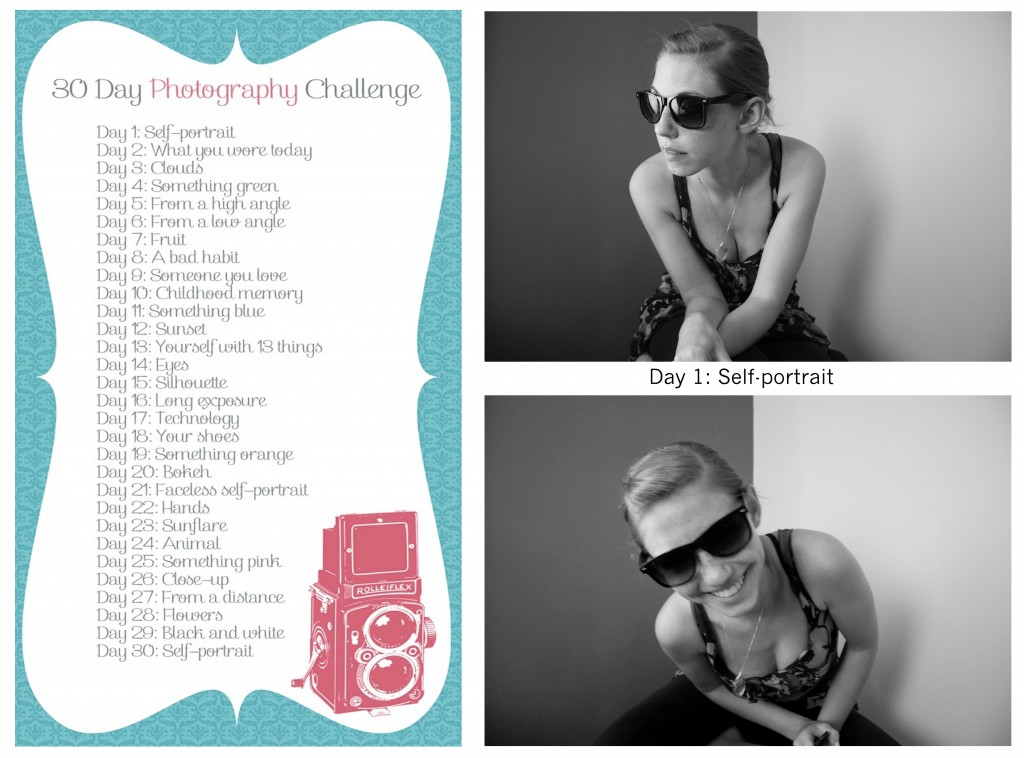
A couple days ago I came across a website describing a 30 day photo challenge (you have to take 30 specific photos in 30 days), and I realized this was just what I needed. Not only would it force me to actually pick up the camera, but I decided I would display my photos in some way that would make them available to be critiqued. This blog has been one of the most revealing things I’ve ever done, so I figured it would be appropriate to talk about this challenge in a post and display my first picture – a self-portrait. It was definitely awkward trying to take a picture of myself, but allowing myself to feel awkward/embarrassed/etc. is what this challenge is all about (well that, and actually taking pictures). Wearing the glasses was a little bit of a cop out (as Anita says, the eyes are the most telling part of the face), but I figured it was only my first picture so I was allowed a little leeway. Besides, the challenge on day 30 is another self-portrait…hopefully I’ll be comfortable enough at that point to lose the glasses.
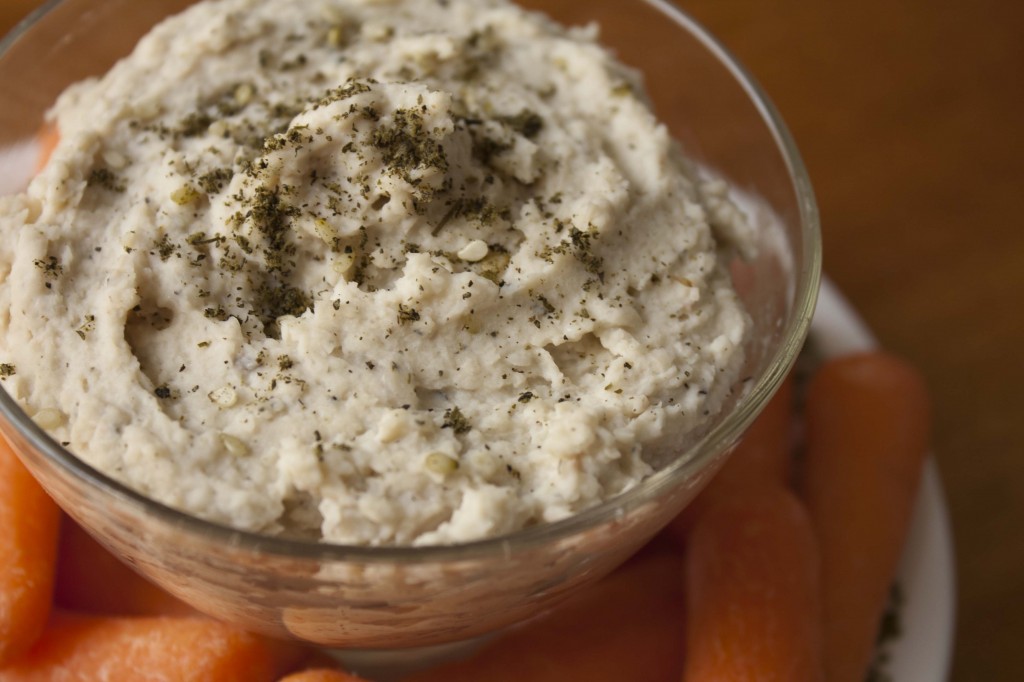
Now that you’ve all indulged me by listening to/reading my ramblings, let’s get on to the good stuff – the food. This is a recipe that was introduced to us by a fellow med student (despite our limited free time, med students are some of the best cooks I’ve ever met…but I might be biased in this assessment). It’s a fun twist on traditional hummus, and the perfect snack for summer weather like we’ve been having over the past week in that the preparation requires little to no heat. In fact the only thing that requires heat (roasting the garlic) can be prepared long before.

What you need:

  • 3 cups white beans (or about 2 14 oz cans)
  • 9-10 cloves of garlic
  • 2 tbs olive oil
  • 2 tbs rice vinegar
  • 2 tbs lemon juice
  • 2 tbs tahini
  • 1/2 tsp salt
  • 1 tbs za’atar (optional)

What you need to do:

  1. The first step in making this hummus (roasting the garlic) can actually be done in advance and kept fresh in the freezer. All you have to do is peel your garlic cloves, place in the center of a piece of aluminum foil, drizzle with olive oil and add a pinch of salt. Fold the edges of the foil so you have a closed packet and roast at 350 degree F for 45 minutes (I recommend using a toaster oven if you have one to prevent overheating the house). Once roasted, the garlic can be placed in a ziplock bag and then into the freezer until you decide to make the dish.
  2. If you chose to use dried white beans, be sure to prepare them ahead of time as well – In a large bowl, cover the beans with 3 inches of cool water and leave them at room temp to soak overnight. The next day, drain the beans and add them to a large pot. Cover the beans with 2 inches of water. Bring the water to a boil, then simmer the beans until tender (about 1.5 hours). Additionally, you can add a bay leaf, salt and pepper to the water for a little flavor. If you don’t feel like turning on the stove, I recommend using canned beans.
  3. Now that all the prep work is done, blend together the roasted garlic and olive oil in a food processor.
  4. Add the beans, lemon juice, vinegar, tahini, salt and za’atar to the food processor and blend until smooth (took me about 3 minutes).
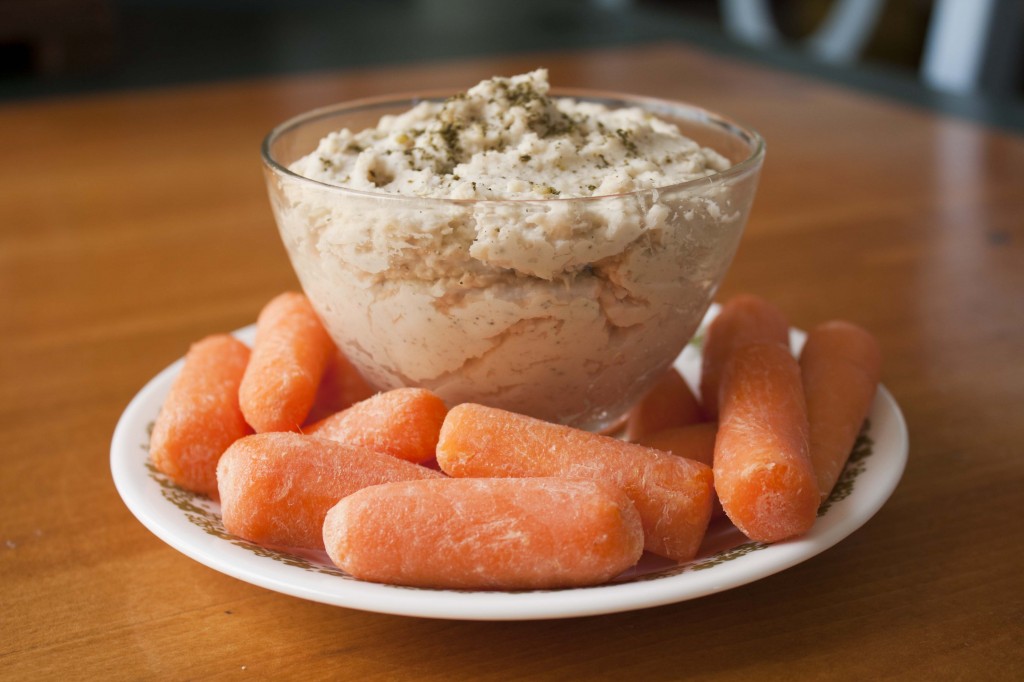
  5. Serve with carrots, pita chips or on a spoon, and enjoy!

Posted in Dip, Snacks, Vegetarian | 2 Comments