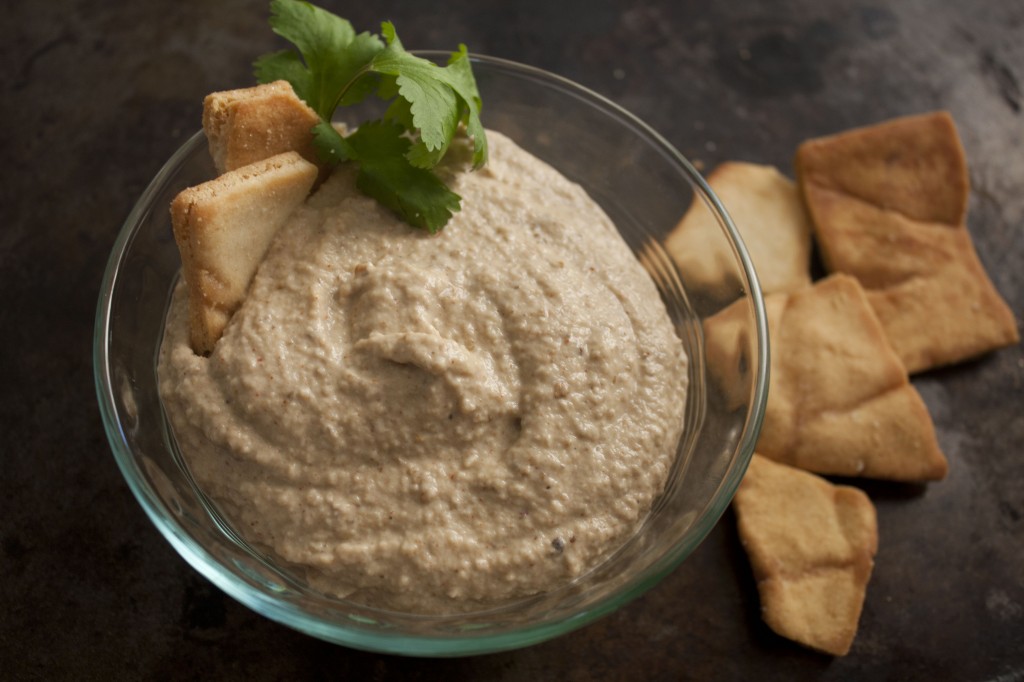
Baba Ghanouj…Take one

For every dish that’s ever made it to my “favorite foods” list, there is always one particular person/place/restaraunt that makes the best version of said dish. I can attempt to make the recipe myself, but it never turns out quite how I want it to. Sometimes it’s an issue with consistency, sometimes spice level…most often it just doesn’t taste right. I can tweak one ingredient or another, but rarely do I even get it to a point where I would consider it edible. The funny thing is, if I were to give it to anyone who doesn’t have that particular taste memory, it will taste perfectly fine to them. To me, however, it tastes gross…well maybe not gross, but it certainly doesn’t taste good.
Baba Ghanouj is one of dishes that is best left to the experts. The “experts” in this situation, are none other than the incredible cooks at Pita Inn. I’ve been eating at this restaurant for as long as I can remember (and maybe years before that). Given the ample supply of healthy and inexpensive dishes, this restaurant has been a favorite of my family since before I was born. I was eating falafel for years before my first taste of a good ol’ fashion American hamburger (please read that with a southern accent). In fact, I used to call falafel “cookies”…that should give you an idea of how many sweets were in my house growing up. And as much as I enjoyed the falafel, hummus, and oh-so-delicious baklava, it was always the baba that remained nearest and dearest to my heart. It’s just so creamy…so light…so…perfectly flavored…How am I ever supposed to replicate that level of perfection?!
When I received the most recent copy of Saveur magazine, and flipped to the section on middle eastern recipes, my eyes kept redirecting to the baba ghanouj recipe. I knew I had an eggplant sitting in the fridge, and it was pretty likely that I would be getting another one at the upcoming City Fresh pickup, but dare I attempt to accomplish the impossible? I’ve never tried to make this dish for the simple reason that I didn’t think I could pull it off. Honestly, I knew from the start that it was pretty unlikely I’d be happy with the finished product, but if nothing else, I was sure I could pawn off the final product on those fortunate/unfortunate enough to never have tried Pita Inn’s baba. Sure enough, I wasn’t satisfied with the result of this failed experiment….but at least I’ve finally taken the first step to finding a baba ganoush recipe that, while it isn’t as good as the one I constantly crave, I can call my own.
(For the record, Anita liked the dish…I’ll just blame my dislike on my stubborn taste buds)

(Adapted from Sauver Magazine)

What you need:

  • 8 cloves roasted garlic (for instructions on how to roast garlic, check out this post)
  • 2 medium eggplants
  • 1/3 cup fresh lemon juice
  • 1/4 cup plus 2 tbs tahini
  • 2 tbs mayonnaise
  • 1 tbs finely chopped parsley (or cilantro depending on which flavor you prefer)
  • 1 tsp ground cumin
  • 1 tsp paprika
  • Kosher salt and fresh ground pepper, to taste
  • Olive oil (for roasting the eggplants)
What you need to do:
  1. Preheat the oven to 400 degrees F.
  2. Slice your eggplants in half, and brush olive oil on the cut side of the eggplant halves. 
  3. Place on a foil lined baking sheet, cut side down, and poke each eggplant many times with the tines of a fork. 
  4. Roast until tender (about 35-40 minutes).
  5. Once cooked, scoop out the “meat” of the eggplant (you can remove the seeds if you want, but that was way too much work for my taste), and add it to a food processor along with the other ingredients. Note: some people argue that baba is supposed to be chunky, but Pita Inn makes it very smooth, so I insist on doing the same.
  6. Blend until smooth…’cause I say so. 
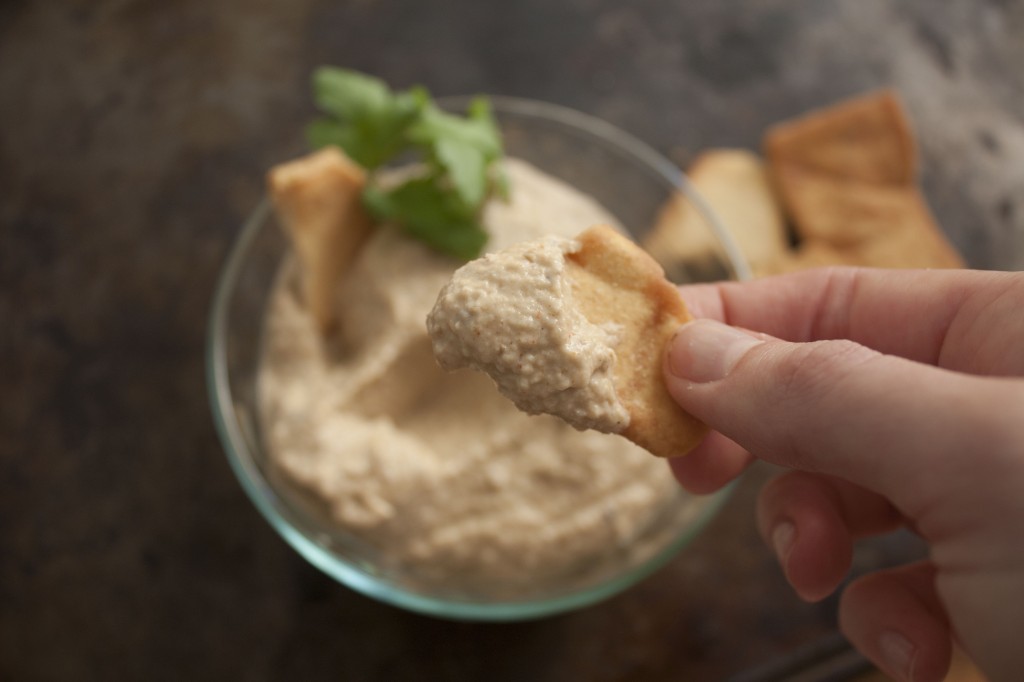
  7. Serve with pita chips and enjoy!
Posted in Dip, Snacks, Vegetarian | 2 Comments

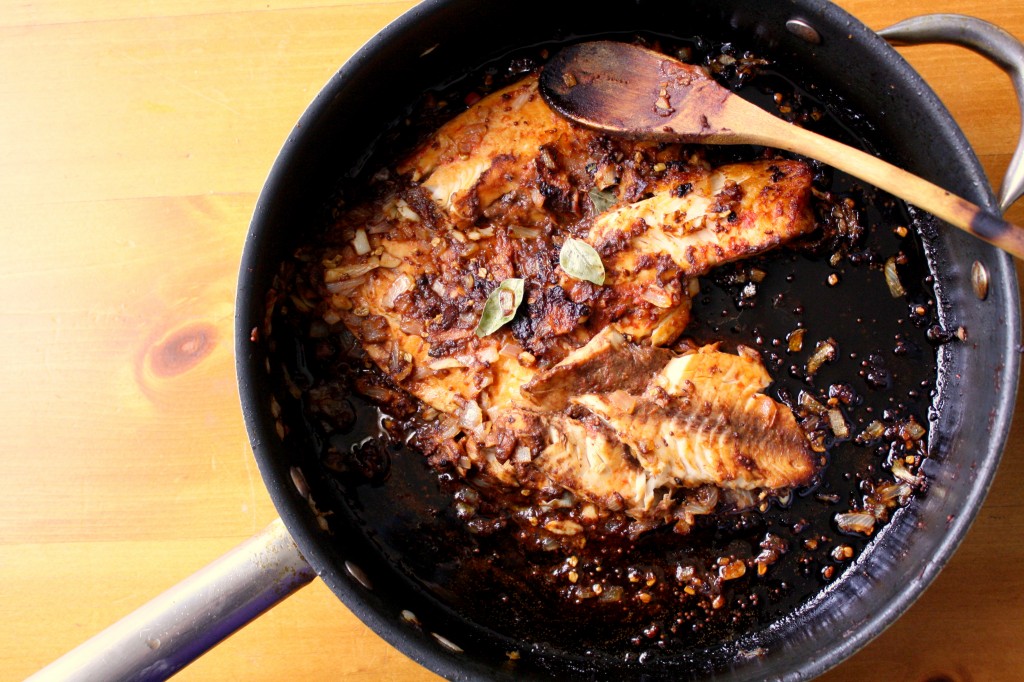
Tamarind Fish

Do you ever get Indian food hangovers?  I keep trying to cook with this seed called fenugreek (both it and its leaf counterpart are also called methi).  It’s a tiny packet of pungence that adds a slight bitter kick to any dish.  The smell can be described as a sort of spicy maple syrup.  It usually gets fished out of the fridge and added to the pan when I’m feeling a little brazen.
And it all seems like a good life decision until the next morning, when I wake up smelling like fenugreek incarnate.  I’m my own regrettable one-night stand.  Until after a run and shower to purge it from my system, I’m a little ashamed to go out in public.  That’s the only downside to this cuisine: to eat it is to exude it.
That said, this fish dish is pretty flexible.  If you don’t have fenugreek, or even tamarind paste, you should try it anyway and tell me if it works for you.
Ingredients
  • 4 white fish filets
  • Marinade: 2 Tbsp each of dark soy sauce, tomato paste, and plain yogurt
  • Curry:
  • 1 diced onion
  • a few curry leaves (optional)
  • 2-3 tsp cumin powder
  • 2 tsp coriander powder
  • 2 tsp chili powder
  • 1 Tbsp minced garlic
  • 1 Tbsp minced ginger
  • 1 tsp fenugreek seeds (optional)
  • 1 tsp mustard seeds
  • 1/2 cup plain yogurt
  • 2 Tbsp tomato paste
  • 1 Tbsp tamarind paste (optional…even if it’s in the title)
  • 4 Tbsp vegetable oil
  • salt
  • Marinate the fish with the marinade for at least 30 minutes in the fridge.
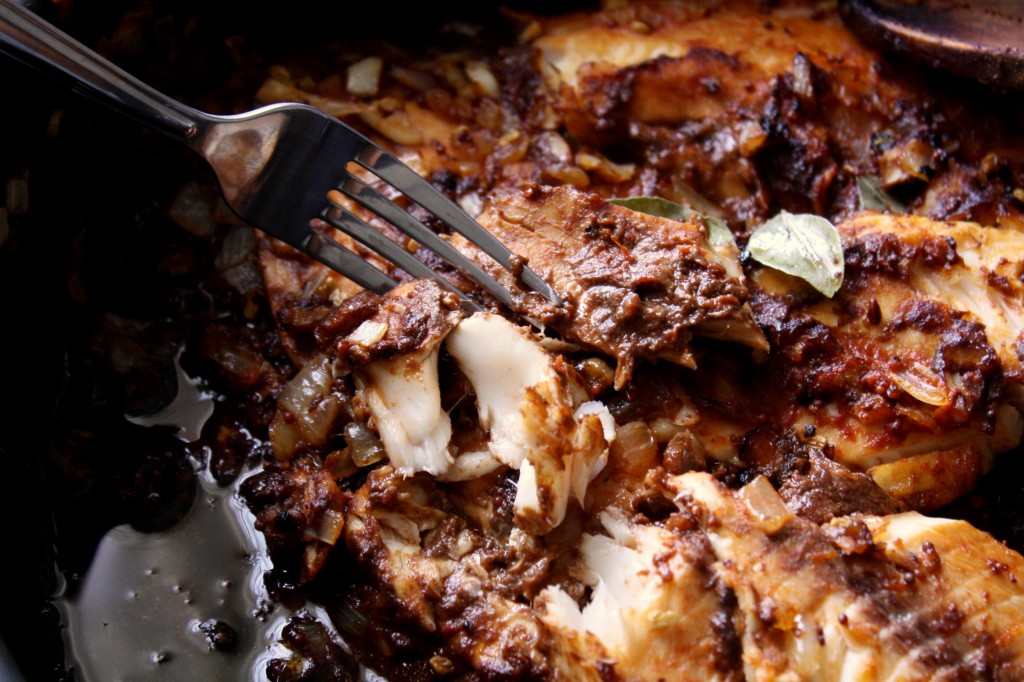
    Heat the oil in a deep pan over medium high heat, and pan-fry the fish until they are browned on either side and getting crispy (try to only cook each side once).  Transfer the fish to a paper towel-lined plate.  Next add the mustard and fenugreek and allow them to cook in the oil alone for 15 seconds (you may have to cover the pan if they start to pop).  Add the cumin, coriander, and chili powder, the garlic and ginger, and mix for about 10 additional seconds.  Add the yogurt, tomato paste, and the tamarind paste, and then gently add the fish back to the pan.  Allow to simmer for 10 additional minutes, adding water as necessary if the mixture starts to look dry.  Adjust with salt to taste.
    Posted in Seafood | 6 Comments

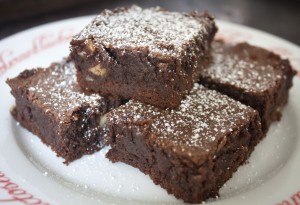
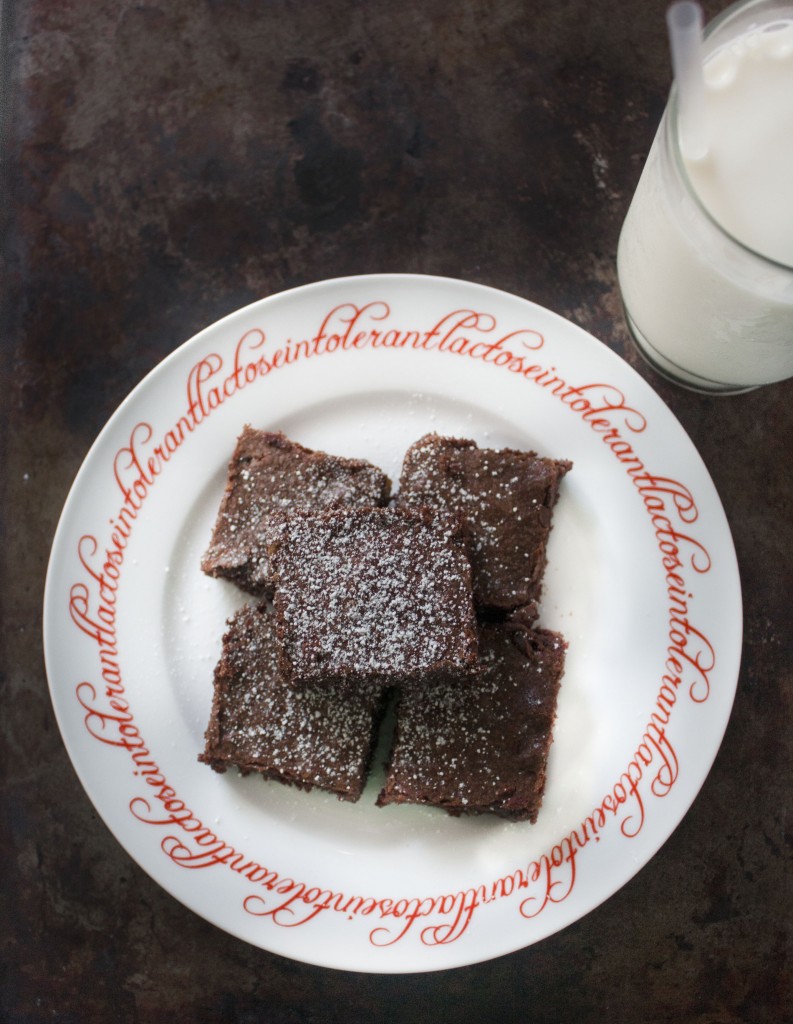
    Homemade Brownies

    We try to eat healthy…we really do. We try to cook almost all of our meals so we know what’s going into our bodies. We try plenty of “substitution” recipes in order to turn relatively unhealthy recipes into something it’s okay to crave. Perhaps most importantly we don’t really buy sweets. Sure we have the necessary cooking ingredients to make just about any dessert, but aside from the bag of chocolate chips in the freezer, you really don’t want to eat any of those things. You would think that two grown (well almost grown) individuals should have enough self-control to  allow themselves to keep sweets in their house, but…we don’t. Anita will argue that she has no control over her sweet tooth. I simply have no control over my stomach. If I see food, I eat it.

    Since we don’t have any prepared dessert, we really have to want something sweet to be able to get our hands on it. Aside from a quick trip to the nearby bakery, our only option is to bake something (and let’s face it, I’m too cheap to actually buy a dessert when I can make it myself).

    (Adapted from The Silver Palate Cookbook)

    What you need:

    • 1/2 pound (2 sticks) unsalted butter
    • 4 ounces unsweetened chocolate (I used the chip form)
    • 4 eggs
    • 2 cups granulated sugar
    • 1/2 cup all purpose flour
    • 1 tsp vanilla extract
    • 2/3 cup chopped walnuts

    What you need to do:

    1. Preheat oven to 350 degrees F and grease/flour a 9×12 in baking pan.
    2. MacGyver a double boiler (how many people actually own one of these?) by bringing a pot of water to a boil on the stove then placing a larger pot on top of it.
    3. Melt the butter and chocolate in the “double boiler” then set aside and let cool.
    4. In a separate bowl, beat the eggs and sugar until thick and lemon colored; add the vanilla.
    5. Fold the chocolate mix into the egg and sugar mixture. Fold in the walnuts.
    6. Pour the brownie mix into your baking pan and bake for about 25 minutes (use the toothpick test to make sure it’s done).
    7. Let cool then dig in!
    Posted in Dessert | Leave a comment

    Roasted Garlic, Walnut, & Honey Compound Butter

    My living situation with Ari sounds like the beginning of a cruel ethnic joke.
    “An Indian and a Jew move into a house together…”
    In some ways we do live up to the tightfisted stereotype.  We make a weekly pilgrimage to Aldi, the store that doesn’t take credit and requires you to insert a quarter to get a shopping cart.  99% of the furniture in our house was inherited, craigslisted, or, as Ari likes to put it, “bequeathed by nature.”  And clothes bought for the last few seasons have come primarily off of other people’s backs.
    But Ari’s passion for thrift is so great, it’s pretty much a hobby.  One that will pay off, as I expect that she’ll end up paying off her loans more quickly than any of the med students in our class.
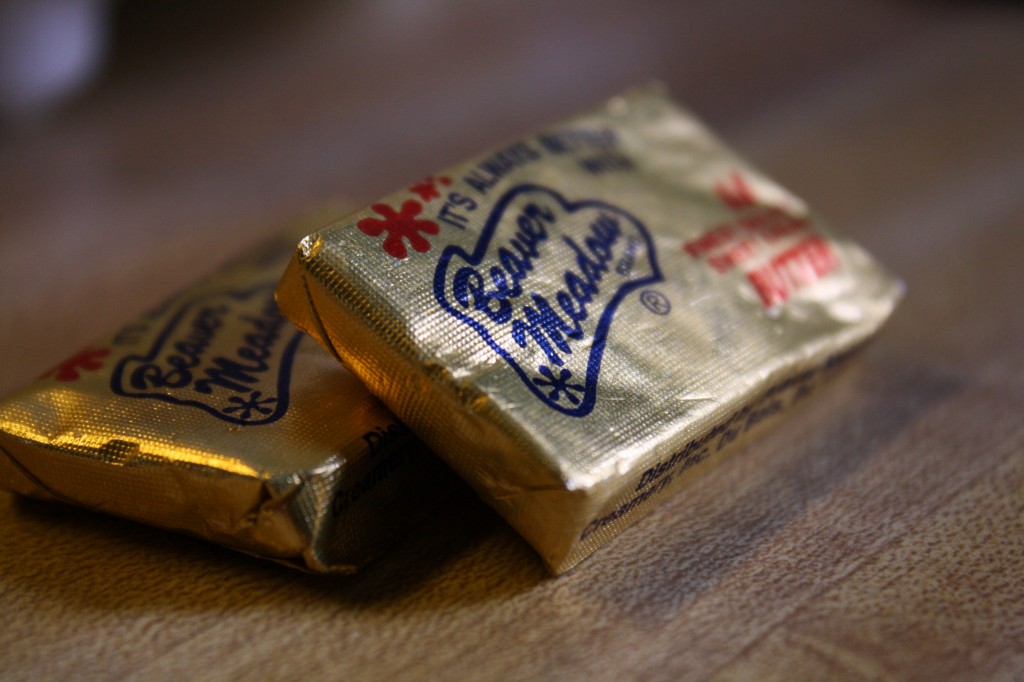
    So I wasn’t that surprised the day I opened the fridge and found the dairy drawer filled with a bag of about 100 pats of butter.  I found out later that she had rescued them from the aftermath of some luncheon for the purpose of a quick sauteé.
    Fortunately, although she is strict with her own cashflow, she’s limitlessly generous with her friends.  I was able to use many of the butter pats for the following recipe.

    Ingredients

    • 3/4 stick salted butter, chopped into chunks and left out to warm to just colder than room temperature
    • 3-4 cloves garlic, sliced and fried until crispy and brown in 1/2 Tbsp of butter
    • 2-3 Tbsp honey, or more to taste
    • 1/4 cup walnuts, finely chopped
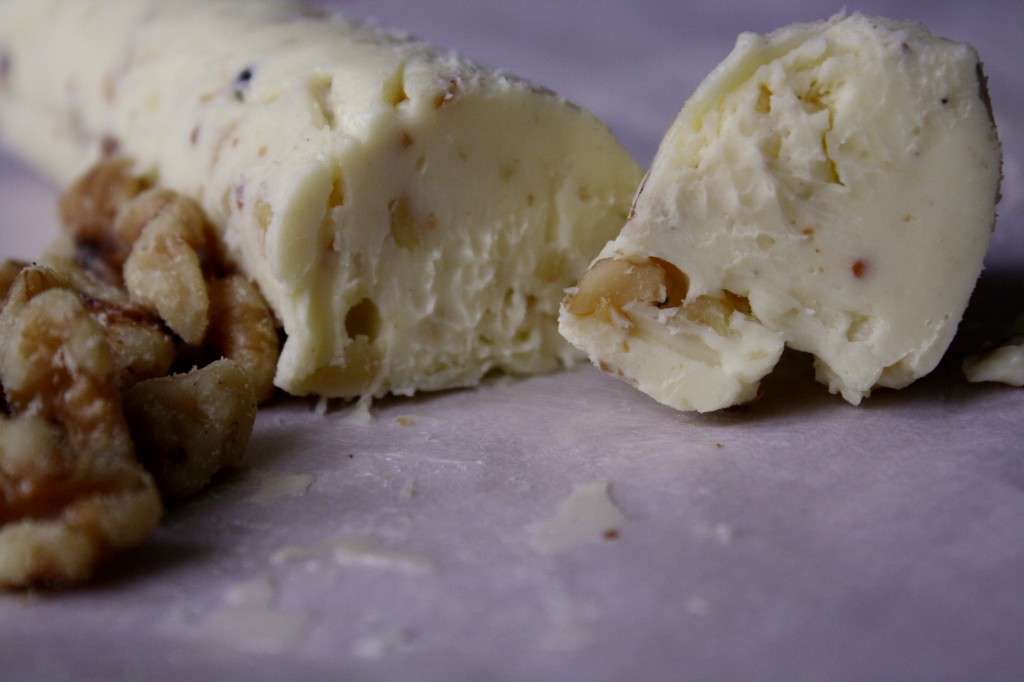
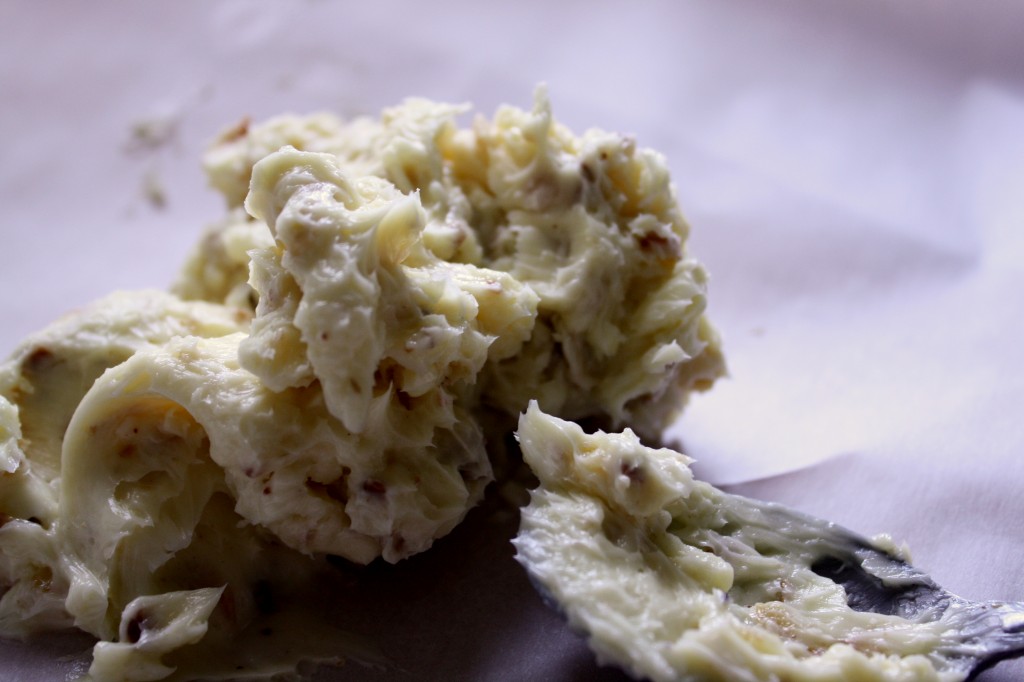
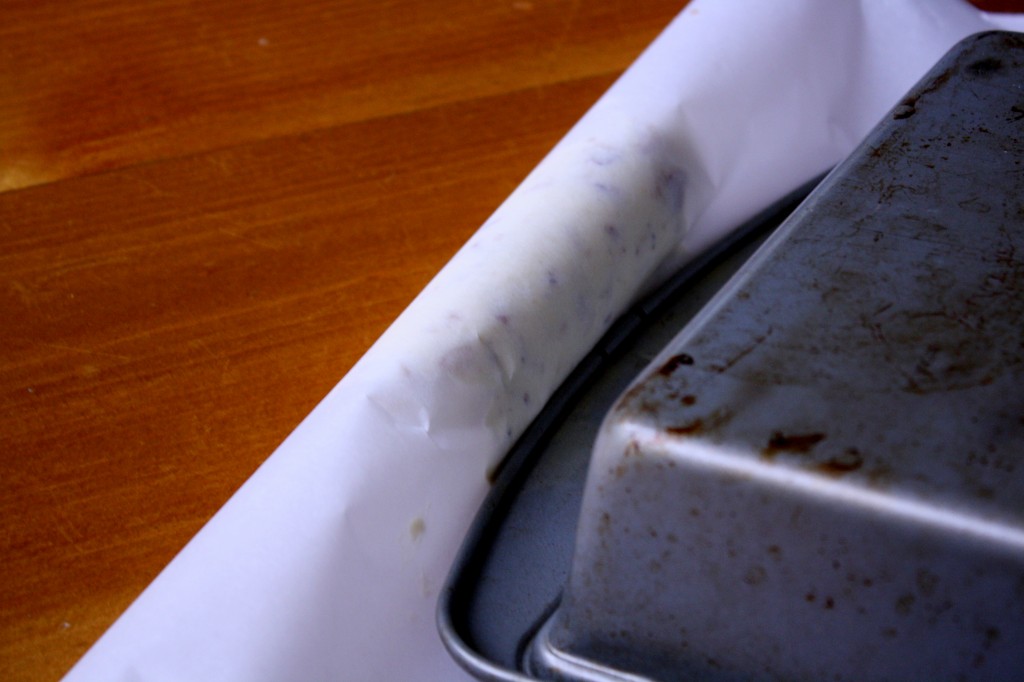
    This is actually a basic recipe for any kind of compound butter.  In a small bowl, whip the butter with an egg beater until it has lightened in color and taken on some air.  Bring it together with a spatula, add the other ingredients, and whip again.  If it softens enough to melt, stick it in the fridge for 10 minutes and then try again.  When the ingredients have been incorporated, dump the lot onto a piece of parchment paper.  Use the method below to squeeze the butter into a cylinder.  Wrap the ends of the cylinder like a piece of candy and store in the fridge.  Or, wrap the parchment with foil, put the foil in a ziplock, and store in the freezer.
    The garlic and honey taste amazing together — I’m imagining it on breakfast items like pancakes and buttermilk biscuits.  It’s also a great gift!

    Posted in Breakfast, Freezer, Sauce, Snacks, Vegetarian | Tagged , , , , | 2 Comments