Wheat Berry Salad in an Acorn Squash Bowl

CC: Two 20-something MS2’s with a past medical history of 6 years in Cleveland presenting with dueling bouts of panic and ennui, progressive over the past few weeks.
HPI: Symptoms improve on Fridays and with movies, but worsen considerably by Monday morning. Associated symptoms include wondering where the hell September went. Severe anaphylaxis to Block exams. No complaint of abdominal pain, nausea, night sweats, insomnia, or cognitive impairment, although it is assumed that these will surface by late October.
Leading Diagnosis: Calendar Diarrhea
Do the days seem to flow by unabsorbed?  Do you feel an absence of punctuation in the midst of endless studying and/or work?  For us, the only guilt-free treatment for calendar diarrhea is kitchen time.  We have to feed ourselves and each other: making the necessity into a pleasure slows down the day and makes it a bit more memorable.

Ingredients

  • 1 acorn squash, split in half
  • 1 tsp butter
  • 1 cup wheat berries
  • root vegetables: I used 1 red onion, 1 sweet potato, and 8 baby carrots cut into similarly sized pieces
  • 2 Tbsp of olive oil
  • 1 Tbsp of balsamic vinegar
  • 1/4 cup toasted sunflower seeds
  • 1/4 cup raisins (although cranberries would be better) optional
  • 1/8 cup feta optional
  • salt and pepper
Preheat the oven to 400F.  On the stove in a large pot, bring 2L of well-salted water to boil.  Drop the wheat berries in and cook until tender, about 40 minutes.  Meanwhile, place the butter in the bowls of the two acorn squash halves.  Place the halves in a loaf pan with an inch of water water in the bottom (they will steam as they cook).  Put the loaf pan into the oven.  Toss the vegetables with the oil and vinegar, add salt and pepper, then send those into the oven on a foil-lined sheet pan (the squash and vegetables should be on separate racks).  Every 15 minutes, open the oven to spoon the melted butter over the acorn squash and give the root vegetables a toss.  The vegetables should be done in 40 minutes, the squash may take a bit longer to become tender and browned.  When the vegetables and wheat berries are done, toss them with the sunflower seeds, raisins, and feta (and season as needed).  When the acorn squash is done, discard the pooled butter (or let it absorb), spoon the wheat berry salad in the bowl of the squash, and serve.
Posted in Vegetarian | 10 Comments

Veggie Wrap with Yogurt Dressing

In honor of Anita’s delicious homemade yogurt, and the fact that we’re actually ALLOWED to eat yogurt again, today’s recipe will highlight one of the many things you can do with delicious plain yogurt. As Anita mentioned in her last post, she often likes to add jam or brown sugar to sweeten up the slightly sour taste of plain yogurt. Another tasty option is to add real maple syrup and eat it plain or add it to pancakes. I’ve recently discovered (in other words, was informed by our friend Emily) that plain yogurt can also be substituted for milk and butter when making macaroni and cheese. It adds a nice tangy flavor to the dish and is healthier than butter…not a bad deal!

Now I realize this isn’t the best “back story” I’ve ever come up with, but the simple fact is I’ve come down with a cold, and for some reason it has zapped both my energy and my creativity. So I apologize for the brief introduction, but I hope the recipe speaks for itself.

What you need:

  • 1 cup plain yogurt
  • 1 tbs diced garlic
  • 1/3 cup crumbled feta cheese
  • 1 tsp za’atar (not necessary, but adds good flavor)
  • 1/4 cup olive oil
  • 1 tsp kosher salt
  • 1/2 tsp garlic salt
  • 3 sliced sweet peppers
  • 1 sliced onion
  • 1 chopped head of lettuce
  • 1 diced tomato
  • 1 cucumbers cut into thin strips
  • Flour tortillas (or pita pockets)

What you need to do:

  1. To prepare the yogurt dressing – mix together the yogurt, garlic, crumbled feta and za’atar. Set the mixture aside in the fridge to use later.
  2. In a bowl, mix the sliced peppers and onions with the olive oil, kosher salt and garlic salt.
  3. Spread out the mixture on a baking sheet and roast for 25 minutes at 350 degrees.
  4. While the onions and peppers are in the oven, cut up the lettuce, tomatoes and cucumbers, and set aside.
  5. Once the onions and peppers are roasted, place them, along with the lettuce, tomatoes and cucumbers on a tortilla (or in a piece of pita) and top it all off with a large helping of the yogurt dressing.
  6. Enjoy!

warning: do not eat string...

Posted in Vegetarian | Leave a comment

Homemade Yogurt

Non Case SOMers: There are more bacteria in your gut than cells in your body. Add to the party.
From August until tomorrow, Ari and I have been subjects in a clinical research study at the Cleveland Clinic.  We are too embarrassed not at liberty to disclose the details of the study (don’t worry, we were compensated for our suffering).  One thing I can say:  because it contains probiotics, we were not allowed to eat yogurt, one of our singular pleasures.  So. I’ve made a fresh batch in anticipation of our colonic liberation.
In many countries, making yogurt at home is standard.  My grandmother mixes a little yogurt into a vessel of heated milk, and the reliably warm Indian weather sets the yogurt overnight on the countertop.
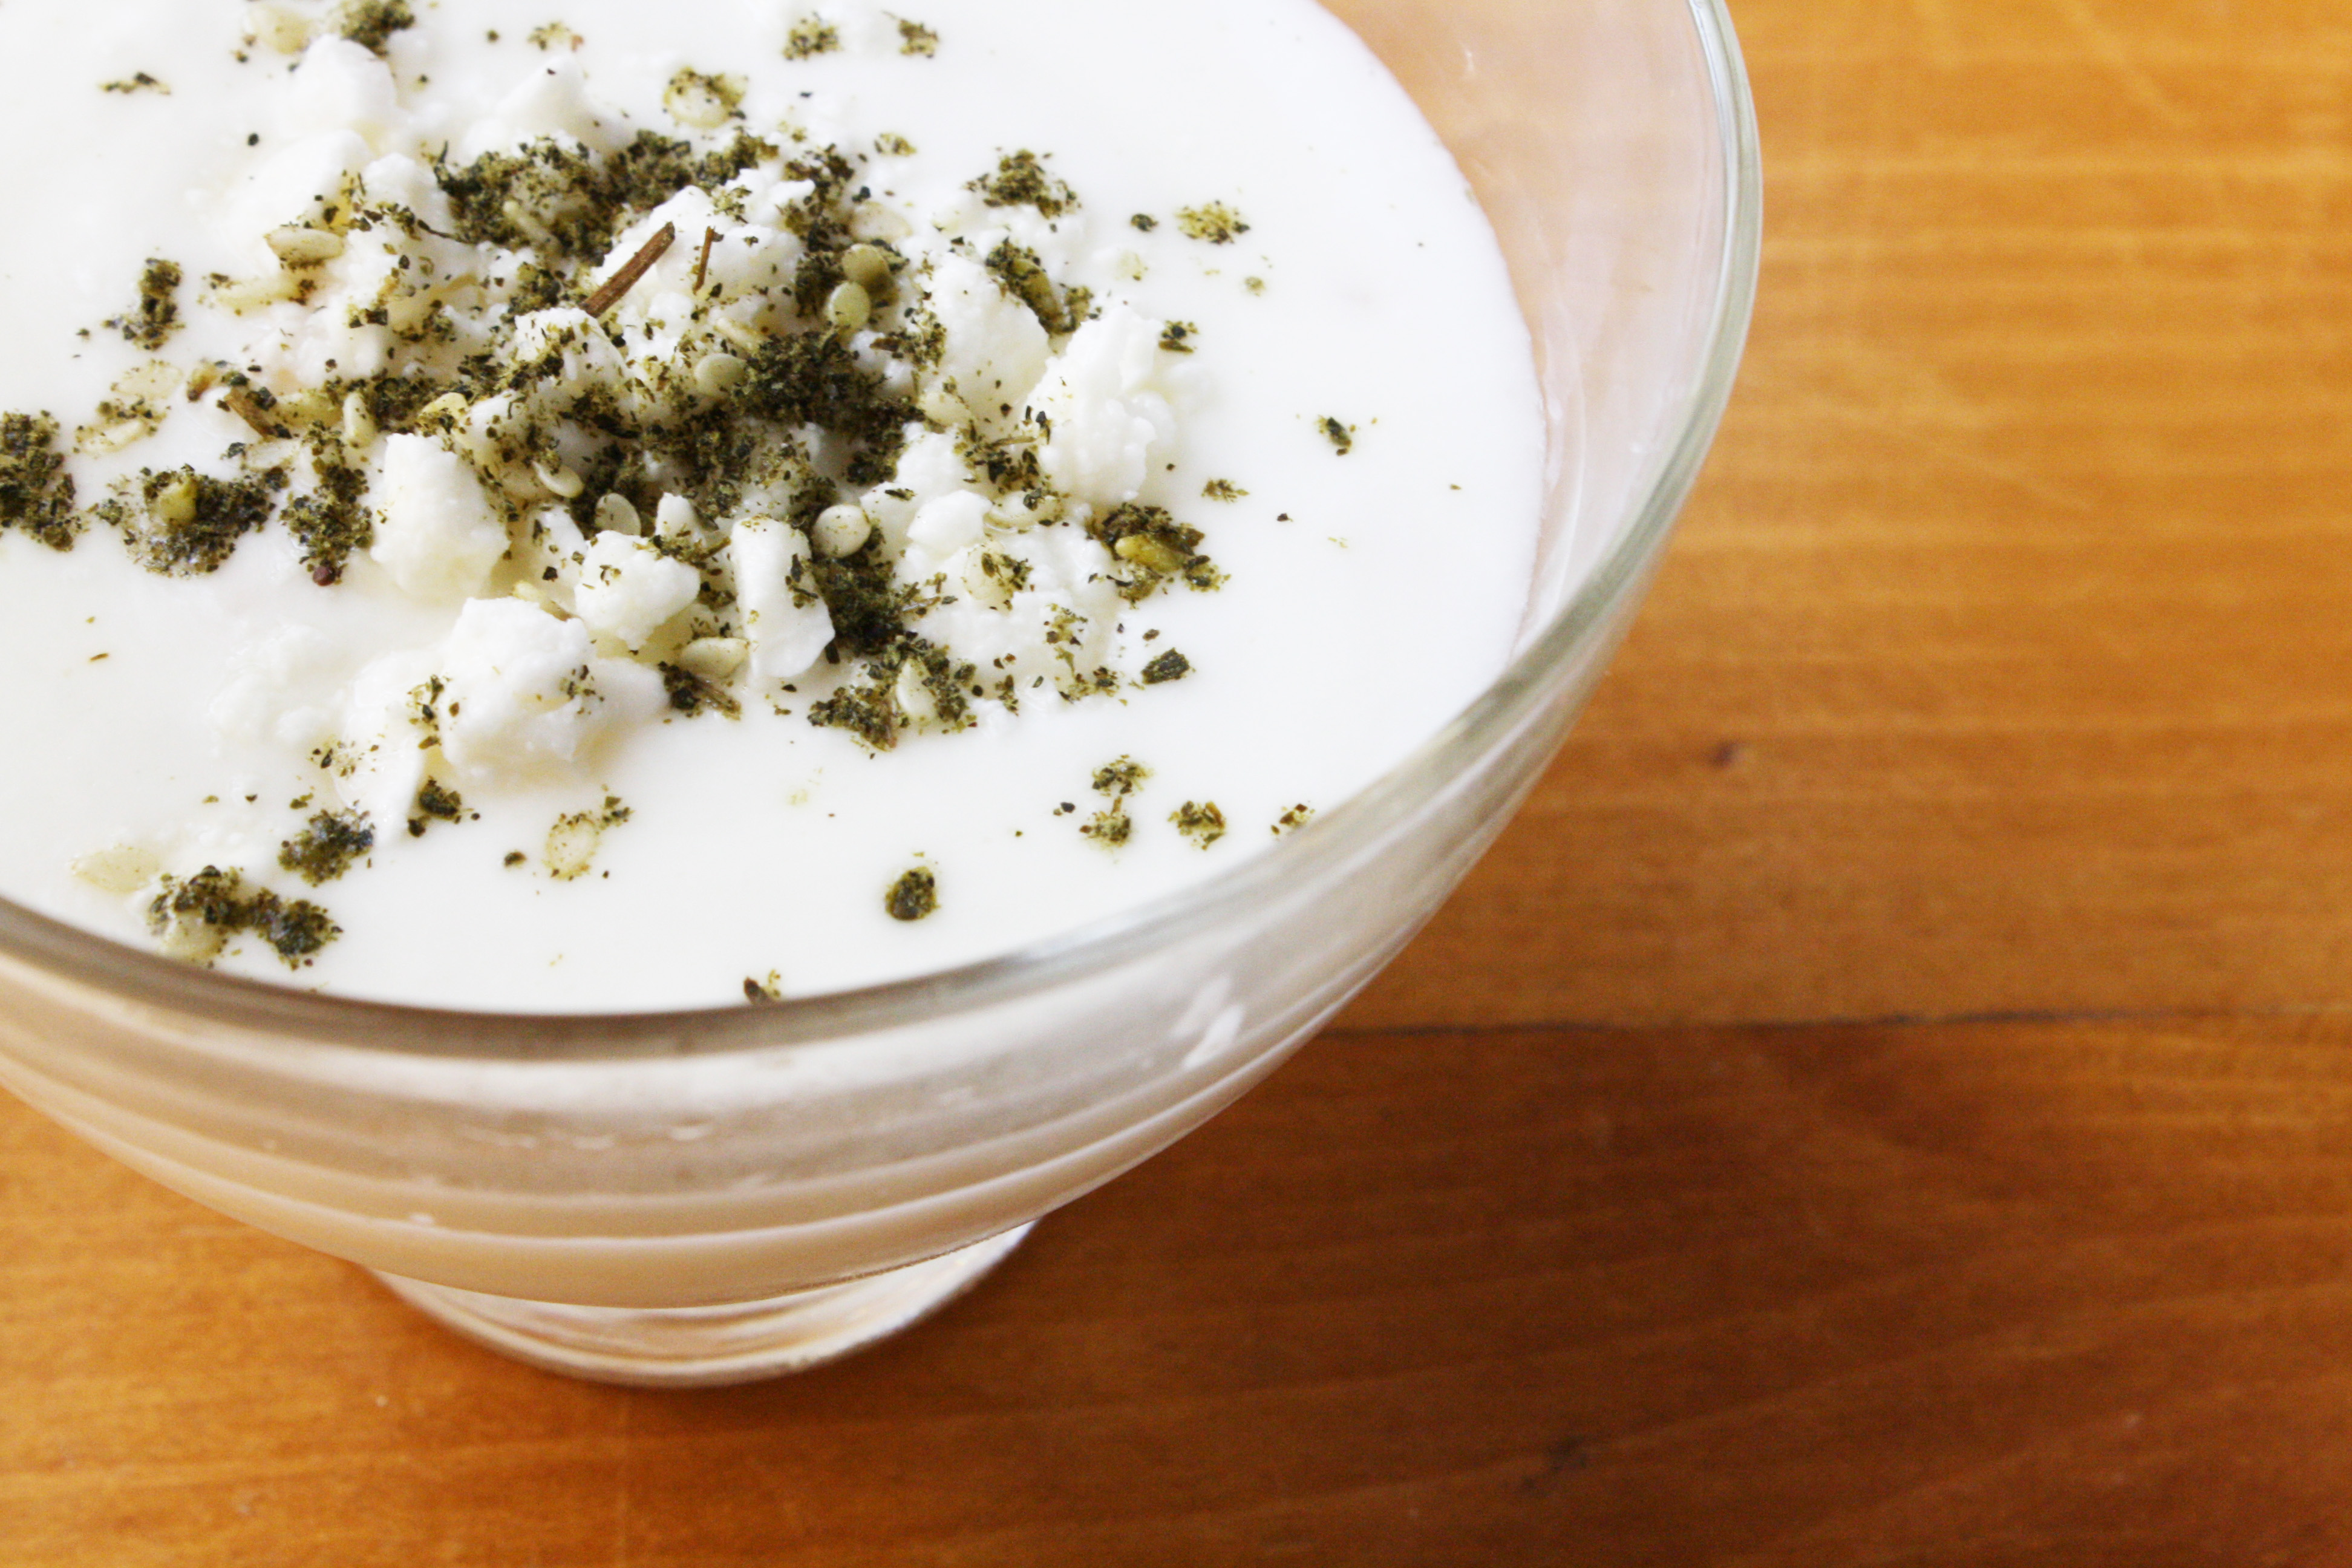
In the more meteorologically fickle American midwest, we have to resort to the yogurt maker.  It’s a glorified incubator, as unitask as it comes.  But it keeps the culture bacteria at a constant temperature so that it can fission forth and prosper.  The yogurt it produces is tasty, economical, and gut friendly.  I bought a Salton yogurt maker for $18 last year– it puts out 5 single servings of creamy yogurt per half-quart of 2% milk.  See below for a chart on how to get the level of tang that you desire. Yes: it only makes plain yogurt.  My favorite post-production additions are black raspberry jam or brown sugar in the morning.  Stay tuned for Ari’s post on Sunday – she has an even better use for it.

Ingredients (mostly hardware, really)

  • A yogurt maker.  Some people swear that the oven light or a thermos will set the yogurt just as well, but…meh.
  • A thermometer.  The Salton comes with one.
  • 2 pints (1/2 quart) of milk.  I use 2%, Vitamin D milk may come out even creamier.
  • 3 tablespoons of your starter yogurt (I use Erivan yogurt as my starter, but you can use any yogurt with active cultures listed in the ingredients).
Heat the milk on the stove in a pot big enough to leave a few inches between the surface of the milk and the rim.  When the milk starts to simmer, turn off the heat and place the thermometer into the milk.  When the milk falls to a temperature of 110F, thoroughly mix the yogurt starter into the milk.  I usually make the mistake of forgetting about the milk and it scalds and curdles a little bit.  To avoid the curdles from getting into my yogurt, I pour the yogurt-milk through a fine-mesh sieve into each yogurt cup.  Cap the cups and place them in your yogurt maker.  Leave the yogurt to set for your desired number of hours (I usually start it at 11pm and stop it at 7am).  Remove the yogurt from the yogurt maker and store it in the fridge for at least 2 hours before consuming.


Posted in Breakfast, Indian, Snacks | 2 Comments

Black Bean and Rice Soup

As the weather starts to get colder, I find myself craving warm foods. I’m already almost out of my favorite tea, and have just stocked up on bullion cubes. (Quick side note, whenever recipes call for chicken or vegetable stock, I usually try to use bullion cubes. Let’s face it, they’re not quite as tasty as the real thing, we’re med students and living on a pretty strict budget.) Fact is, there’s nothing quite like freezing your butt off then sitting down to a steaming bowl of soup or a warm cup of tea. Only problem with this is that the med student lifestyle doesn’t exactly lend itself to slaving over a stock pot for hours. Now the easiest option for fast soup involves resorting to the canned variety…but those never quite do it for me! They’re usually too salty, too creamy, too….something. Because of this, I’ve moved on to working with canned vegetables, bullion cubes, etc. in order to speed along the soup-making process, all the while giving myself the opportunity to cook something that definitely “does it for me.”
I think it’s important to note that with colder weather comes colds, fevers, chills, etc…and what’s goes better with a cold, than a nice bowl of soup? I made this particular recipe a couple days ago for a friend complaining of a sore throat, fever, etc. Just to warn you, this recipe has a bit of spice to it, but in my opinion, spice always makes me perk up a bit.

What you need:

  • 3/4 cup chopped green onions (or more if you want)
  • 4 cups vegetable broth (aka bullion cubes in boiling water)
  • 1 14 oz can of diced tomatoes with green chilies (undrained)
  • 2 4oz cans of chopped green chilies (undrained)
  • 1 14 oz can of black beans
  • salt and pepper
  • 3 cup cooked rice (I like jasmin rice or brown rice)
  • 1/2 cup cubed avocado (not necessary, but adds a good creaminess to the recipe)
  • 1/2 cup chopped tomatoes (more if you want)
  • Fresh lime juice
  • 3/4 cup chopped cilantro

What you need to do:

  1. Sauté the green onions in butter in a large pot (add some cilantro).
  2. Add broth, canned tomatoes, chilies, and black beans to the pot.
  3. Add some salt/pepper to taste (I usually only add salt).
  4. Simmer for 20 minutes.
  5. Serve with rice (in the same bowl).
  6. Add lime juice
  7. Top with extra onions, cilantro, avocado and fresh tomatoes.
  8. Enjoy!
Posted in Soup, Vegetarian | 1 Comment