No Knead Bread (with a Secret Ingredient)

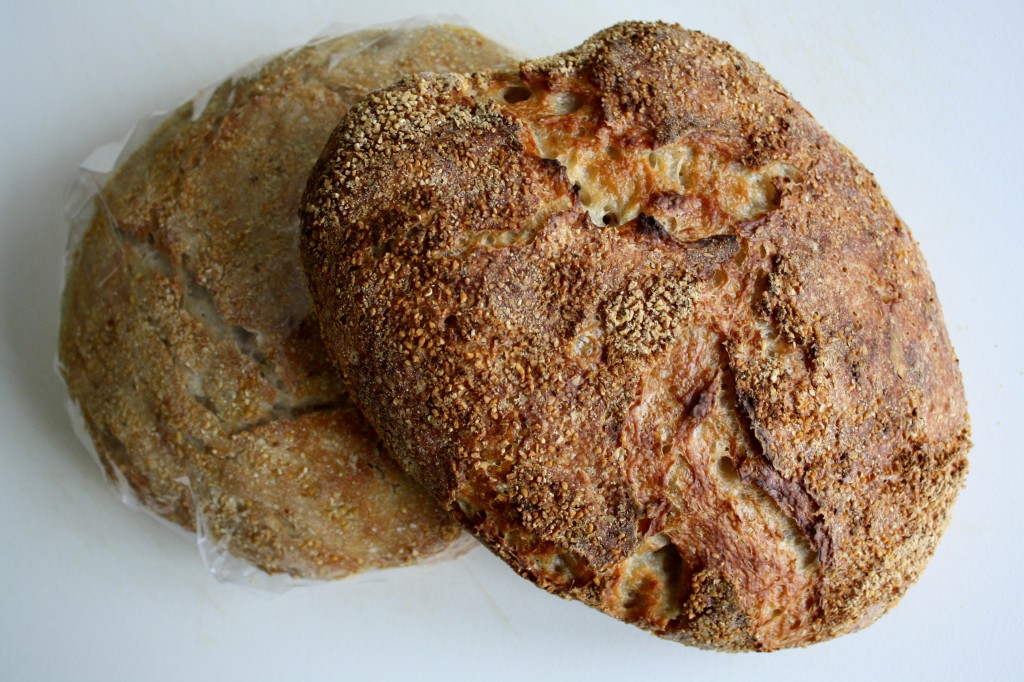
No Knead Bread was probably the most over-posted food blog carbohydrate of the last five years.  I first stumbled upon it in Smitten Kitchen, but then I saw it plopping out of bowls and into ovens all across the internet.  And it’s obvious why: three ingredients, 20 hours, and a covered pot later, you have a tearable hunk of airy, cornmeal-dusted bread.  And the slow rise gives the yeast time to really party down–by the time you’re ready to bake the dough your entire kitchen smells like beer.
Last winter, when I was still living by myself, I had a problem.  I didn’t want to pay for the gas to heat my apartment (while Ari is much thriftier overall, I can be a cheap b****** in some pretty impractical ways).  I woke up with a brain freeze a couple of times before buying a space heater and spending most of January and February in the fetal position.  As this was not a pampering environment for budding bread yeast, I took to sleeping with my bowl of dough at night to keep it warm until it had risen enough to bake.  A year later, this method has never failed me.
So there you have it: the secret ingredient is love.  Or maybe just a one-night stand.
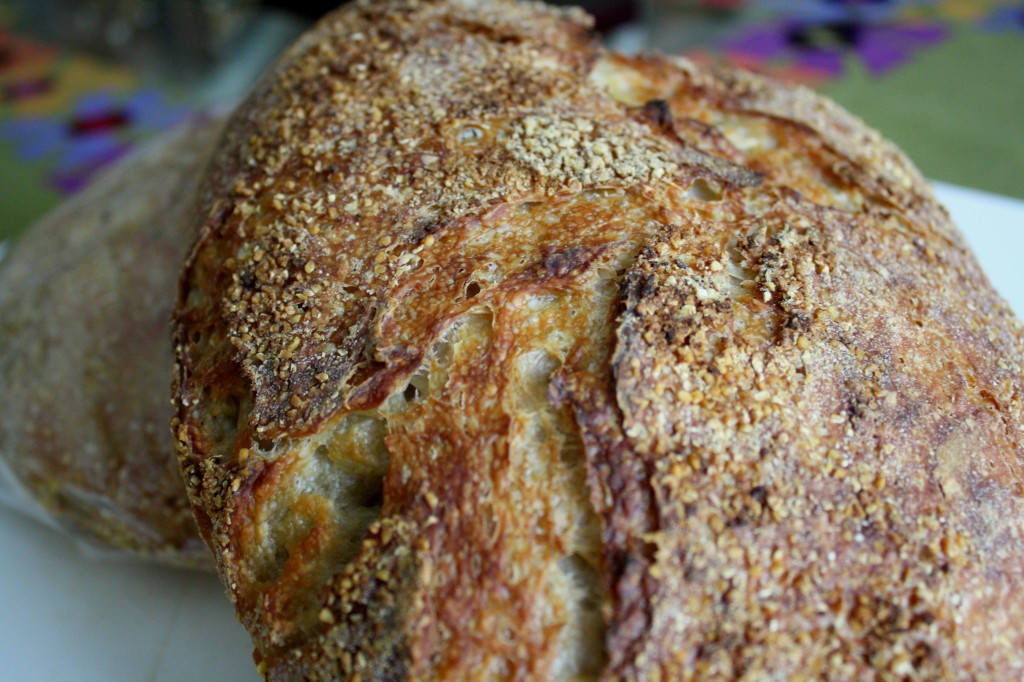

Ingredients (taken from Smitten Kitchen or any number of blogs)
  • 3 cups flour
  • 1/4 tsp instant yeast (use 2/3 more and bloom if you’re using rapid rise yeast)
  • 1 1/4 tsp salt
  • 1 5/8 cup lukewarm water
Mix the first three ingredients thoroughly in a bowl (use a larger one than you think).  Add the water, mix thoroughly to form a paste, and then cover with plastic wrap.  Let sit in a warm place anywhere from half a day to 20 hours.  Romancing the dough is optional, but the ambient temperature around the bowl should be 70F.  Don’t think you can just set the dough in front of your space heater, because it will dry out.
Cover a work surface with flour, empty the bowl onto it, and let rise with plastic wrap on top for 15 minutes.  Sprinkle a clean towel generously with flour or cornmeal (cornmeal has a really nice effect), and then gently ball up the dough and transfer it to the towel.  Fold one end of the towel over the dough and let rise another 2 hours.  Preheat your oven to 450F and put a casserole dish into the oven as it heats.  When heated, carefully transfer the dough from the towel to the dish and cover.  Let bake for 20 minutes (the bread should look fully formed) then uncover and let bake for another 5-10 minutes (the bread should look golden).  Cool on a rack.
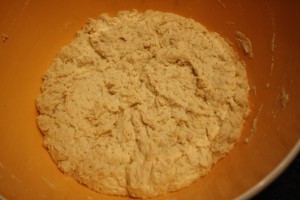
Fig 1: Dough in bowl (there should be more bubbles than this, this dough had to be proofed more)
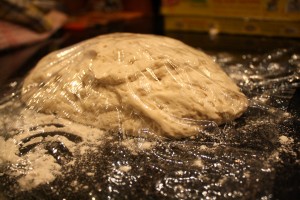
Fig 2: Dough during 15 min rise under plastic wrap
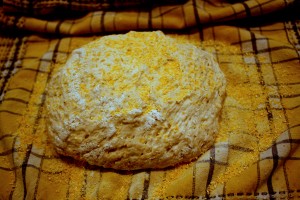
Fig 3: Dough after cornmeal but before the 2-hour final rise
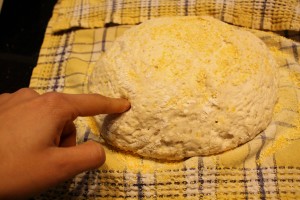
Fig 4: Testing the dough for spring-back before baking
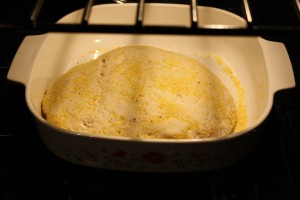
Fig 5: Dough in the oven. Don't forget to put the cover on for the first 30 min!

Posted in Snacks | 5 Comments

Mom’s Spaghetti Sauce

This time last week I was laying in a beach chair, soaking up the sun in 80-degree weather. Today I was sitting in my kitchen, wearing more layers of clothing than I care to admit and staring out the window at a foot of snow…it appears I have been transported from the tropics to the tundra. While my brain seems to be having a hard time adjusting to and accepting this change, my stomach as wasted no time in switching it’s cravings from fresh fruit and cool drinks to carb loaded warm foods and tea.
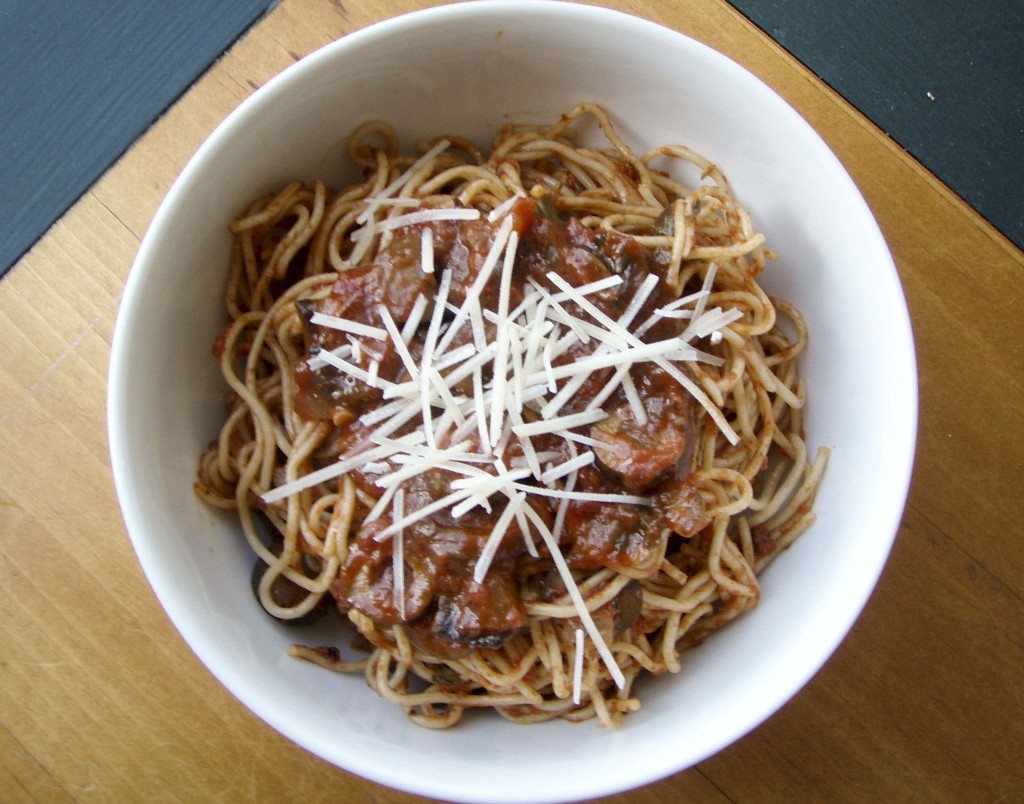
With my cravings for comfort food in mind, I am proud to present you with one of my favorite recipes of all time…my mom’s LEGENDARY spaghetti sauce. As a warning for those of you who prefer quick to prepare spaghetti sauce of a pretty homogenous consistency, this is not the spaghetti sauce for you. This sauce is full of chunky veggies and takes a little over 2 hours to prepare. You need to trust me though, the sauce is definitely worth the work you put into it. Plus, the recipe below is actually enough for 2 pounds of cooked pasta. I usually use half and freeze the other half so next time I’m craving comfort food, all I have to do is hit the defrost button on the microwave.

What you need:

  • 1 large chopped onion
  • 1 bundle of chopped parsley
  • 2 14 oz cans of olives, sliced
  • 1 lb of mushrooms, sliced
  • 2 28 oz cans of crushed tomatoes
  • 1/3 a bottle of wine (about 1 cup)
  • 3 bay leaves
  • 2 tsp of oregano
  • 2 tsp of sugar
  • 1 tsp of salt
  • 2 lbs of capellini (or 1 lb if you plan to freeze half the sauce)

What you need to do:

  1. Sauté the chopped onion in olive oil (enough oil to cover the bottom of the saucepan).
  2. In a separate frying pan, sauté the mushrooms in butter (about 1 tbs) and salt.
  3. Add the 2 cans of tomatoes, mushrooms, olives, chopped parsley, bay leaves, oregano, sugar, salt, and wine to the saucepan.
  4. Stir the contents of the saucepan and bring them to a boil.
  5. Once boiling, turn down the heat and simmer the contents for an hour and a half.
  6. In the last 10 minutes of cooking down the sauce, cook two lbs of pasta and prepare for a delicious meal (or just cook 1 lb and freeze half of the sauce).
  7. Serve the sauce on a bed of pasta and top with parmesan cheese.
  8. Enjoy!
Posted in Pasta, Sauce, Vegetarian | 2 Comments

(Lazy) Steel Cut Oats

Last year I lived alone in an apartment with the bedroom adjoining the kitchen.  My morning routine would last about 45 minutes, just long enough to cook a bowl of nutty, hearty steel cut oats that trumped any rolled or quick-cooking oat preparation.
I would toast the oats and heat the water as I brushed my teeth, let them simmer together while I showered, and complete the stirring/ingredient-adding in phases as I dried my hair and checked my email.  This year my bedroom is a floor above, and the morning routine consists of waking up sometime before 7:30 so Ari and I can run to class by 8.  The old oat routine has met its demise.
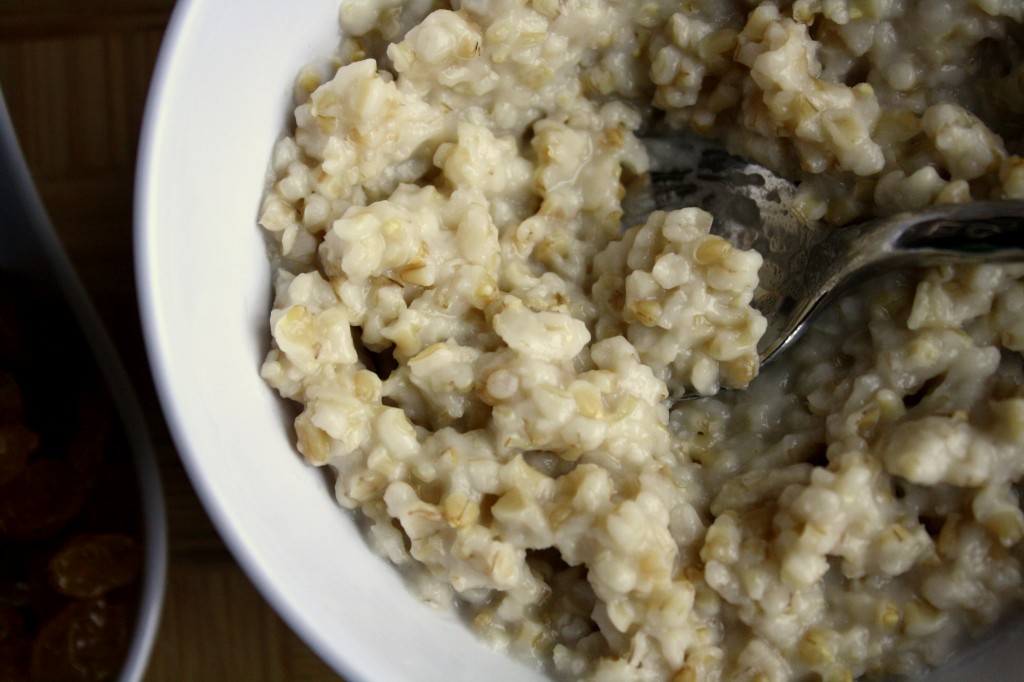
My dad still makes them for his own breakfast, so this is my attempt at a lazier cooking method–cooking the oats like rice.  I still had to toast them and add boiling water, but instead of simmering I cooked them on high until most of the water was gone.  I then turned the heat off and let the suckers sauna in their own steam.  The end product has the same texture with half the fussing.

You can make steel cut oats in big batches and refrigerate it, meaning that you can make these some night when you’re cooking dinner.  If you take out what you need, add some water and microwave it, it’s just as good as some made the same day.  1 cup of raw oats turns out about 3-4 breakfasts for me.

Ingredients

  • 1 Tbsp butter
  • 1 cup steel cut oats
  • 3 cups water

Optional:

  • 1 tsp salt
  • 2 Tbsp brown sugar
  • 1 tsp cinnamon
  • milk or soymilk (per serving)
  • raisins (per serving)
  • bananas (per serving)
Bring the water to boil in a pot.  As it reaches point, melt the butter in a pot that will hold twice the volume as the water.  When the butter has melted, toss the oats in and mix with a spoon.  Toast them in the butter on high until you get a nutty smell, 2-3 mins.  Add the now boiling water to the oats and cook on high without stirring until half an inch of water is left in the pot.  Important: keep the wooden spoon in the pot to prevent boil-overs. At this point, mix with a spoon to loosen oats from the bottom of the pot, turn off the heat, cover, and let sit for 15 mins.  Afterward, add salt, cinnamon, and brown sugar to your taste.  When reheating (see above), you can add milk, more sugar, and raisins.  Some people like maple syrup in their oatmeal too.


Posted in Breakfast | 15 Comments

Mexican Street Food

For the past four days I’ve been in Cozumel, Mexico spending some much needed time with vitamin D (aka lounging on the beach). To be honest, this trip has been so much more than that. Yesterday, I had the pleasure of celebrating the wedding of two of my best friends, Van and Jon. It was an absolutely beautiful wedding, and it was a good thing the bright sun permitted the use of sunglasses because we were all in tears (ah chem…that’s right boys, I saw you…we were ALL in tears).  It was a wonderful evening, and the perfect way to start what will undoubtedly be one of the most loving relationships I’ve ever seen.
Along with the wedding festivities, my friend Jackie and I decided to venture to the “mainland” today and visit the Mayan ruins. We left the resort with next to no idea as to how to get there, but after a taxi ride, bus ride, ferry ride and a lot of walking (all of which took about 3.5 hours), we made it to Tulum, Mx. Needless to say, it was breathtaking. It was incredibly tranquil and allowed for some quiet meditation…basically, a nice break from the normal rush and endless work of med school. We visited this magnificent site for three or four hours (on vacation you don’t have to wear a watch), then decided to make our way back to the island.

Before hopping on the ferry to head back to the resort, we stopped at an unassuming building for some delicious Mexican food. If you know me at all, you know that I’m obsessed with the Latino culture. My obsession is centered around the language, tradition, and especially the food. So this tiny restaurant was basically a dream come true for me. For only 30 pesos (about $2.40) we were served fresh tortillas, beans, rice, chorizo with vegetables and horchata. The horchata was a new experience for me. It’s a cool drink comprised of rice milk, nutmeg, sugar, and what I must assume is a little bit of cinnamon. It’s a refreshing drink that goes perfectly with spicy chorizo (topped with habanero sauce of course). While this post will not be revealing the recipe for this dish, it is somethign that I am going to have to attempt to recreate at home, and once I’ve managed to make something at least partially as good as this meal, I promise to share it with all of you. Until then, I will have to leave you with some tasty pictures, and the simple phrase, “hasta luego!”

Posted in Non Recipe | 1 Comment