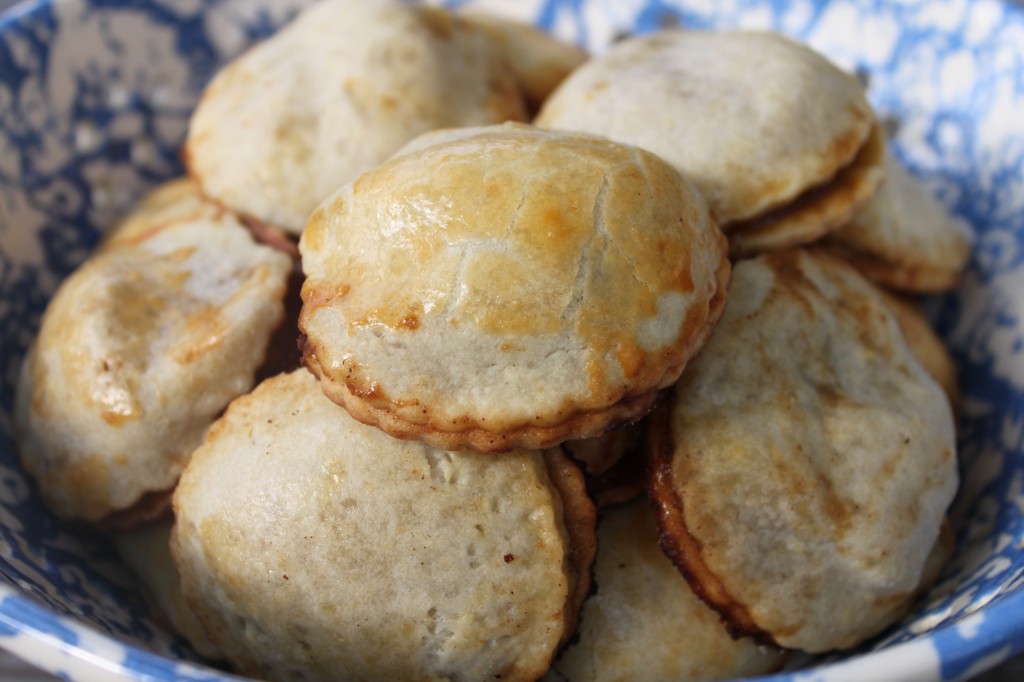
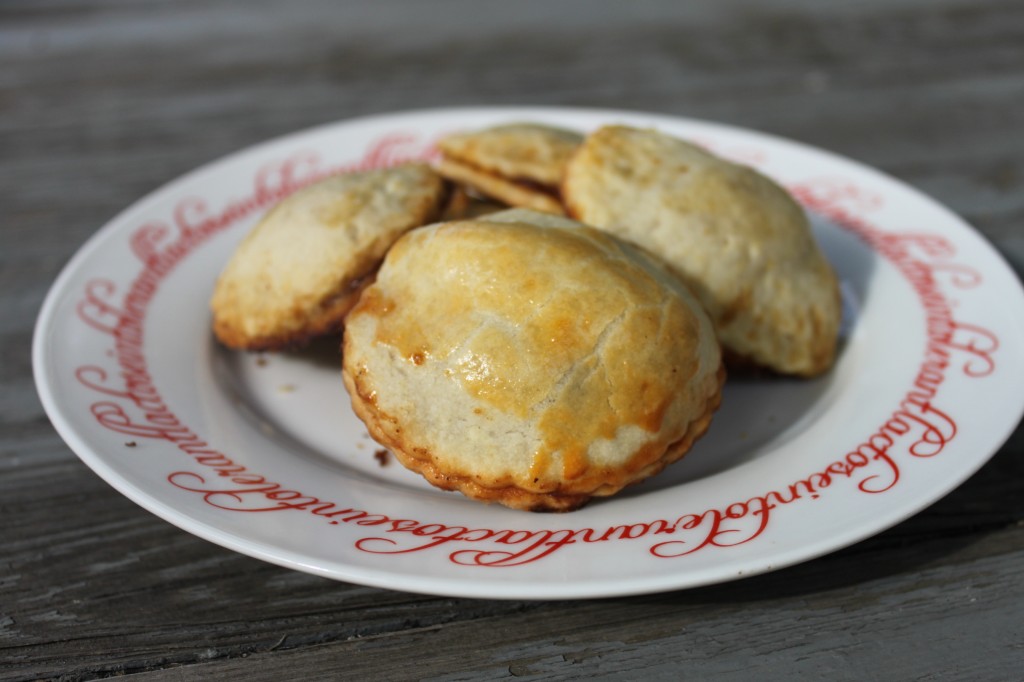
Apple Pie Puffs – a pomaceous adventure

I’ve said it once, I’ll say it now, and I can all but promise I will say it again – I am NOT a baker. I try to convince myself this is not the case, but every time I try out a new recipe that requires any amount of baking, I hear that little voice in the back of my head whispering “you’re not good at this, remember?” I’ve gotten really good at ignoring that voice.
This is how my baking experiences usually go…
I’m sitting at my computer, catching up on my favorite food blogs (aka procrastinating). Suddenly a recipe catches my eye, and I begin to salivate. I need it. I want it. I MUST try to make it! Okay, maybe it’s not that intense, but you get the idea. I tell myself, “Wow! This recipe is prefect! Ian just dropped off all those tasty apples (stay tuned for Anita’s thrilling account of how we came across such a lovely gift), and I’ve been waiting for an opportunity to use the word ‘pomaceous’ in a post.” So begins my delicious disaster…
That’s no joke about the word “pomaecous“. It was Merriam Websters word of the day 2 weeks ago and I’ve been itching to use it every since. Anyway, back to the story.
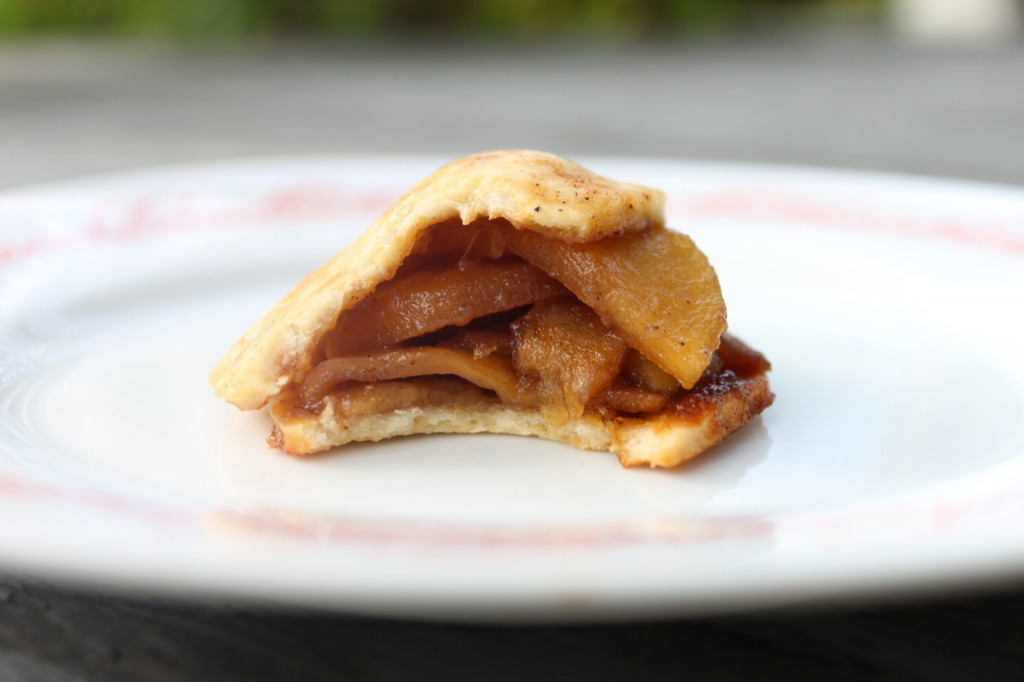
I head to the kitchen, pull out everything I think I’m gonna need, and set to work. I start off strong. I manage to peel and core all the apples without the loss of any of my fingers. I’m ready to start caramelizing my apples…and then things take a turn for the worse. Just an FYI, I am horrible at reading ingredient lists, and I think this is part of the reason I’m such a mess when it comes to baking. I misread tablespoon for teaspoon, baking soda for baking powder, or (like today) mix up the butter amounts for two different recipe. I start off by melting a whole stick up butter only to realize a few minutes later the recipe called for 3 tbs. Oh well. At least I caught that one early! I pour most of the butter into the sink and add some sugar to the pan…things start to smell funny. I figure that’s what’s supposed to happen so I throw in the apples. Nope. It’s not supposed to smell funny. I burned the sugar. Suddenly the engineering part of my brain kicks in…I toss my handy-dandy strainer into the sink, pour my burnt-sugar coated apple slices in the strainer and turn on the water. Okay, my apples are a little soggy, but at least they don’t taste like chemicals anymore. I start over, this time being sure to add the right amount of butter and watching the sugar a little more carefully. Finally, I have some delicious caramelized apples. On to the crust!
Sure enough I hit my first crusty road block as soon as I checked the ingredient list. Oops. We’re all out of powdered sugar. Thankfully my engineering brain kicks in again, and I throw a little granulated sugar into the food processor – voilá! powdered sugar. I mix together my flour and sugar, add my butter and egg yolk, and without giving it much thought I pull out my hand mixer…bad idea. Within seconds, there is flour everywhere. I look back at the instructions and the words “pastry cutter” jump out at me. Once again, oops. Okay, pastry cutter in hand (thankfully Anita had one) I make my first crust ever.
The actual baking process goes pretty well from here on out. Granted, they don’t turn out nearly as pretty as I was expecting, but they are absolutely delicious. When it comes time to take pictures, I hide the ugly ones on the bottom and pick my favorites to show off on top (If this is any indication of the future, I’m very concerned for any children I might have… ). As soon as I take my first bite, all thoughts of the 3 hours spent covered in flour, yelling at the burnt sugar are forgotten…It really wasn’t that bad. I could totally do this again.

(recipe adapted from The Purple Foodie)

What you need (makes about 20 puffs):

For the caramelized apples:

  • 4 apples (I used granny smith and gala)
  • 3 tbs butter
  • 1/4 cup granulated sugar
  • 1/4 cup brown sugar
  • 3 tbs apple sauce
  • 1/2 tsp vanilla extract
  • 1 tsp cinnamon
  • 1 pinch salt

For the crust:

  • 1 1/2 cups flour
  • 3 tbs powdered sugar
  • 1 stick butter (cold and cut into chunks)
  • 1 egg yolk, beaten
  • cold water to combine the dough

What you need to do:

  1. Peel and core your apples, cut them into thin slices and set aside.
  2. In a large, non-stick frying pan, melt the butter, then add the sugar. Keep a close eye on the sugar to make sure it doesn’t burn.
  3. Once the sugar has dissolved and starts to turn a light brown (I find it really helpful to keep stirring while it dissolves), add the apple slices, apple sauce, vanilla, cinnamon and salt. Stir so that everything is evenly mixed.
  4. Let the caramelized apples sit on the stove for about 7 minutes until they are softened but still have some bite…let’s call them al dente.
  5. Set the apples aside to cool.
  6. In a large mixing bowl, combine your flour and sugar.
  7. Add in your butter chunks and egg yolk, and combine with a pastry cutter (NOT a hand mixer). If you don’t have a pastry cutter, you can probably use a large fork, but that might take a while. Continue mixing till it’s crumbly.
  8. Adding about a tablespoon of cold water a time, continue mixing the dough until it is just wet enough to hold together (I needed about 4 tbs).
  9. Place the dough in the freezer for 10 minutes.
  10. While the dough is setting, preheat your oven to 350 degrees.
  11. Roll out your dough to about the width of a dime and cut it into small circles or squares. Place about 1/2 tbs of caramelized apples in the middle of a piece of crust, top with a second piece of crust and crimp the edges with your fingers.
  12. Brush each puff with some egg wash and bake for 8-10 minutes (might be longer depending on how many you bake at once).
  13. Let cool, and enjoy!
Posted in Dessert | 4 Comments

(Virgin) Cucumber Mint Mojitos

I’m proud to admit that Cleveland is not a tourist location.  If you browse a Cleveland website, you’ll read about the pro sports teams, the Rock & Roll Hall of Fame, Severance Hall, the Museum of Art.  After that, unless you’re a sleuth or have a local guide, you might miss the entire city.  It has taken Ari and me almost six years to stake out our favorite spots — from the view of the city from the Lakeview Cemetery’s Garfield monument to the beer-butter mussels at McNulty’s Bier Markt in Ohio City.  I’ll be surprised if we feel like we’ve wrung Cleveland dry of new things to do by the time we graduate.  Well, there’s always residency…
Here is a recipe for a Happy Hour, designated-driver drink created by a friendly waiter at the Lava Lounge in Cleveland.  When we were ready to order, he admitted that he was sick and tired of the happy hour specials, and offered to let us try his own creations.  You can add the white rum if you like, but the joy of a new discovery was enough of a mellower that evening.

Ingredients

  • 1 lime, quartered
  • 4 (or more) sprigs fresh mint leaves
  • Simple syrup, to taste (boil 1 cup sugar in 1/2 cup water until dissolved, let cool, store in an airtight container in the fridge for use in many cocktails)
  • 2 slices cucumber
  • 6 cubes ice, or as needed
  • 4 fluid ounces club soda
  • 2 fluid ounces white rum (completely optional)
Squeeze the lime quarters into a glass, and drop the limes into the glass. Add the mint leaves. Muddle well with the back of a spoon or with a muddler (or a pestle). Place the cucumber slices into the glass, and fill with ice cubes. Pour in the rum (if you’re using it), simple sugar syrup, then top off with club soda. Stir gently and serve.
Posted in Drinks | 3 Comments

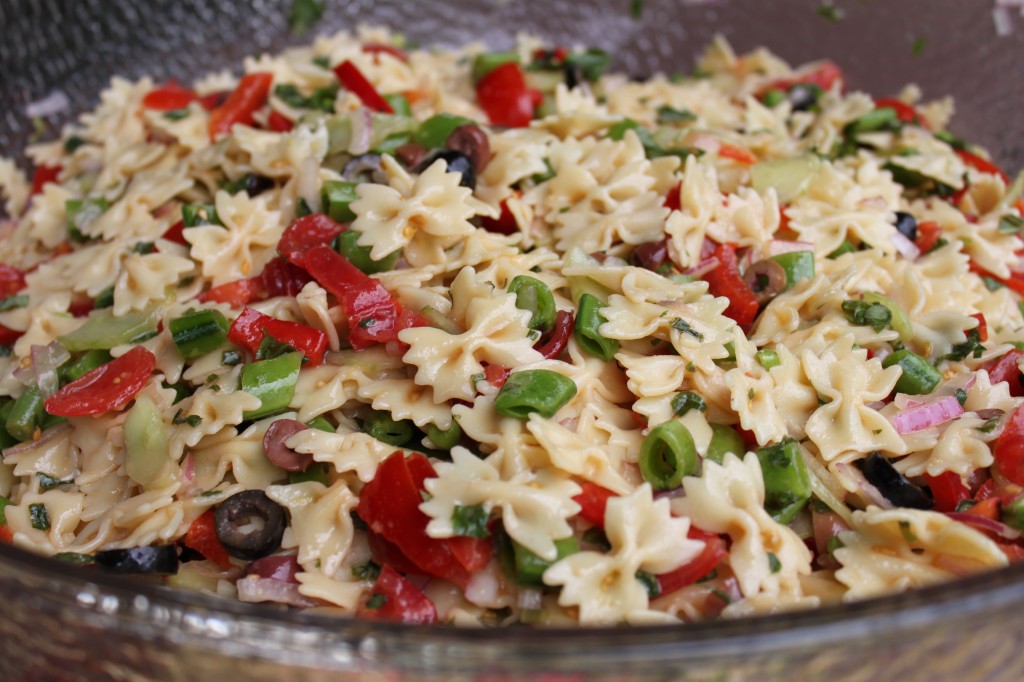
Lemon Basil Pasta Salad

To say that I come from a family of strong, independent women would be a major understatement. I have spent my last 23 years with an ample supply of female role models – women who have found their calling in life and pursued it with not-so-reckless abandon. Whether they are dancers, carpenters, teachers, singers, beekeepers, or businesswomen, they are women I look up to and am proud to call my mom, sister, aunts, cousins…oh yeah, and my grandmother.
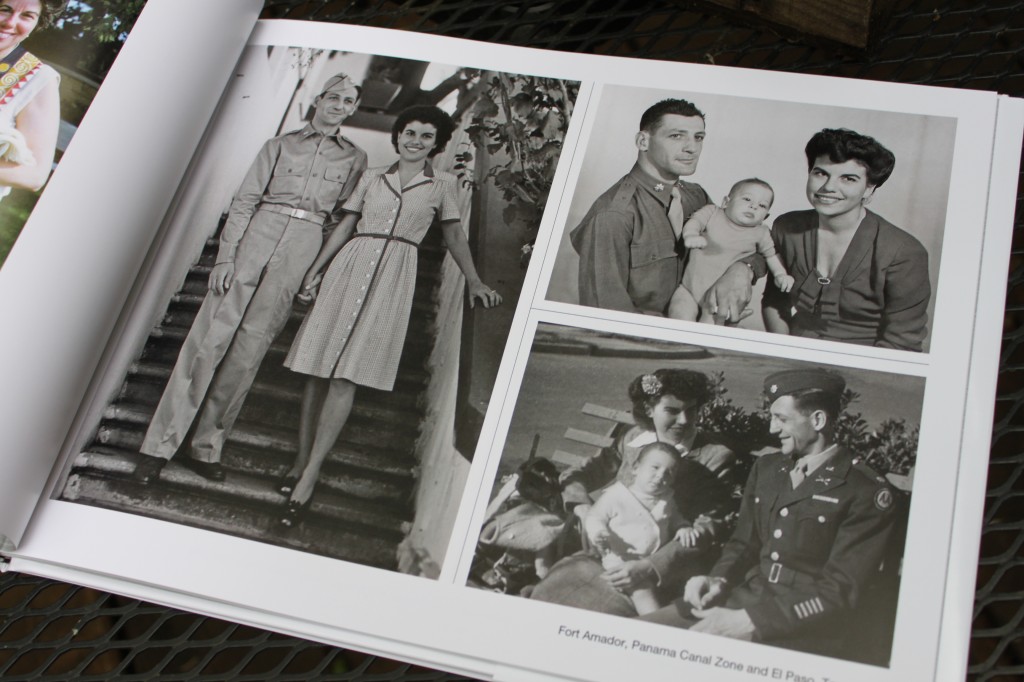
I spent the past weekend with this incredible group of women, celebrating one of them in particular – my Amama (grandmother), Ms. Zelia Goldberg. May 28th marked her 90th birthday and the majority of my extended family gathered in Minneapolis to celebrate her life and all that she has done for us.

This jam-packed weekend was filled with trips to the park, visiting with family members I hadn’t seen in many years…oh…and eating. I think it’s a pretty safe to say that most of our important family events are centered around food…and birthdays are no exception. We did a family Shabbat dinner, a fancy birthday dinner, a large picnic (hence the pasta salad described below), a pizza party, and brunch (what kind of a Jewish family would we be if we didn’t have a brunch well stocked with lox and bagels?). As part of the celebration on Saturday night, each family member stood and told a favorite memory they have of Amama, or a life lesson they learned from her, and I’ve decided to use this post as an opportunity to share mine.
My favorite story about my Amama is one that actually that took place about 65 years before I was born…
When my Amama was a little girl growing up in Panama, there were certain foods that, while staples in our kitchens today, were hard to come by in the early 1920s.  One fruit in particular, apples, were a favorite of Amama’s. It was always a treat when her father, my Papa Ben, would bring some home. She would beg her parents to let her eat one, but they would insist that she wait till later. After hearing this enough times, she decided to take matters into her own hands. She decided that if she took a small bite out of each apple and then placed them back in the bowl so they looked untouched, no one would ever know what happened! As with all brilliant plans formulated by 6-year-olds, this one kinda fell through, but I feel like it really highlights my Amama’s undeniable creativity and her appreciation for the beautiful (and delicious) things in life – two personality traits that I like to think I inherited from her.

What you need:

  • 1 lb mini farfalle (bowtie) pasta
  • 2 cup chopped sugar snap peas
  • 2 cups diced fresh tomatoes
  • ½ red onion thinly sliced
  • 3 thinly sliced red peppers
  • 1 cucumber, sliced
  • 1 cup olives sliced (black or kalamata olives – I used both)
  • ½ cup lemon juice
  • ¼ cup rice vinegar
  • ¼ cup shoyu (or soy sauce)
  • ½ tsp garlic powder
  • 1 tsp kosher or sea salt
  • ¾ cup minced fresh basil
  • Rind shavings from ½ of a lemon
  • Crumbled feta or goat cheese (not pictured above)

What you need to do:

  1. Boil a pot of water for your pasta. Cook the pasta and then set it aside to cool.
  2. Chop up your vegetables according to the ingredient list and mix them in with the pasta.
  3. In a separate bowl, mix together the lemon juice, rice vinegar, shoyu, garlic powder, sea salt, basil and lemon rind shavings. You might want to add a little extra salt depending on your preference.
  4. Toss the pasta and veggies with the dressing.
  5. Top with cheese.
  6. Find yourself a nice picnic bench and enjoy!
Posted in Pasta, Vegetarian | 1 Comment

Flatbread (Naan)

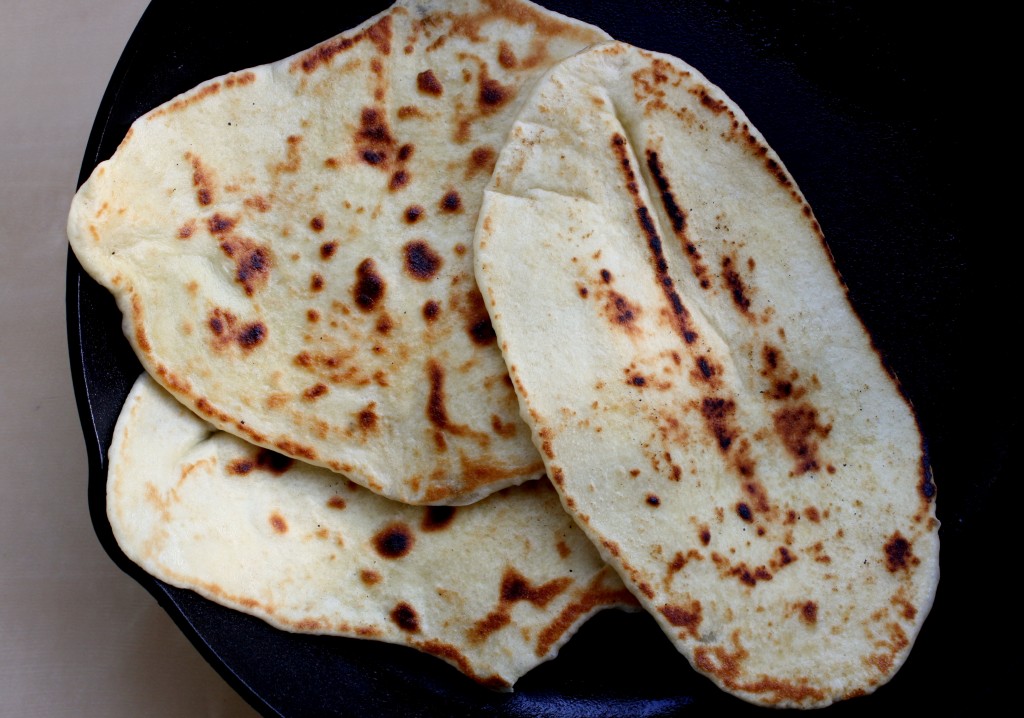
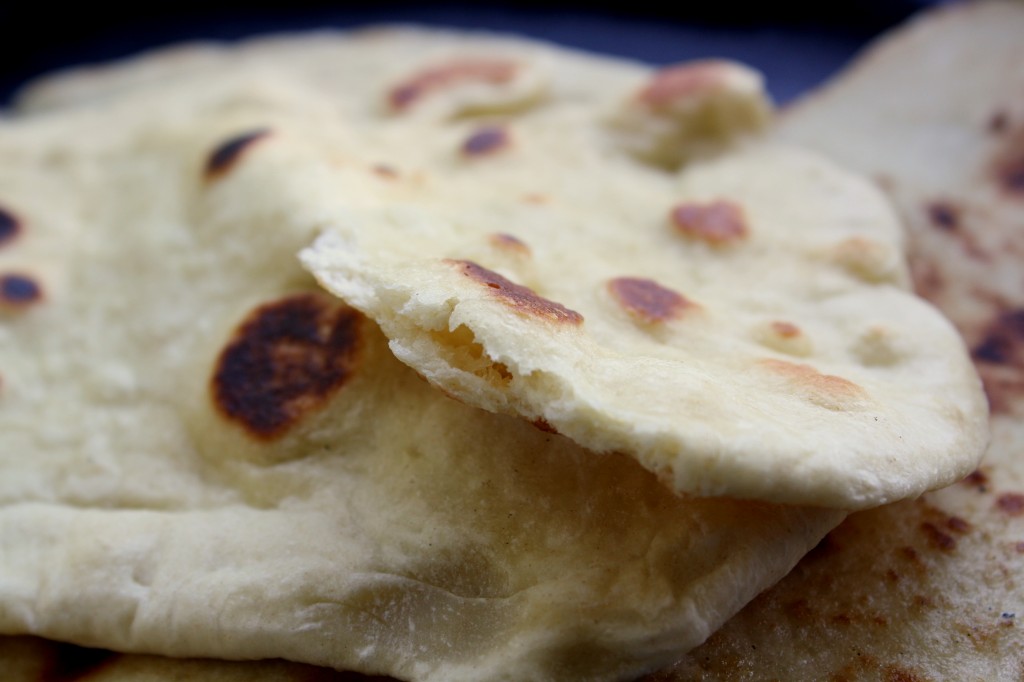
This evening I had one of those “mommy wow I’m a big kid now” moments as I watched my first successful naan bubble and animate on the skillet.  Of all Indian food, naan is definitely the most beloved in the US — it has a toasted, buttery exterior and a feathery, pillowy interior that seems to beckon long after the main dishes are finished.  Unfortunately, it’s also the hardest to fake.
Traditionally naan is made on the side of a hot tandoor, a clay oven that can get up to temperatures of 800F.  Try the same thing with dough this thin in the 500F of a conventional oven and you end up with a large cracker.  Enter the cast iron skillet — I have no idea how hot it gets, but unlike most skillets it can take extremely high sustained heat, just the thing to roast the naan without overcooking the interior.  Because I think I can improve on the flavor and make the thing even fluffier, I’m going to provide the recipe now and do a full run-through next week.  Stay tuned!

Ingredients

  • 2 tsp sugar
  • 1/2 packet of active dry yeast
  • 1/4 +1/4 cup lukewarm water
  • 1 3/4 cup AP flour
  • 1 Tbsp salt
  • 2 Tbsp olive oil
  • 2 Tbsp melted butter
Combine the sugar, yeast, and 1/4 cup water in a small bowl, and stir to combine.  In about 5 minutes there should be a foam forming on the top of the mixture; if not your yeast are probably too cold or too dead.  In another bowl, combine the flour and salt thoroughly.  Mix 1 Tbsp of olive oil into the yeast, then add the yeast mixture into the flour mixture.  Use the second 1/4 cup of water to rinse the yeast bowl, and empty that into the flour mixture too.
Use a wooden spoon to mix into a shaggy dough, then plop it onto the counter and start kneading.  At first the dough will seem hard to handle, but keep kneading it and the gluten will hold it together over time.  Knead for at least 12 minutes — at the end the dough should be relatively smooth, with the tackiness of a post-it note.
Gently roll it into a ball with your hands.  Put 1 Tbsp of olive oil into a clean bowl, put the dough inside, and gently move the ball to coat it with olive oil.  Cover with plastic wrap and let sit on the counter for 1-3 hours (I waited 1, next time I will wait 3).
After that, take out the dough and punch it down.  Pull lemon-sized pieces from the ball, and use a rolling pin to roll the dough out as thin as possible.  Heat your skillet over a medium-high flame for 3 min, brush some butter on the rolled-out dough, then place the dough on the skillet butter side down.  Go ahead and spoon some butter on the up-facing side, and use the back of the spoon to spread it around.
Each side should take less than 5 minutes; periodically check underneath to see if there are charred sections.  When the naan is done on one side, flip to the other side, and when that is done transfer the naan to a cooling rack.


Posted in Indian | 4 Comments