Sautéed Kale

Ten Labor Day weekends have passed since I moved out of my parent’s house (I know that sounds like a lot of years, but remember, I went to boarding school for high school), yet 9 of those 10 have been spent at home. As much as Thanksgiving and the winter holidays are widely recognized as “family holidays”, I feel the need to lump Labor Day into that grouping as well. I know that Labor Day itself doesn’t really have anything to do with togetherness (in fact, I didn’t really know the purpose of the holiday until I looked it up on Wikipedia…apparently we are honoring those who work…does homework fall under that category of work?), but nevertheless it is a 3 day weekend that I always look forward to as the last weekend of summer I get to spend with my family. I know there are still a few more weeks of good weather to look forward to once I get back to the Cleve, but I won’t be spending any of that time at home. Labor day weekend is the last chance I get to swim in the lake (which we do even when the air temp has dropped down to the low 60s), the last chance to eat fresh veggies from mom’s garden, the last chance to check out the bees (mom and dad are extracting honey next weekend), and the last chance to try to coax my brother into taking a trip with me to see the 20 pound rabbits at the county fair (for the record, I did not succeed on that last one).
This Labor Day weekend was a little sad for me since I’m not sure how many more of them I’m going to have at home. It’s pretty unlikely I’ll have the time off during 4th year, and who knows what the first couple years of residency will have in store for me, but as my mom always reminds me, it’s important to stay in the moment. So that’s what I did this weekend. I enjoyed every minute of the trip home. Whether dad and I were cooking while listening to the Gypsy Kings or mom and I were stopping at our 6th garage sale of the day, I stayed in the moment. I didn’t let myself think about what kind of work was waiting for me in Cleveland or whether or not I was going to get to do this again next year. I just let myself appreciate the people (and the food) that make this weekend so enjoyable.

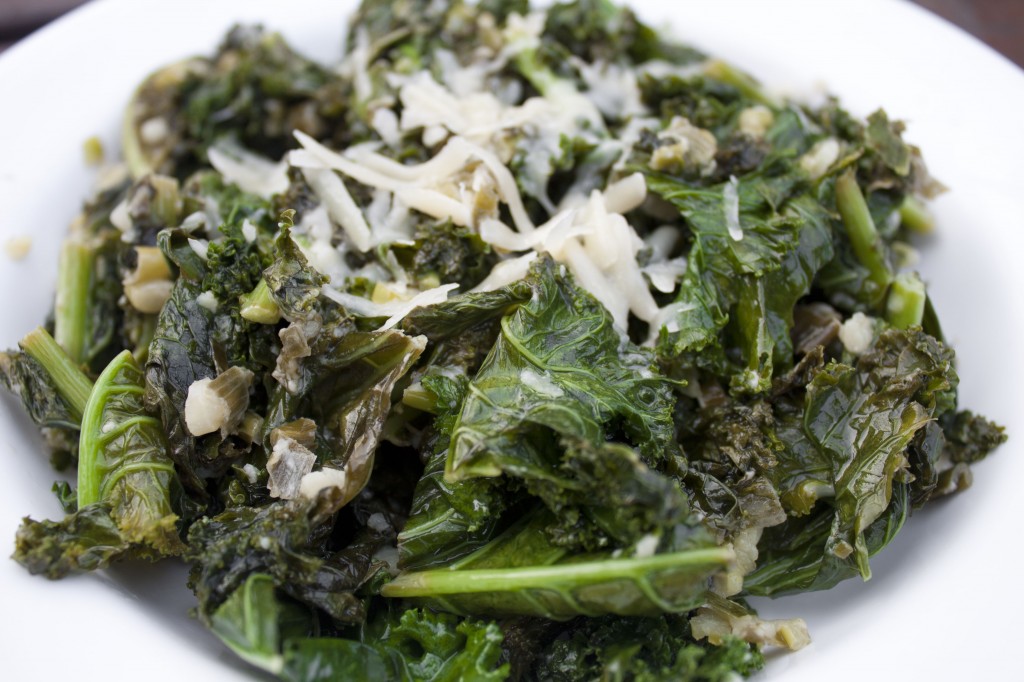
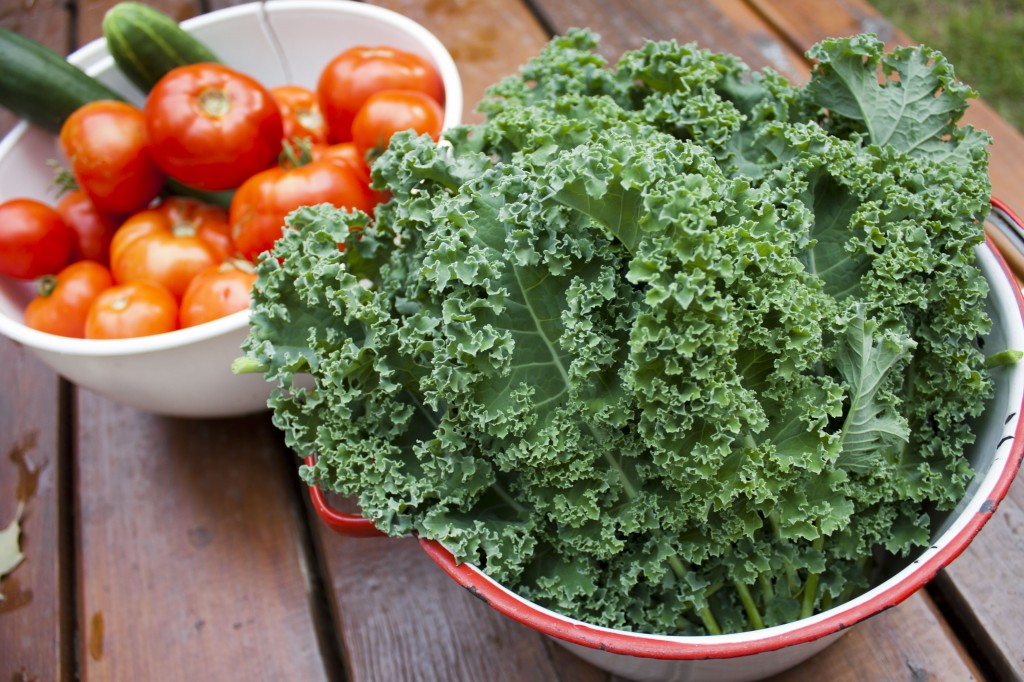
I’m taking this post to highlight mom’s garden. This is her second year working on a garden, and her garden puts the BA garden to shame (especially since the BA garden didn’t actually happen this year). Between the sugar snap peas, basil, kale, and many vegetables that I can’t even name, she has a pretty successful veggie factory. Last time I was home we decided to take a stab at turning the kale into something edible (I’m not knocking raw kale, it’s just not something I would normally crave). I looked through my favorite food blogs for inspiration, but ultimately just started throwing things into the sauté pan until we ended up with what I believe is the tastiest kale recipe you will ever try (I invite you to challenge my belief system). As a side note, I think you could also try this recipe on swiss chard or any other dark green leafy vegetable, but I haven’t done so myself. I tried this recipe on beet greens, and it turned out quite delicious.

What you need (be aware that kale cooks down a lot so this recipe only makes about 2 servings):

  • 1 bundle of kale, excess stem removed and cut into 1-inch wide strips
  • 3-4 cloves of garlic, minced
  • ¼ cup green onions
  • 2-3 tbs olive oil
  • 2 tbs lemon juice
  • ¼ cup grated parmesan cheese (plus a little extra to sprinkle on top)

What you need to do:

  1. Heat the olive oil in a frying pan and sauté the garlic and green onions.
  2. Toss in the kale and cover. Let the kale sit, stirring occasionally, until it has cooked down and the leaves are closer to the consistency of wilted spinach.
  3. Add in the lemon juice and parmesan cheese. Stir until the cheese is melted and evenly distributed.
  4. Serve in a bowl with a little extra cheese on top and enjoy!
Posted in Snacks, Vegetarian | 2 Comments

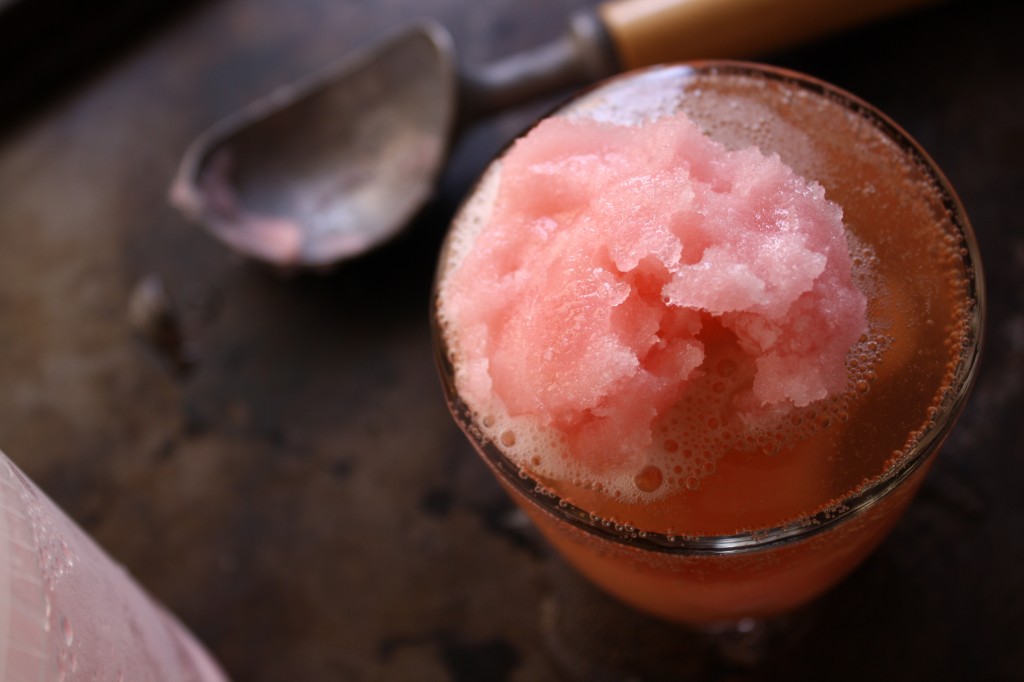
Rhubarb Sorbet & Ginger Beer Float

Would you believe I burned myself making sorbet?  I boiled the ingredients in the melding step (see the recipe below), but then forgot the critical step of letting it cool completely before blending.  The mixture went everywhere, and two months out I still have a burn on my wrist to prove it.  It’s just the latest in a long history of self-endangerment in the kitchen.

The worst burn I ever got while cooking happened exactly four years ago when I had moved into the Village at Case.  We had a big, unwieldy stack of dishes in the sink, and one of my plastic bowls had slipped over one of my friend’s pots.  The two remained tightly wedged together despite an hour of Macgyvering with floss and a safety pin.  Scientist that I am, I figured that putting the pot on the stove would expand the pot and allow me to jimmy the two loose.  What I didn’t realize was that there was still a little bit of water inside the pot that had turned into steam upon heating.
When I lifted the pot to take it to the sink, the bowl flew off and steam poured out, burning my arm and the side of my torso through my shirt.  I went to sleep that night among several bags of frozen vegetables, and woke up with a weeping second degree burn mottled with blisters.  My arm looked like a menu item at a barbecue joint.
I originally wanted to share this story so I could show you the gruesome pictures of my burn.  But in the end, I thought better of putting my burned anatomy on Braised Anatomy.  Hope you enjoy the recipe!

Ingredients (adapted from Simply Recipes)

  • 5 stalks fresh rhubarb, chopped
  • 2 1/2 cups of water
  • 1 2/3 cups of sugar
  • 1/4 teaspoon of salt
  • 2 teaspoons of lemon zest
  • 1 Tbsp chopped fresh ginger
  • 2 tablespoons of light corn syrup
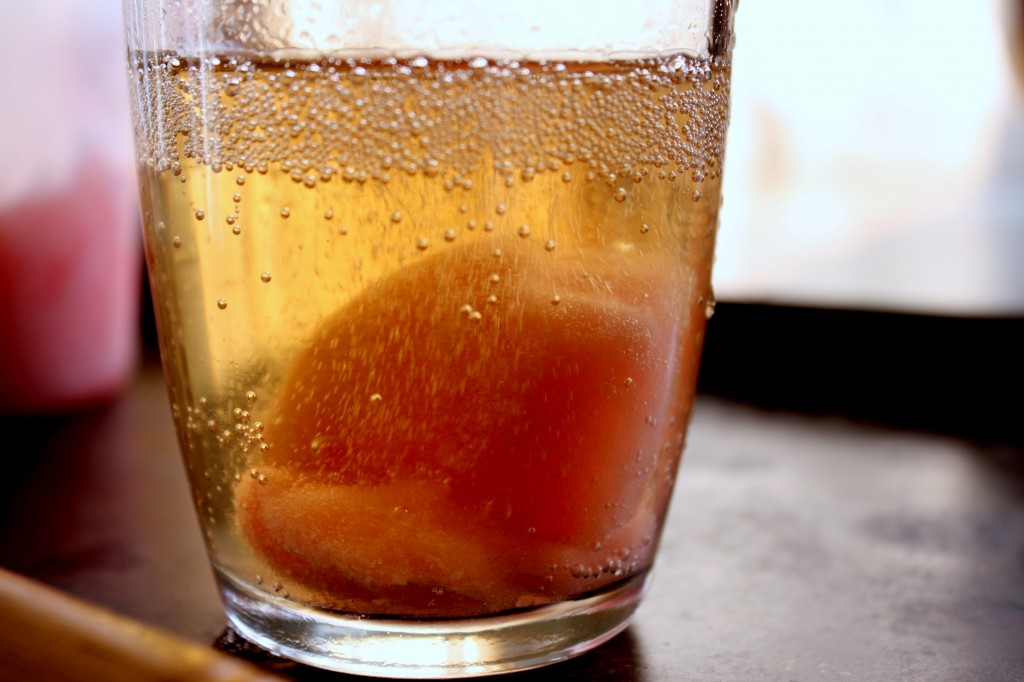
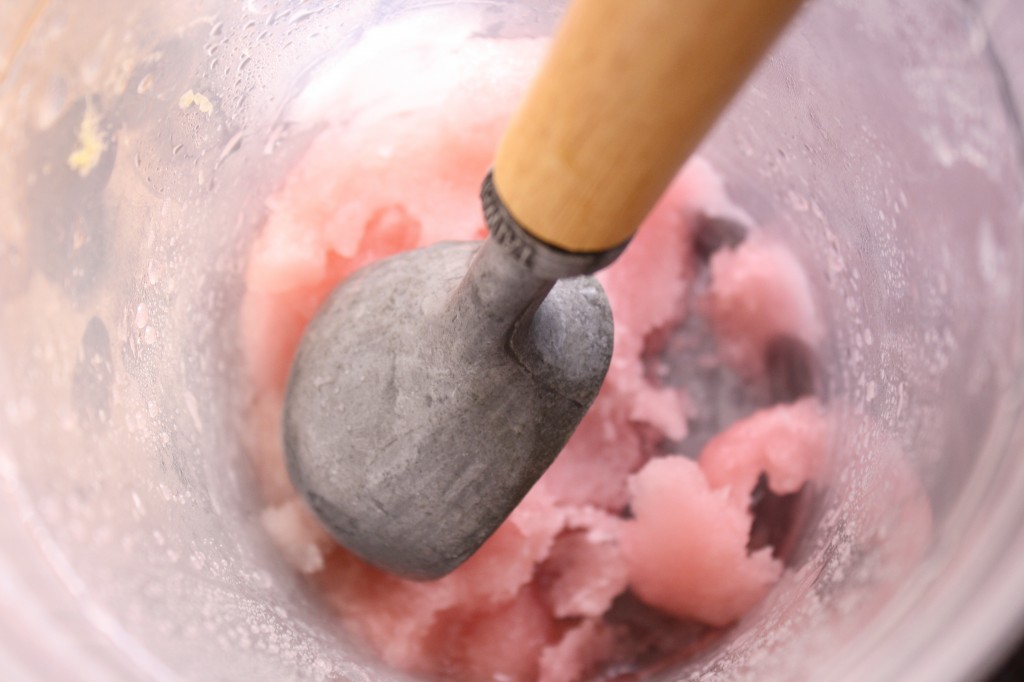
Bring all ingredients except the corn syrup to boil in a medium pot.  Reduce the heat to a simmer and let cook for 5 minutes, then turn off the heat and let cool completely.  Pour into a blender (work in batches if you feel like the blender will overflow) and pulse until pureed.  Strain through a fine-mesh strainer, stir in the corn syrup, then freeze according to your ice cream maker’s directions.  Transfer immediately to a tupperware container and store in the freezer for at least an hour so that it firms up.  Serve on top of ginger beer — my favorite brand is Regatta, but the only place I’ve seen it is at the west side market.
Posted in Dessert, Drinks | 5 Comments

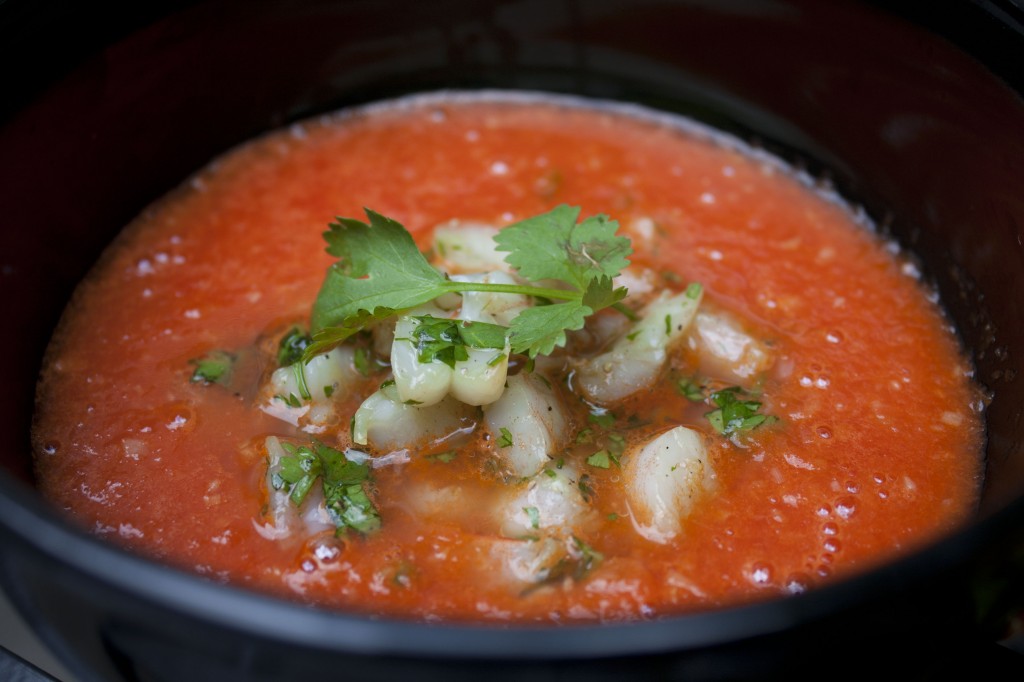
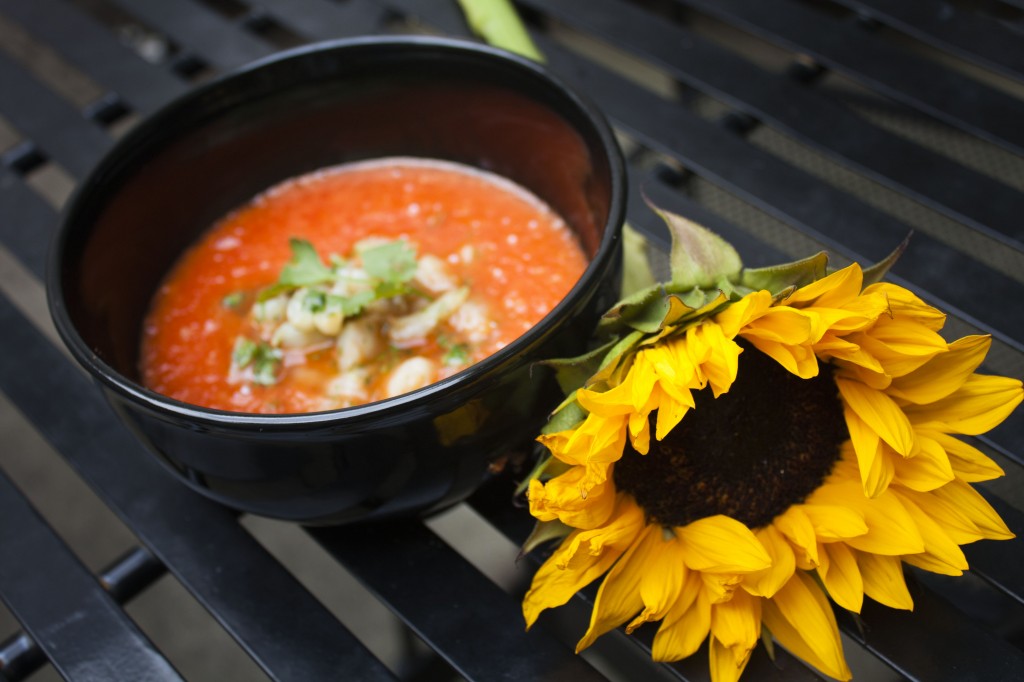
Watermelon Gazpacho with Shrimp

There’s a clear expectation as an incoming medical school that you will have no free time. You enter you first day of school armed with your brand new laptop, more textbooks than you will ever have time to read, and the understanding that the next 4 years of your life will be devoted to little other than the pursuit of a medical education. Aside from a weekly call home to let your parents know you’re still alive, you plan to cut all ties to other human beings (well except from your professors, your patients and possibly your roommate) and you accept the belief that the body really can survive on ramen noodles and frozen vegetables.
I’ll admit that I came to Case with this expectation, but within the first couple weeks of school, I was pleasantly surprised to discover that the expectation proved false. I know that Anita and I sometimes use our posts to complain about the challenges we face in med school. We’ll talk about the long hours, the difficulty we have with eating healthy foods given the hectic schedule, and how tired all of this makes us…but that doesn’t change the fact that we’re still writing the post. With relatively little difficulty, we find 5 hours every week to cook, photograph, (eat,) and write about our adventures in the kitchen. On top of this, we still have social lives. We still have movie nights, spend time with our friends, and even sometimes find a few minutes to work out. Sure the exams are difficult, and the hours are long, but I can honestly say that I am living a very fulfilling life – one that, given the opportunity, I wouldn’t trade for anything (at least not for 2 more years).
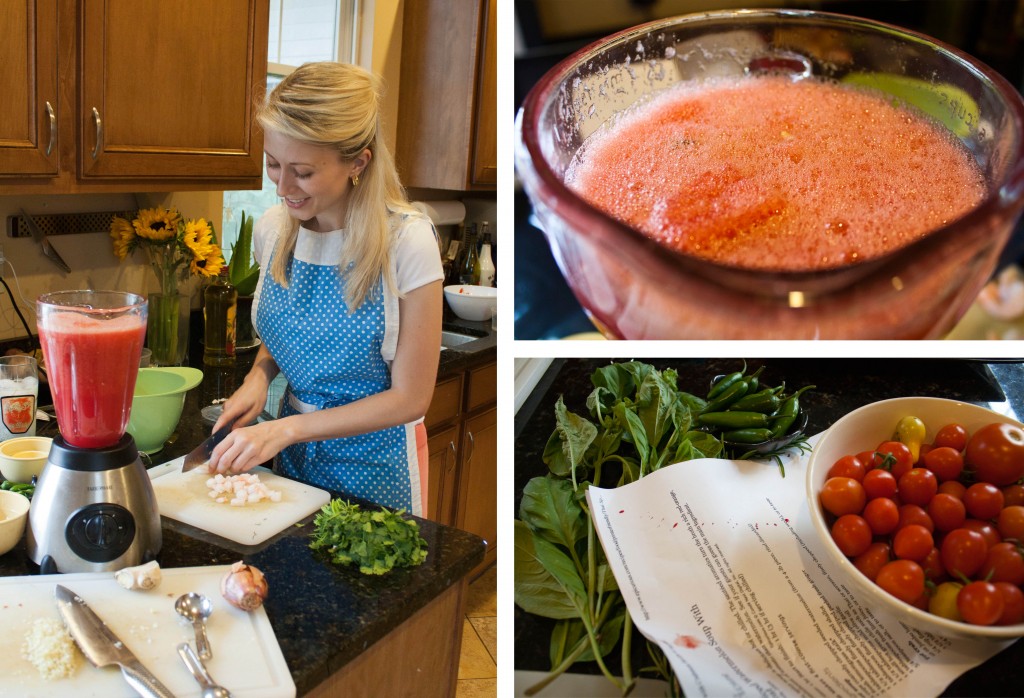
In an attempt to combat this common misconception regarding the “typical medical student’s life”, one of our classmates took it upon herself to design a class that teaches first year medical students about “sustainable lifestyles”. The class gives students the opportunity to speak with fitness instructors, professional study consultants (no joke, that position does exist), and even your very own Braised Anatomy team (we mostly just show the new kids how cooking for yourself is totally manageable with the med student schedule). This same talented medical student is also a whiz in the kitchen (it’s because of her that we could bring you white bean hummus), and chose this week to demonstrate her skills with this delicious watermelon gazpacho. In making this dish, we literally gave it our blood, sweat and tears (see the image below for evidence of the blood), and it was totally worth it. I myself am new to the gazpacho scene, but I will certainly be making this for my parents when I head home next weekend.

(Adapted from Epicurious)

What you need (makes 4 servings):

  • 5 cups chopped seedless watermelon (for us, this was about ½ a watermelon)
  • 1 fresh lemongrass stalk (bottom 5 or 6 inches), minced
  • 3 tbs minced shallot
  • 1 ½ tbs minced fresh ginger
  • 1 tbs minced garlic
  • 1 ½ tbs olive oil
  • 1 or 2 small hot green chilis (thai or jalapeño), finely chopped
  • 2 tbs fresh lime juice
  • ¾ tsp salt
  • 2 cups cooked shrimp (or crabmeat), chopped
  • ¼ cup chopped fresh cilantro
  • 1 ½ tbs sesame oil
  • ¼ tsp salt

What you need to do:

  1. Chop up your watermelon and purée it in the blender until smooth.
  2. Combine your lemongrass, shallot, ginger, garlic and olive oil in a large saucepan and sauté over medium to low heat (about 5 minutes).
  3. Once the aromatics start to brown slightly, add about 1/3 of the watermelon purée and simmer on medium to low heat for about 5 minutes (be sure to stir as it cooks).
  4. Remove the watermelon mixture from the heat and return it to the blender along with the lime juice, hot peppers and salt.
  5. Blend mixture until almost smooth (I liked having little chunks of pepper and shallot). At this point you can choose to serve the soup as is, or chill it in the fridge for a couple hours.
  6. When ready to serve, toss the shrimp in the cilantro, sesame oil and salt.
  7. Spoon the shrimp into 4 bowls, cover with the watermelon gazpacho and Enjoy!

Posted in Uncategorized | 2 Comments

Hawaiian Bread Rolls

Well I did it! I finished my 30 day photo challenge (actually as I’m writing this, I still have 2 photos to go, but I’m hoping that by writing this post, I will force myself to finish on time). Overall, I’m pretty proud of the photos, but I’ll admit, the fact that I had plenty of willing models (mostly my family members…more specifically, my little sister) and beautiful places to take pictures of helped a lot (It’s pretty near impossible to make the upper peninsula look bad). But I guess the whole point of the challenge wasn’t really to take pretty pictures so much as it was to just take pictures…and I definitely did that! My camera and I have now entered into a pretty serious relationship. I shower her with gifts (that’s right, my camera is a girl). I give her frequent baths to make sure her lens is squeaky clean. I even built/sewed her a nice new home. I’m beginning to realize that I spend more quality time with this camera than I do with most other people in my life…so far no one has complained, but I think there’s a good chance my sister will smack the camera out of my hands the next time I shove it in her face.

As I mentioned in the first post about the photo challenge this experience was also about opening myself up (and my photos) to critique. While I didn’t receive much criticism (thanks guys :P), I definitely learned to critique my own photographs. I would usually take at least 100 photos for each of the challenges. On the first run through the images, however, I would cut it down to 20. On the second run, I’d get it down to 4 or 5. Finally, with a little help from adobe bridge, I’d get it down to 2 that I felt comfortable sharing. Not too bad for an amateur!
Okay enough about me and my new love interest…on to the food.

(Adapted from Handle the Heat)

What you need:

  • 1/2 cup warm water
  • 1/2 cup pineapple juice
  • 1/4 cup melted butter (plus a little extra to brush the rolls)
  • 1 tbs dry yeast
  • 1 large egg, beaten
  • 1/2 tsp vanilla extract
  • 6 tbs sugar
  • 3 cups all-purpose flour

What you need to do:

  1. In a large bowl, combine the water, pineapple juice and melted butter.
  2. Sprinkle in the yeast.
  3. Add the sugar, salt, egg and vanilla then stir to combine all of the ingredients.
  4. Mix in 1 cup of flour at a time with a spoon.
  5. Cover the dough with a towel and let rise in a warm spot until it doubles in size (takes about 2 hours).
  6. Once the dough has risen, spray two cake pans (about 9-inches in size) with non-strick spray.
  7. Shape the dough into 16 balls and place 8 of them in each cake pan.
  8. Cover the pans with a towel and let rise till they double their size (again, about 2 hours).
  9. Preheat the oven to 350 degrees F.
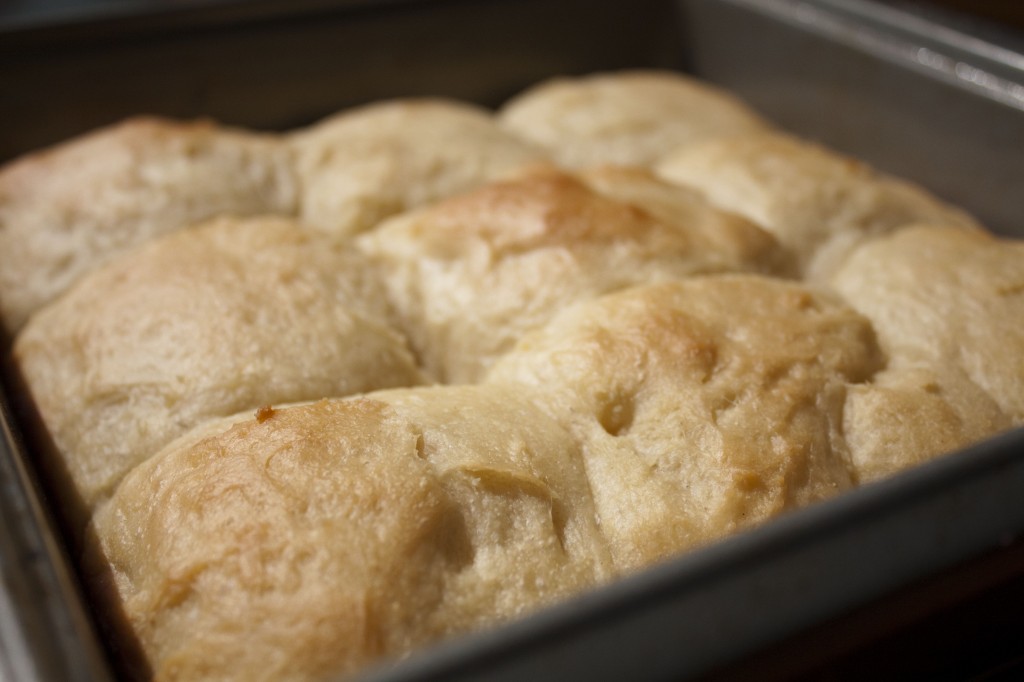
  10. Brush the rolls with melted butter and then bake them for 20-25 minutes (until golden brown).
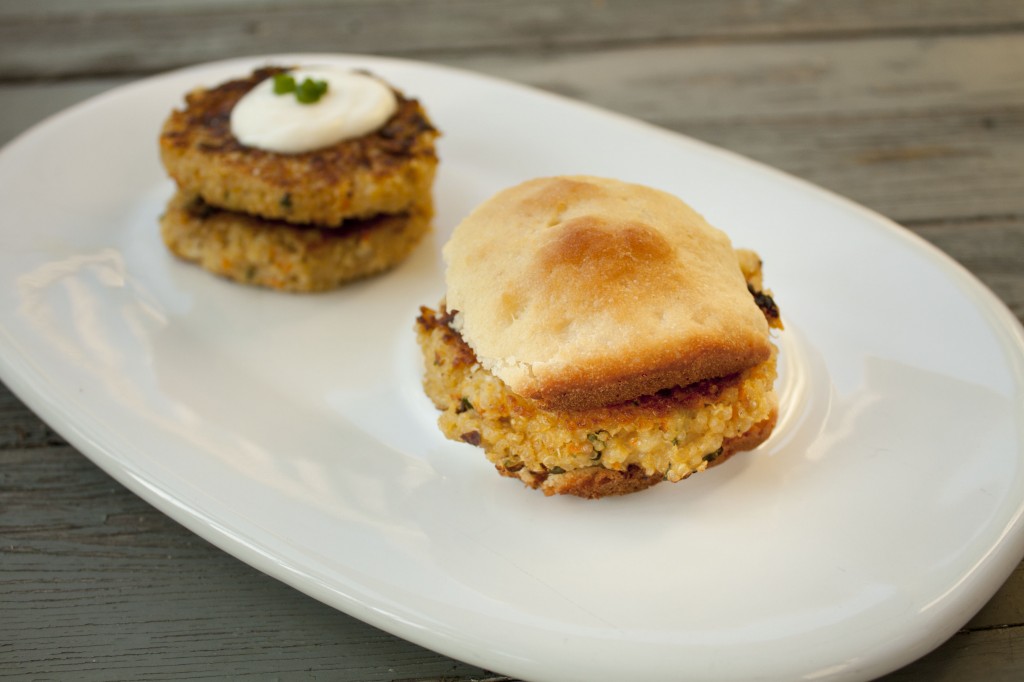
  11. Let cool and serve with quinoa burgers.
Posted in Bread | 1 Comment