Peanut Butter & Banana Bread in 7 Dirty Dishes (w/video)

I’ve posted this bread before, but since then I’ve streamlined the recipe down to a small number of dishes.  So easy, it practically makes itself…
Watch below, and never again let me complain about being pressed for extra free time.
Ingredients
  • Cookware: 1 mixing spoon, 1 tsp, 1/2 cup measure, 1 knife, 1 microwave-safe bowl, 1 large mixing bowl, 1 loaf pan
  • 1.5 cups flour
  • 1 tsp cinnamon
  • 1/2 tsp salt
  • 1 tsp baking soda
  • 1/3 cup butter
  • 1 egg
  • 2 overripe bananas
  • 1 tsp vanilla extract
  • 1/3 cup peanut butter (even though I used 1/2 cup in the video)
  • 1 cup sugar
  • spray lube
Preheat the oven to 350F and gird your loins.  For the dry:  Mix the flour, cinnamon, salt, and baking soda very well in a large mixing bowl.  For the wet: microwave the butter until melted; wait for it to cool to close to room temperature, then add the egg and beat until mixed well.  Add the bananas and mash/mix until the lumps are mostly gone.  Add the vanilla and the peanut butter, mixed thoroughly.  Add the sugar and mix again.  Add the wet mixture to the dry mixture, and stir AS FEW TIMES AS POSSIBLE to make the dry stuff disappear (this will change from day to day).  Add in a small handful of walnuts or chocolate chips if you want.  Spray your loaf pan with spray lube.  Add the mixture in.  Put it in the oven for anywhere between 50-60 minutes (50 will get you something soft, 60 will get you structure).  Use a knife to loosen the bread from the sides of the pan, then overturn onto a baking wrack (doh!  that’s technically an 8th dish.  Unless you don’t wash it.)


Posted in Bread, Breakfast, Dessert, Snacks | 6 Comments

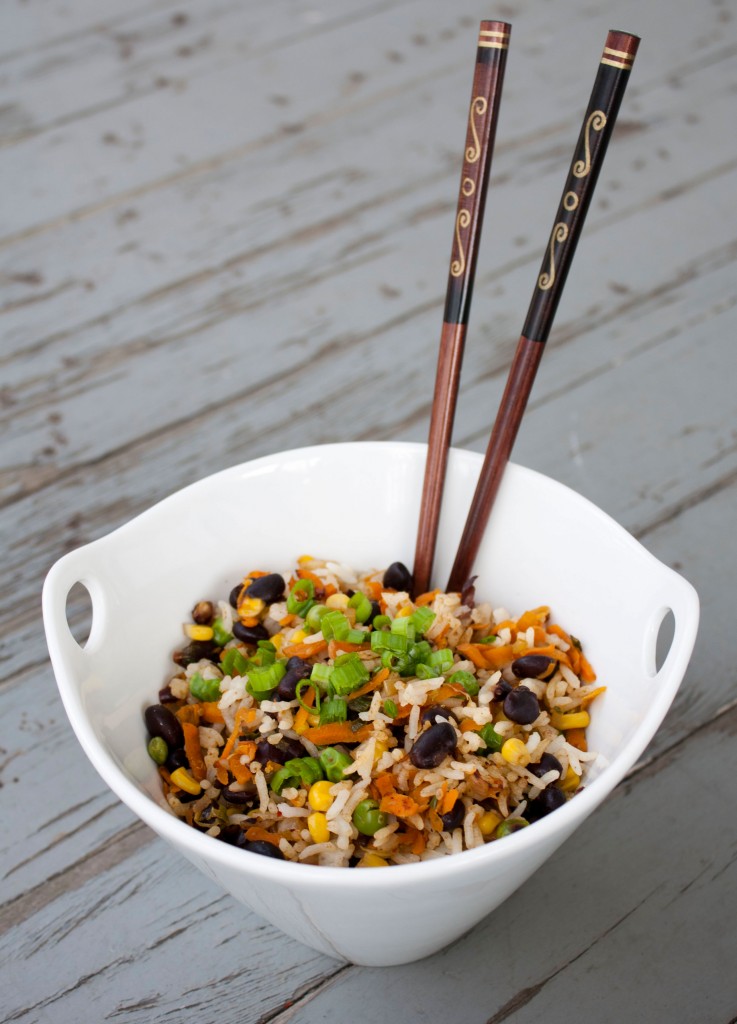
Rice, Bean and Veggie Salad

Sometimes I’m concerned that I’m not cut out to be a doctor. No, it’s not that I’m afraid I’ll never know enough. It’s not the long work hours. It’s not even the lack of sleep (although I do feel bad for the people who have to deal with me when I’m suffering from sleep deprivation induced grumpiness). Honestly, it’s the lack of eating that concerns me the most. I mean most of the doctors I work with seem to survive on little more than coffee and Lornadoons. Maybe they’re like camels and have a secret food storage hump. Maybe I’ll develop one of those on the day of graduation… I highly doubt it, but I’ll keep my fingers crossed.
With all that being said (and the fact that I don’t honestly expect to become a camel), I’ve been trying to come up with easy meals that are not only quick to prepare but also quick to eat (and don’t leave you with a stomachache when you inhale your lunch in 1 minute flat).  When I originally made this recipe I wasn’t thinking about whether or not this would be a good “hospital lunch”. All I knew was I had some old rice that needed to be used up and this dish looked pretty enticing. I was pleasantly surprised when the dish took very little time to prepare. I was even more excited when I began eating my lunch the next day and realized how tasty it was. It wasn’t until 3 hours later that I realized just how awesome this dish is. Just to preface, I have a very temperamental stomach and I can almost guarantee that if I eat something quickly, I will develop stomach cramps. This lunch, however, left me with no stomachache! Success! I guess the only thing that would make this meal better is if I could attach it to my side and feed on it throughout the day…Well here’s to hoping for development of a food hump over the next year!

(Adapted from Oh She Glows)

What you need:

  • 4 cups of cooked brown or basmati rice (or about 2-3 cups uncooked rice)
  • 1 tbs olive oil
  • 1 medium sweet onion, chopped
  • 2 garlic cloves, minced
  • 2 green onions, chopped
  • 1 can black bean, drained and rinsed
  • 3 tbs soy sauce (preferably Tamari)
  • 1 cup frozen peas
  • 1 cup frozen corn
  • 2 carrots, grated
  • ½ tsp ground cumin
  • ½ tsp coriander
  • ½ tsp red pepper flakes
  • ½ tsp oregano
  • ½ tsp mustard seeds

What you need to do:

  1. Cook your rice (or if you’re a rice fiend like me, grab the leftover rice out of the fridge).
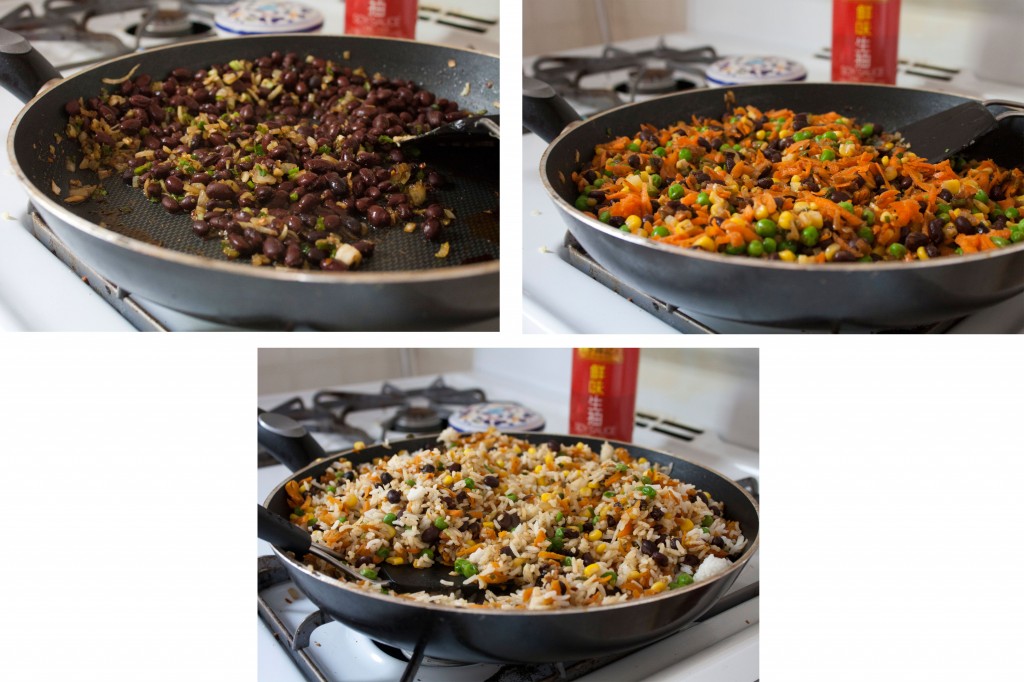
  2. In a (very) large skillet, heat your olive oil and sauté the chopped onion on medium heat until it begins to soften.
  3. Add the garlic, green onion and spices and sauté on low heat for a few minutes (be careful not to burn the spices and onions).
  4. Add the soy sauce and black beans and stir well. Heat for about 5 minutes on medium heat.
  5. Add the frozen peas, corn and grated carrots and stir well. Continue cooking for 5 minutes on low heat.
  6. Stir in the cooked rice.
  7. Serve and enjoy!
Posted in Freezer, Vegetarian | Leave a comment

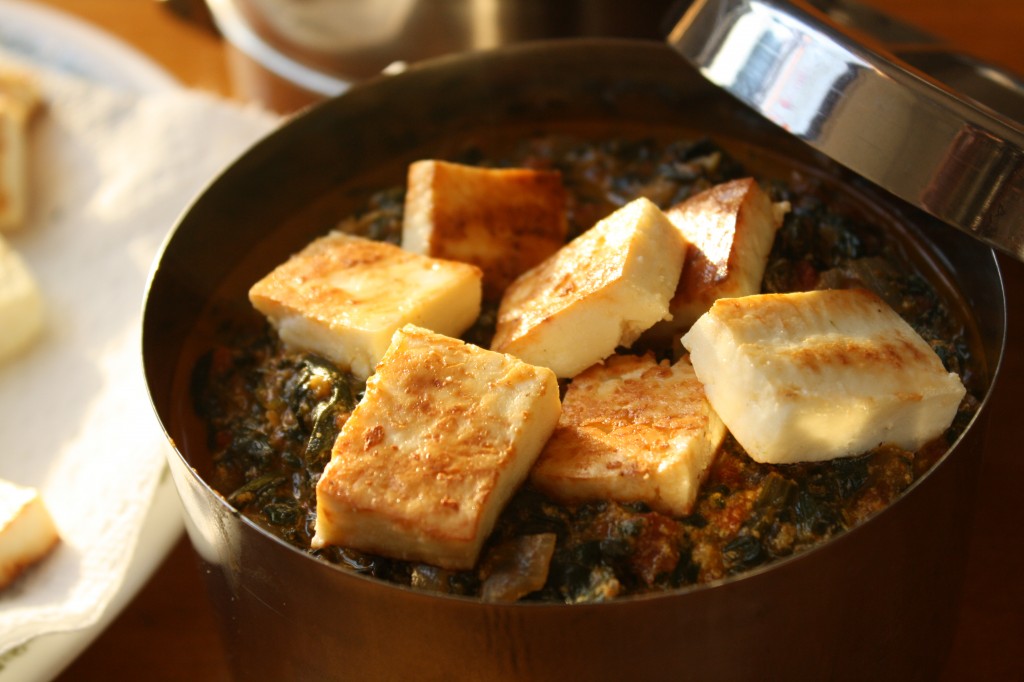
Saag Paneer (Spinach with Fried Indian Cheese)

Does Gruyere engender grief?  Does Manchego manufacture misery?  Does Bleu brew the blues?  This could be you:
Lactose Intolerance

Ingredients (adapted from Ambika’s Kitchen)

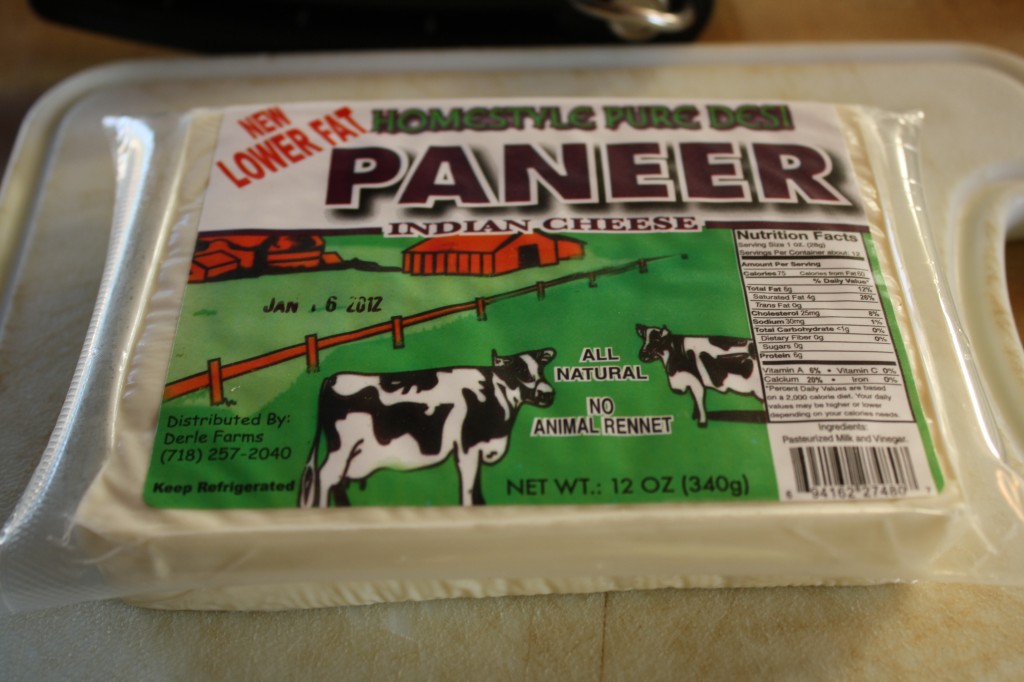
  • 1 block paneer
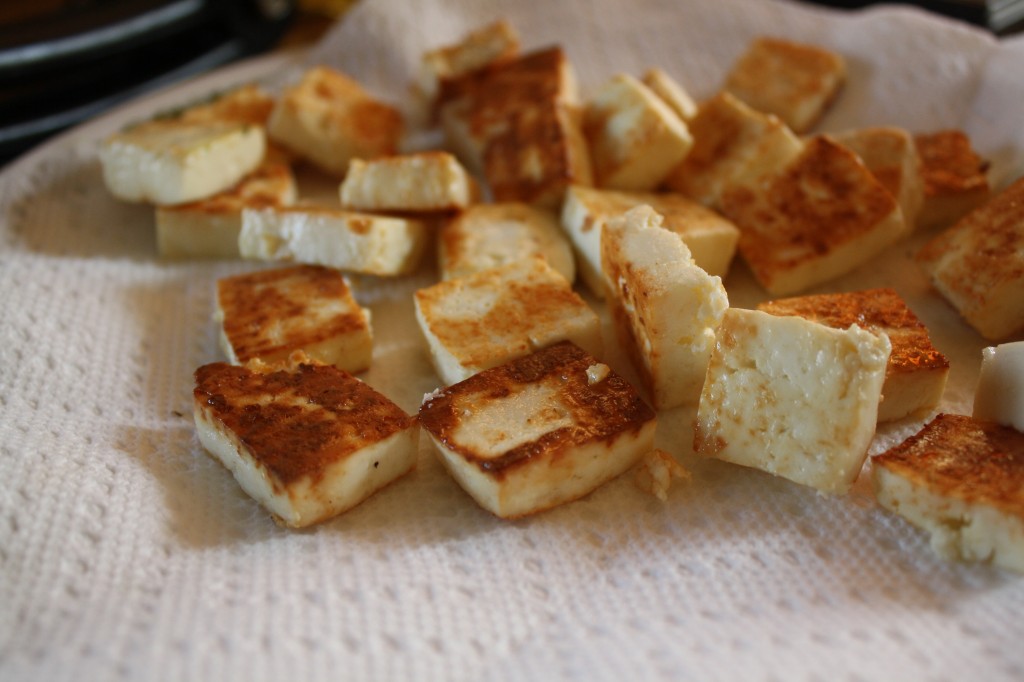
 To fry: put enough oil in a large skillet to cover the bottom.  Heat the oil on medium until it shimmers, then dial the heat to low and add the cubed paneer.  Fry (shield yourself with a lid if need be) until golden on one side, then flip and fry on the other.  Drain on a plate lined with paper towels.
  • 1 Tbsp oil
  • 1.5 Tbsp butter
  • 1 Tbsp cumin seeds
  • 8 cloves garlic, sliced
  • 2 Tbsp ginger, chopped fine
  • 1 onion, chopped
  • 1/4 tsp turmeric powder
Heat the butter and oil on medium high heat, then add the cumin seeds and fry for 30 seconds.  Add the garlic and ginger and dial the heat to low, frying for another 1-2 minutes.  Add the onion and turmeric and fry until the onions are lightly browned
  • 1 Tbsp coriander powder
  • 1 can diced tomato
  • 1 tsp red chili powder
  • 1 1/2 tsp garam masala
  • 1/4 tsp nutmeg

Mix in the coriander powder.  Add the tomato and red chili powder and cook on medium-high heat until the tomatoes fall apart, about 8-10 minutes.  Add the garam masala and nutmeg and stir again.

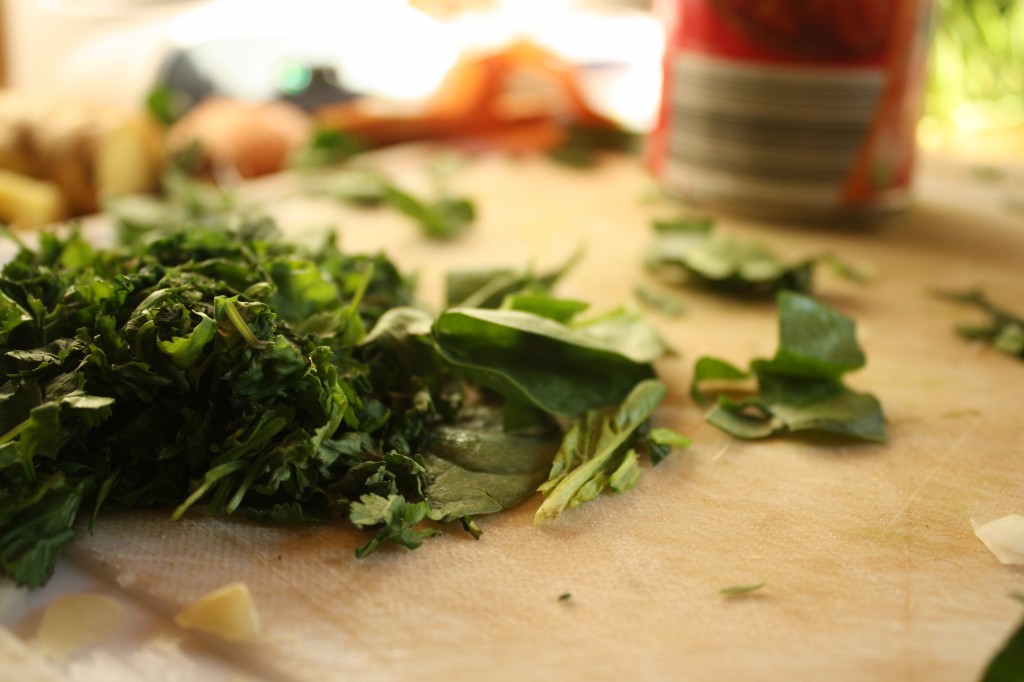
  • 5-7 cups spinach, chopped into strips (you can also use frozen…probably 12-15 oz?)
  • 5-6 Tbsp greek yogurt (original recipe calls for cream cheese)
  • 1-2 tsp salt

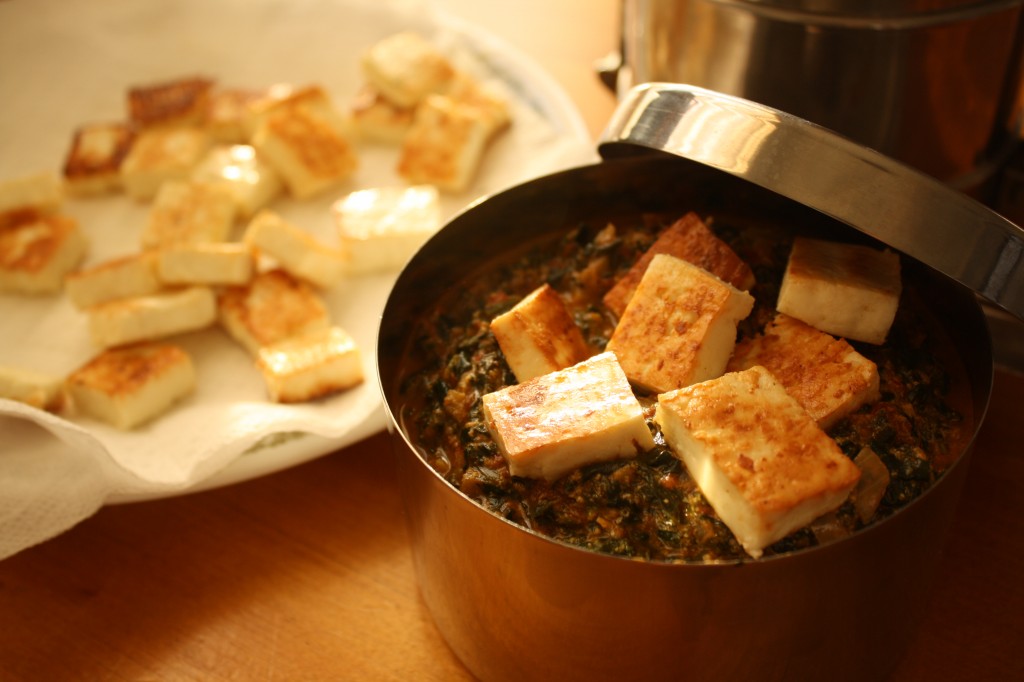
Add the spinach and let it cook down until the spinach is wilted completely.  Add salt to your taste, then turn off the heat and let the dish cool for 5-10 minutes before adding the yogurt (I feel this will keep the yogurt from coagulating as much).  I took out 4/5 of the spinach mixture and pulsed it a few times in my food processor to get that “saag” consistency, but you can leave it as is.  Add the paneer, serve with bread or rice.

Posted in Indian, Vegetarian | 3 Comments

Aebleskivers (Danish Pancake Donuts)

Not every recipe you try is gonna be a success. Not every successful recipe will be something you want to try again…
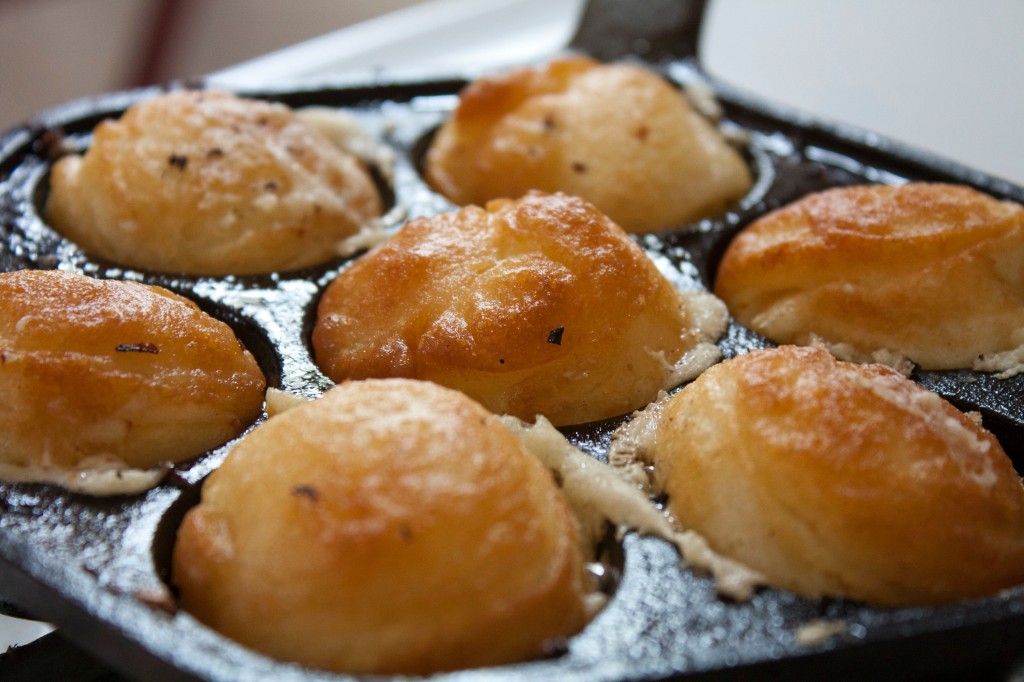
A couple of months ago my mom bequeathed to me one of her many fantastic thrift store finds – a cast iron skillet that looked like it had gotten into a fight with a mellon baller. With a little help from my dear friend google, I was able to figure out it was an aebleskiver pan. And what is an aebleskiver?? It’s essentially a fried pancake ball. Well, with a definition like that, how could I resist a little culinary experiment?
The results: Are they delicious? Of course (fried balls of apples and dough?! how can you go wrong?). How about a pain in the you-know-what? More than I care to admit. Will I be making these again? Not any time soon. To be honest there was just too much oil in the recipe (even after I cut it in thirds) and it was way too much work for the final product. I will say that the batter itself is quite tasty and makes some delicious regular ol’ flapjacks when cooked in a frying pan.
Oh well. At least I can now say that I know how to make aebleskivers…

(Adapted from Allrecipes’s Aebleskiver Recipe)

What you need (makes about 30 aebleskivers):

What you need to do:
  1. Using an electric mixer, beat the egg whites in a glass bowl until they can hold stiff peaks (see above).
  2. In a separate bowl, mix together the flour, baking soda, salt, baking powder, sugar, egg yolks, butter and buttermilk. Beat until smooth. 
  3. Gently fold the egg whites into the batter.
  4. Spoon about 1 tsp of vegetable oil in the bottom of each cup in the aebleskiver pan and heat.
  5. Pour about 1 tbs of the batter into each cup, add a pinch of apples to each cup then cover with another tbs of batter.
  6. When the batter starts to bubble at the edges, use some sort of cooking utensil to flip them over (I used a fork and spoon, but traditionally you use two long knitting needles…I am anything but traditional).
  7. Continue cooking until both sides are a light brown.
  8. Tops with powdered sugar, whipped cream or maple syrup (or all three) and enjoy!
Posted in Breakfast, Dessert, Vegetarian | 5 Comments