Egg Muffins

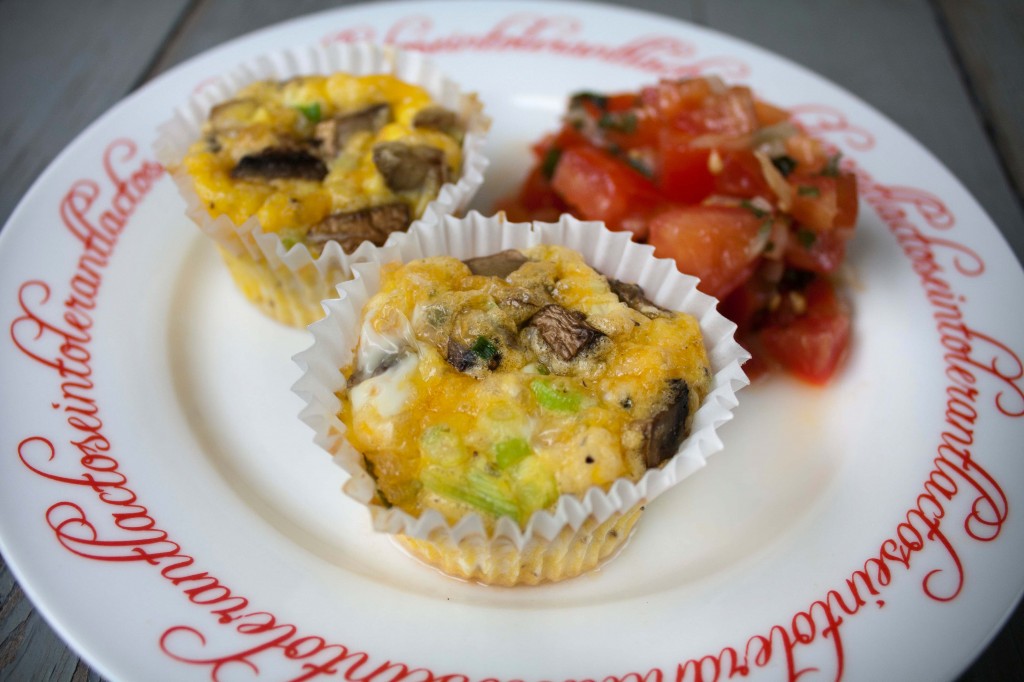
As much as I love food, and am hungry most hours of the day, 4-5am is not one of those times. While I’m perfectly happy waking up that early in the morning, I have to force myself to choke down something resembling breakfast in order to prevent possible fainting episodes during rounds/in the OR. I’m not sure why, but it seems to take my stomach a little while to wake up every morning, which makes it all the more important that I have something I can throw in my pocket to eat once my gag reflex has quieted down enough to swallow my breakfast. One of my favorite make-ahead breakfasts is oatmeal in a jar, but being the egg lover that I am, I’ve been looking for a portable dish featuring my favorite ingredient. I had settled on hard boiled eggs (not the most creative, but they did the job) until I came across this idea. Within minutes (okay, hours) I was in my kitchen working on my own version of egg muffins. Sure enough, they were delicious, and more importantly, could be refrigerated to eat at a later date!
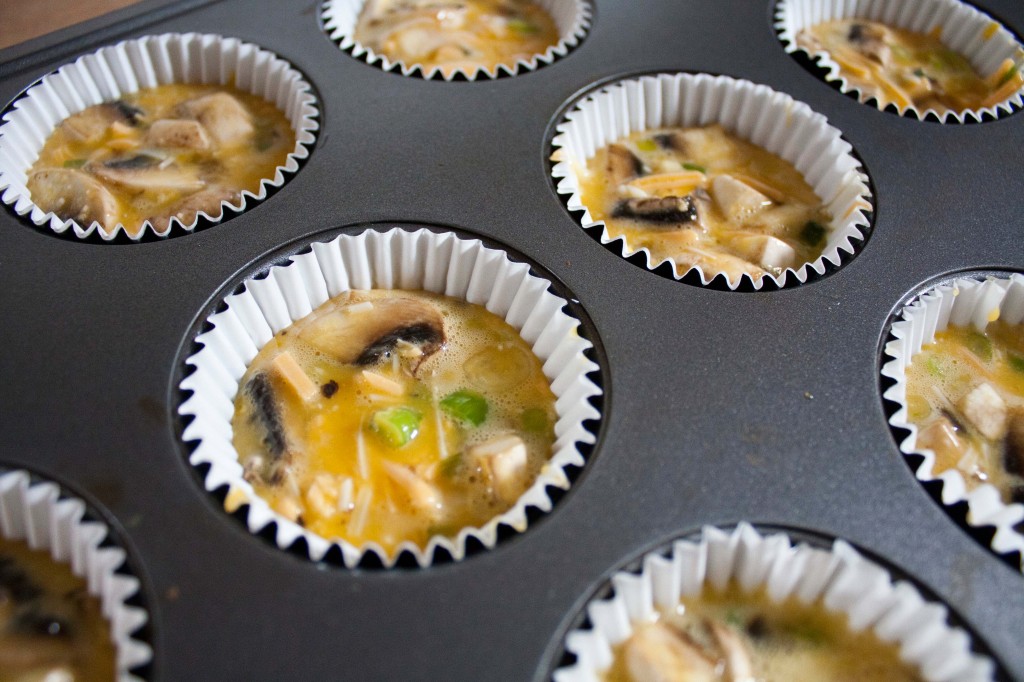
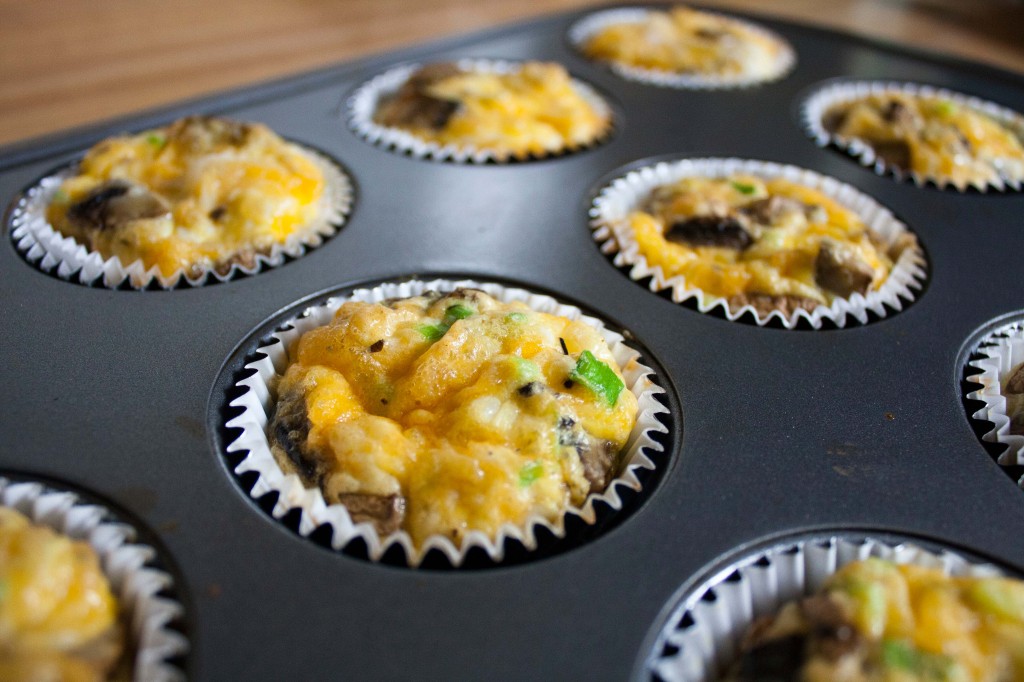
If you choose to take a stab at this recipe, the one major suggestion I’ll make is to use silicon muffin cups. When I first made them, I chose to use paper cups (as evidenced by the photos), which technically worked, but it was a pain trying to scrape that last bit of muffin off the paper. I’ve since purchased my own set of silicon cups and I couldn’t be happier with the purchase.
(Adapted from Kalyn’s Kitchen)

Ingredients (makes 8-10 muffins):

  • 6 eggs
  • 1/2 cup cheddar cheese
  • 1/4 cup parmesan cheese
  • 1/4 tsp salt
  • 1/4 tsp garlic powder
  • pepper, to taste
  • Veggies of your choosing (I added about 1/3 cup mushrooms and 2-3 tbs chopped green onions)
  1. Preheat the oven to 375 degrees F.
  2. In a large bowel, whisk together the eggs.
  3. Add in the cheese, salt, garlic powder, pepper and veggies.
  4. Separate the egg mixture into your muffin cups so that they’re 2/3 full (make sure to grease the pan if you’re not using silicon or paper cups).
  5. Bake for 20-25 minutes until slightly browned and set.
  6. Eat right away or store in the fridge for later (they should keep for about 4-5 days).
Posted in Breakfast, Eggs, Vegetarian | 1 Comment

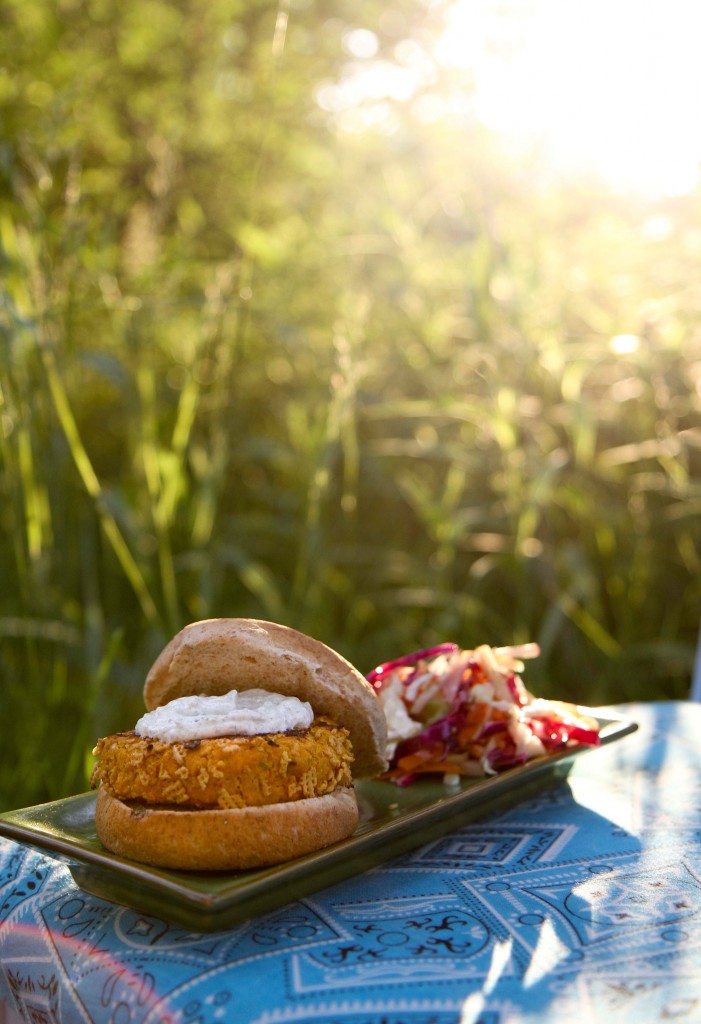
Pumpkin and Chickpea Burgers

I don’t consider myself a chef, but I think I’m a pretty darn good cook. If you really stretch the term, you could even consider me a reluctant baker, but by no means can you consider me a griller. Aside from occasionally flipping a burger, I have only had one real grilling experience, and it resulted in a near “setting myself on fire” experience (who knew lighter fluid was so flammable?!). But it’s not as if I don’t want to learn.
In fact, one of the first purchases Anita and I made for the Braised Anatomy house was a very rusty, secondhand grill…and how many times have we used it? That would be a big fat zero (well, except for the time we got ambitious and used it to roast marshmallows).

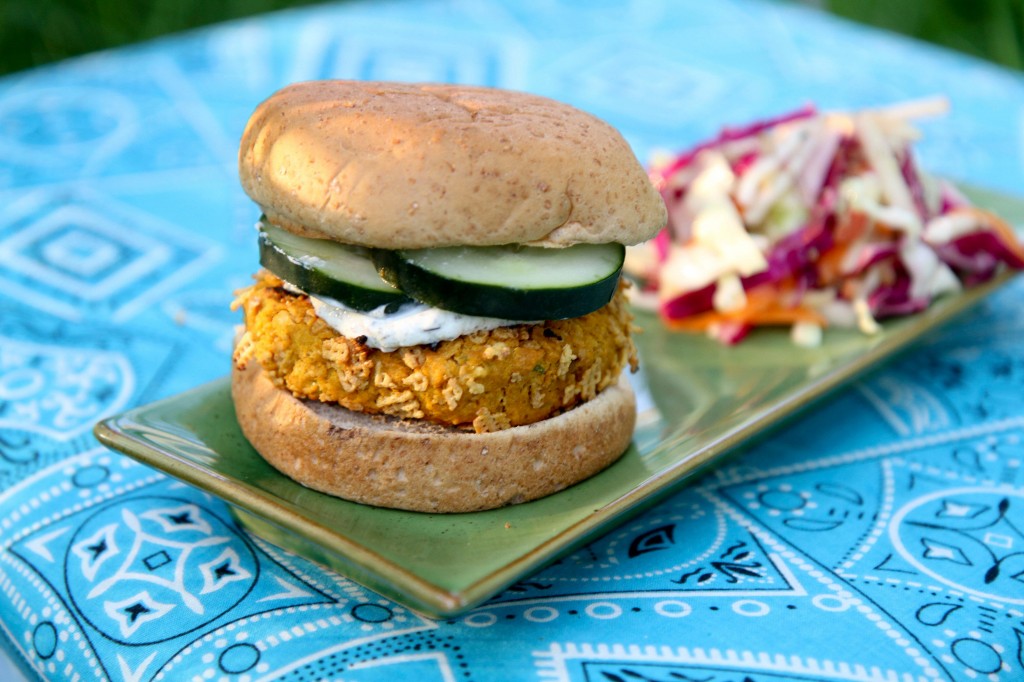
All that being said (and the fact that it is so beautiful outside it pains me to cook in an enclosed kitchen), I’ve decided to take the plunge and finally break in the grill. And in our usual Braised Anatomy fashion, I am happy to present to you a delicious meatless, yet easily grillable burger.

Grill Seasoning Mix:

Equal parts onion powder, garlic powder, cumin, crushed red pepper, salt and pepper

Ingredients (makes about 5-6 burgers):

  • 2 cups chickpeas
  • 1/2 cup pumpkin
  • 1 large egg
  • 2 tbs diced green onions
  • 2-3 cloves garlic
  • 1 tbs grill seasoning mix
  • 2 tbs flour
  • Chex, crushed
  • Whole wheat buns (or whole wheat English muffins)
  • Yogurt Spread (greek yogurt, za’tar, garlic powder, and sea salt to taste)
  • Sliced cucumber, tomatoes or lettuce, optional
  1. In a food processor, combine the chickpeas, pumpkin, egg, green onions, garlic and seasoning mix.
  2. Scoop out your mixture into a bowl and add the flour to thicken. Stir until combined.
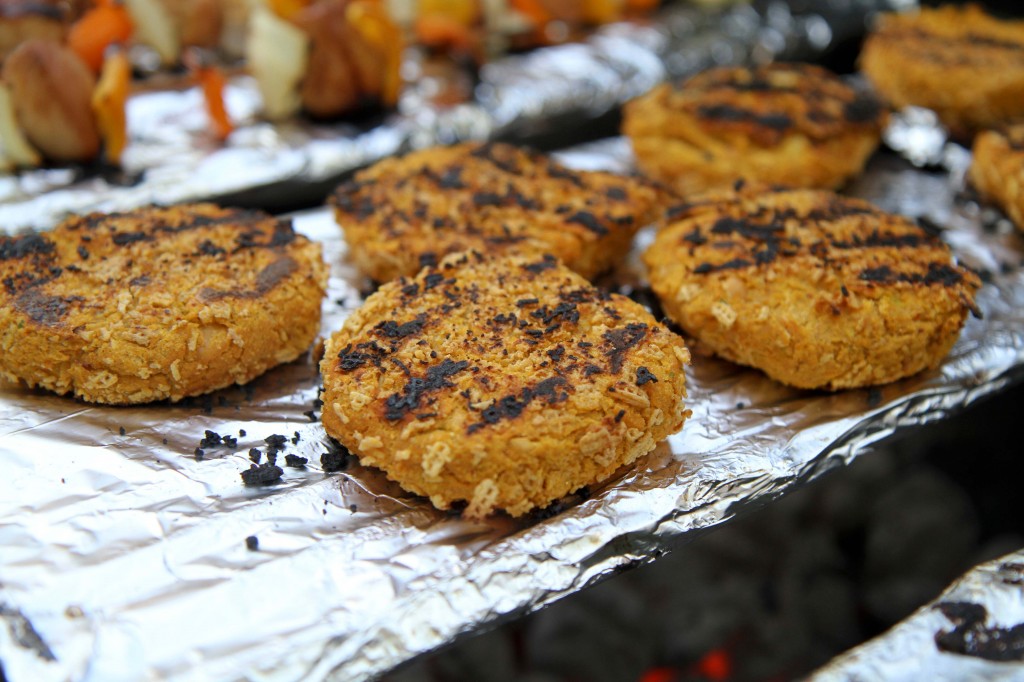
  3. Form patties out of the mixture and cover them in crushed Chex.
  4. Refrigerate for 15-30 minutes (it helps the mixture hold together when you first place it on the grill).
  5. Grill the burgers for 5-6 minutes per side.
  6. Top with yogurt spread and any additional veggies you choose.

This post is part of the BlogHer Light & Fresh Summer Grilling series, which includes 100 percent editorial content presented by a participating sponsor. Our advertisers do not produce editorial content. This post is made possible by Michelob ULTRA Light Cider and BlogHer.

Posted in Sandwich, Vegetarian | 1 Comment

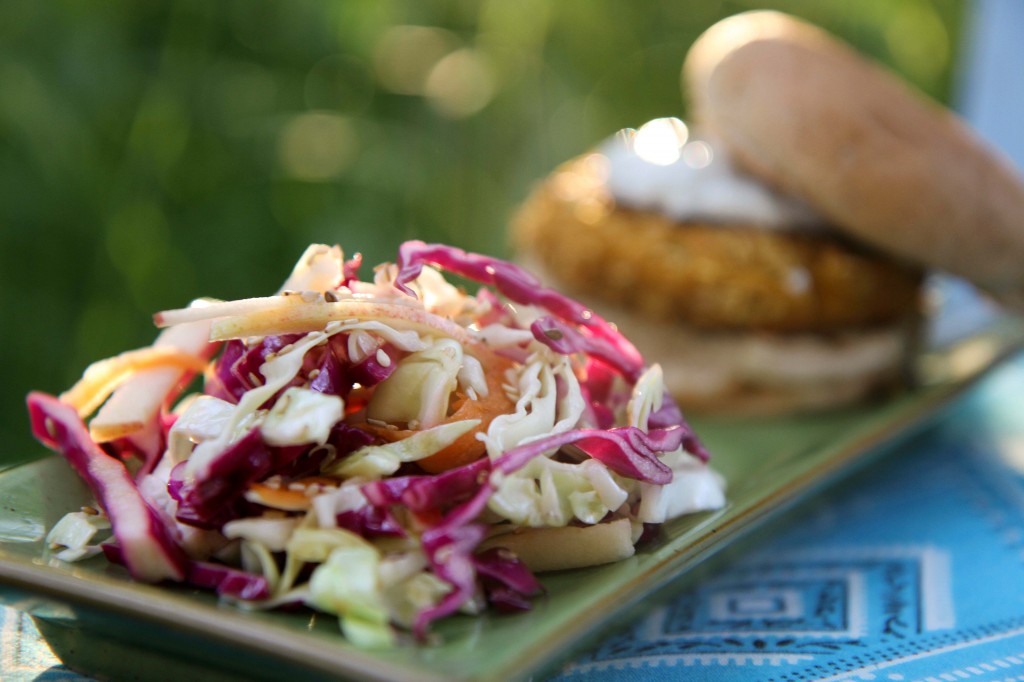
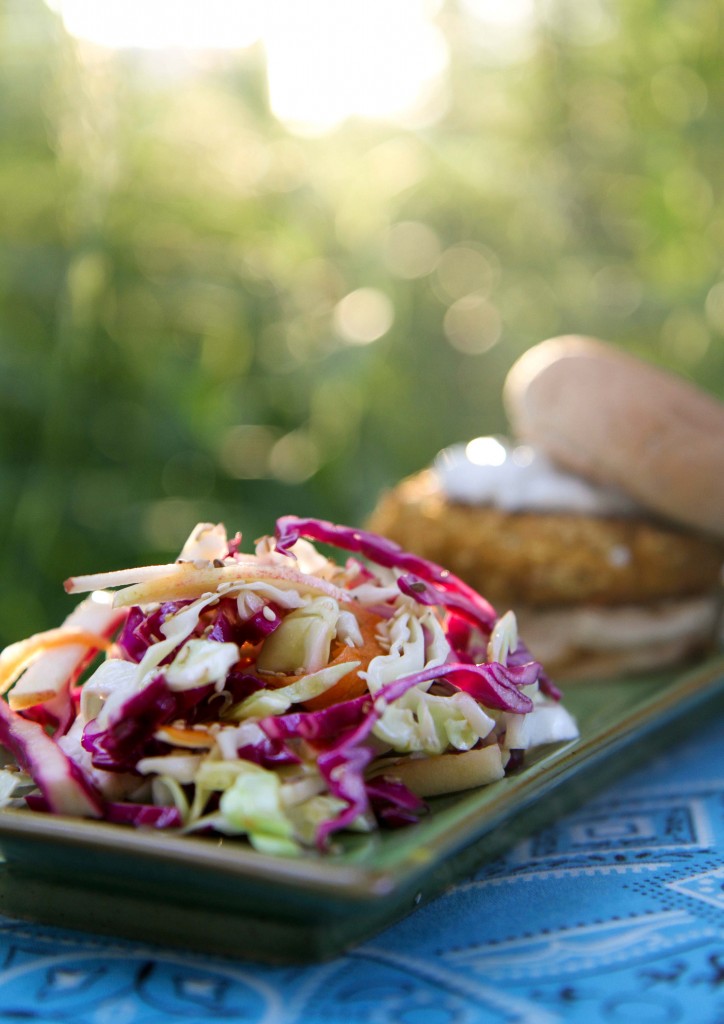
Cabbage and Apple Coleslaw

As the weather gets warmer, I find myself switching from my usual cravings of warm, comfort food to something a little more refreshing…maybe even with a little bit of crunch. Coleslaw definitely falls into the category of a crunchy summer favorite, but I always find it a little bit lacking when it comes to feeling refreshed. The cabbage is right one target, but when the mayo hits my tastebuds, I get bogged down with the creaminess and am left craving a large glass of [insert age appropriate beverage]. Anita has already presented you with one tasty alternative to traditional coleslaw, and here is my attempt and accomplishing this task.

Ingredients:

  • 1/2 head of green cabbage
  • 1/4 head of purple cabbage
  • 4-6 peeled carrots, thinly sliced
  • 2 apples, cut into matchsticks
  • 1/2 cup rice vinegar
  • 1/4 cup sesame oil
  • 2 tbs brown sugar
  • toasted sesame seeds, optional

Instructions:

  1. Thinly slice the cabbage, per Anita’s instructions.
  2. Add the cabbage, carrots and apples to a large bowl.
  3. In a separate bowl, whisk together the vinegar, sesame oil and brown sugar, then pour over the coleslaw.
  4. Sprinkle toasted sesame on top and enjoy!
Posted in Salads, Vegetarian | 2 Comments

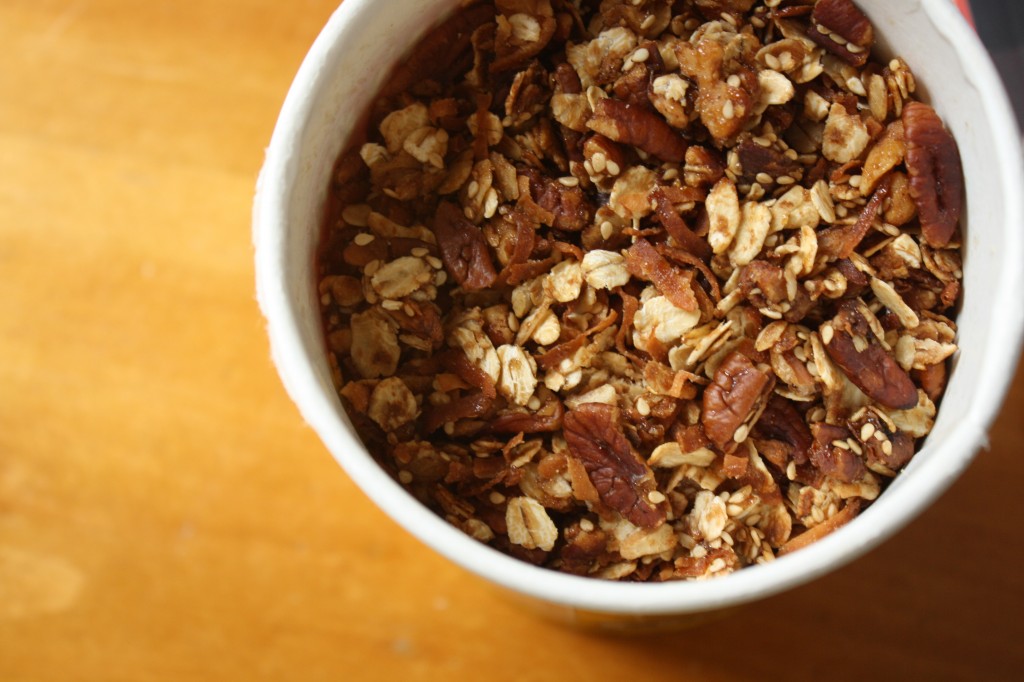
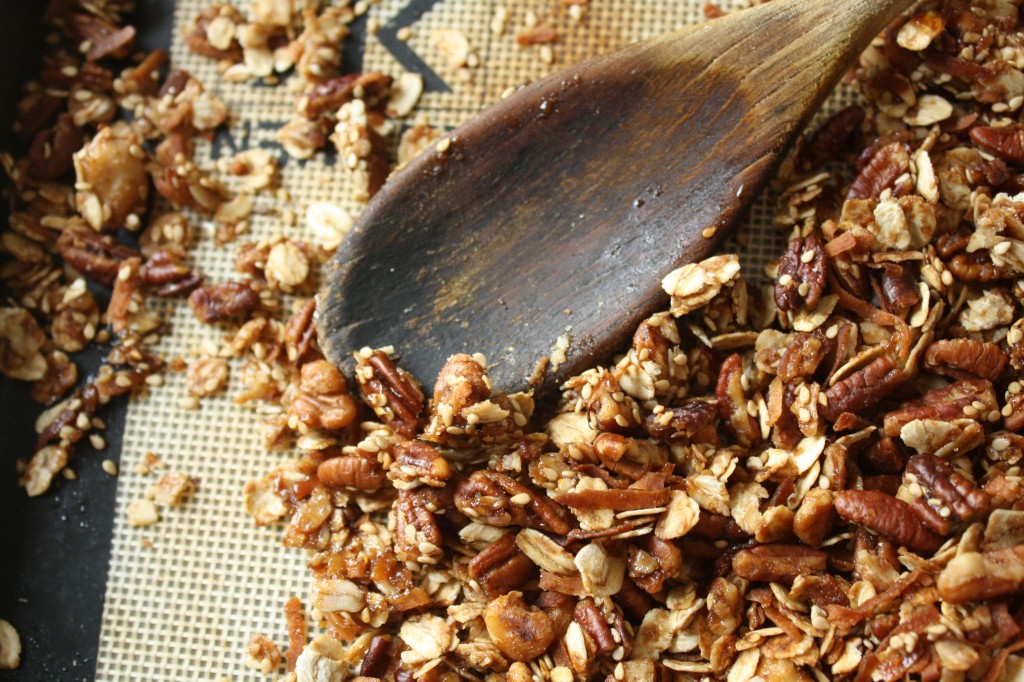
Maple Pecan Granola


When your yogurt feels like snot in your mouth unless you add something to it

Granola

When your messiah-style sandals and left-leaning political views aren’t crunchy enough

Granola

When you want people to hear you eating from across the street

Granola  yeahhh yeahh

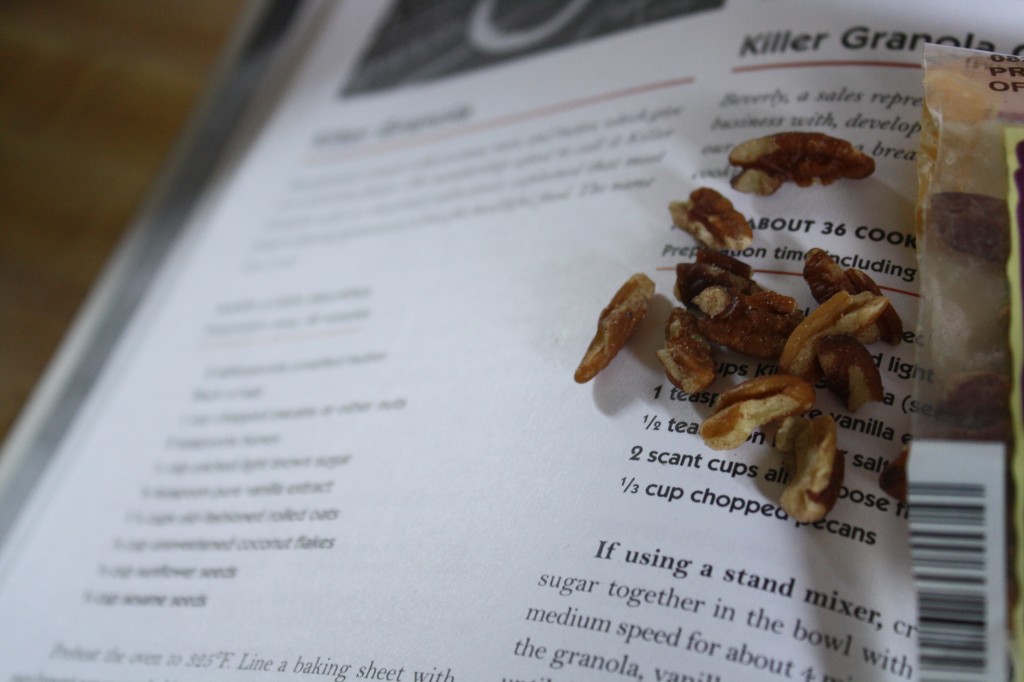
Ingredients (adapted very closely to “Killer Granola” in The Cheese Board Collective Works”)
  • 2 Tbsp unsalted butter
  • Pinch of salt
  • 1.5 cups chopped nuts (I used 2 parts pecans and 1 part walnuts)
Preheat your oven to 325F.  Melt the butter in a large saucepan and add the salt.  Add the chopped nuts and stir for about 5 minutes on medium. 
  • 2 tsp honey
  • 2 tsp maple syrup
  • 1/4 cup packed light brown sugar
Once the nuts are toasty but not burned, turn off the heat and add the honey and brown sugar, stirring to mix.
  • 1/2 tsp vanilla extract
  • 1 1/4 cups rolled oats
  • 3/4 cup coconut flakes
  • 1/3 cup toasted sesame seeds
Put these four ingredients into a large glass or metal bowl, and pour the nut mixture on top and mix with a large spoon.  Spread this out onto a parchment-lined baking sheet and bake in the oven for 15 minutes, opening to stir the granola around every 5 minutes or so.  Watch carefully for anything burning…your oven may be stronger or weaker than mine!  Let the granola cool completely on the baking sheet and then store in an air-tight container.


Posted in Breakfast, Snacks, Vegetarian | 1 Comment