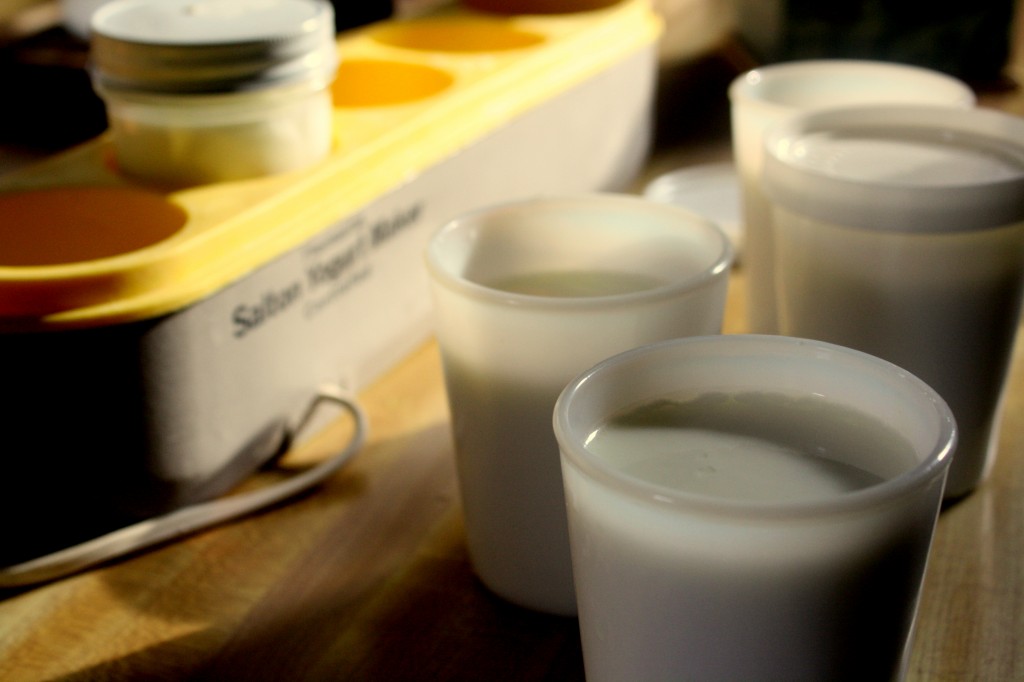
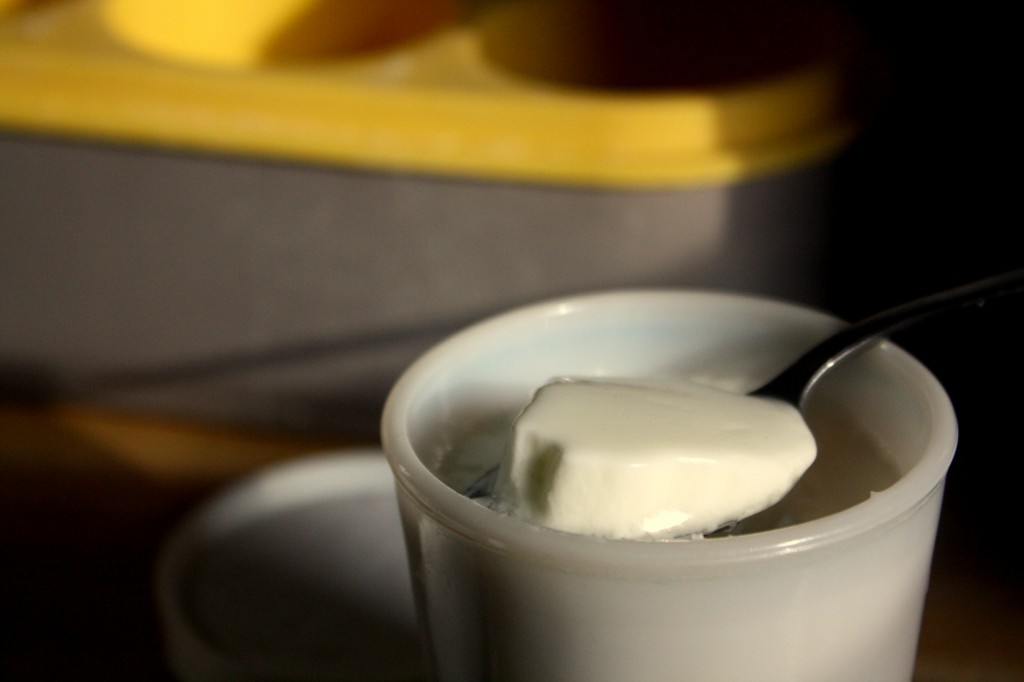
From August until tomorrow, Ari and I have been subjects in a clinical research study at the Cleveland Clinic. We are too embarrassed not at liberty to disclose the details of the study (don’t worry, we were compensated for our suffering). One thing I can say: because it contains probiotics, we were not allowed to eat yogurt, one of our singular pleasures. So. I’ve made a fresh batch in anticipation of our colonic liberation.
In many countries, making yogurt at home is standard. My grandmother mixes a little yogurt into a vessel of heated milk, and the reliably warm Indian weather sets the yogurt overnight on the countertop.
In the more meteorologically fickle American midwest, we have to resort to the yogurt maker. It’s a glorified incubator, as unitask as it comes. But it keeps the culture bacteria at a constant temperature so that it can fission forth and prosper. The yogurt it produces is tasty, economical, and gut friendly. I bought a Salton yogurt maker for $18 last year– it puts out 5 single servings of creamy yogurt per half-quart of 2% milk. See below for a chart on how to get the level of tang that you desire. Yes: it only makes plain yogurt. My favorite post-production additions are black raspberry jam or brown sugar in the morning. Stay tuned for Ari’s post on Sunday – she has an even better use for it.
Ingredients (mostly hardware, really)
- A yogurt maker. Some people swear that the oven light or a thermos will set the yogurt just as well, but…meh.
- A thermometer. The Salton comes with one.
- 2 pints (1/2 quart) of milk. I use 2%, Vitamin D milk may come out even creamier.
- 3 tablespoons of your starter yogurt (I use Erivan yogurt as my starter, but you can use any yogurt with active cultures listed in the ingredients).


Pingback: Chicken Coop Designs
Pingback: Veggie Fried Rice (aka how to cook up everything you’ve got in your fridge) | Braised Anatomy