Basil Snickerdoodles

In keeping with the recent basil theme, I’m excited to present you with a basil-y twist on an old favorite – the snickerdoodle. But do you really want to mess with butter-y, sugar-y, cinnamon-y perfection? Yes…if you get to add basil-y to the description.
And this isn’t the last basil inspired recipe you should expect to see in the next couple weeks. As summer draws to a close (I hate to admit it, but it’s true), I no longer feel guilty cutting down my basil plant in preparation for transferring to my mom’s awesome thriftstore find of an aerogarden for $3. Win (on both accounts)!
(Adapted from Desserts for Breakfast)

Ingredients:

  • 3 cups all purpose flour
  • 1 tsp baking soda
  • 1 tsp cream of tartar
  • 1/2 tsp salt
  • 1 cup (2 sticks) butter, softened
  • 1 1/2 cup sugar
  • 1/2 cup loosely packed basil, finely chopped
  • 2 eggs
  • 1 tsp vanilla
  • Cinnamon Sugar (4 tbs sugar, 1 tbs cinnamon)
  1. Preheat the oven to 375 degrees F, and grease or line your cookie sheet with a silicon mat/parchment paper.
  2. In a large bowl, combine the flour, baking soda, cream of tartar and salt.
  3. In a separate bowl, beat butter for 30 seconds, then add sugar and beat until fluffy (2-3 minutes).
  4. Add the eggs and vanilla to the butter and sugar mixture; beat well.
  5. Add the butter mixture and basil to the dry ingredients, and mix for another minute or so.
  6. Form dough into tablespoon-sized balls and roll in the cinnamon sugar mixture.
  7. Place 2 inches apart on sheet.
  8. Bake for about 8-10 minutes, let cool and enjoy!

Posted in Dessert | 2 Comments

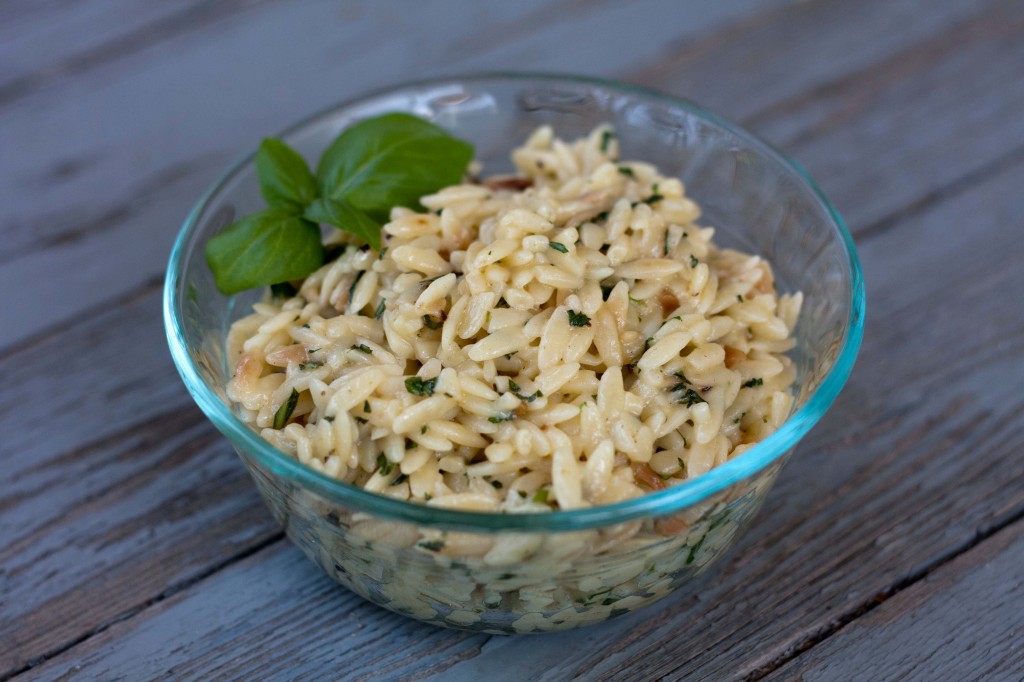
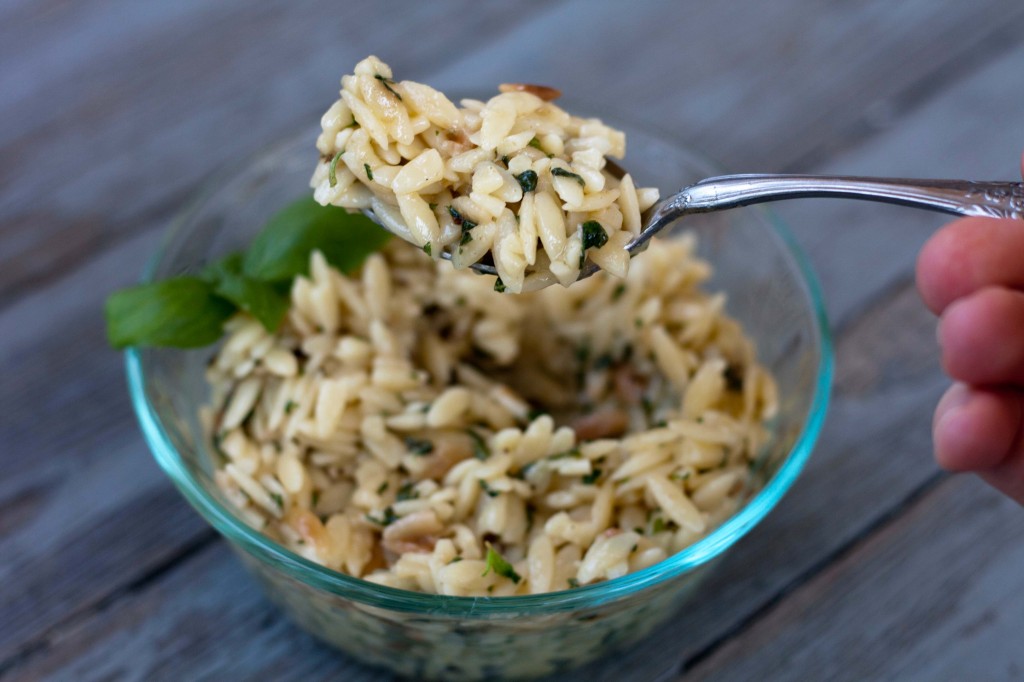
Basil and Parmesan Orzo

Not much to say about this recipe except to point out the key ingredients – basil, parmesan and orzo pasta. Yum. There’s next to no prep time involved, it’s quick to cook, and can be served as a side dish, or if you love basil and parmesan as much as I do, an entrée.

(Adapted from My Tiny Oven)

Ingredients:

  • 1 1/2 cup uncooked orzo
  • 3 tbs butter
  • 2 cloves garlic, minced
  • 3 cups stock (I love Better than Bullion)
  • 1/2 cup basil, chiffoned
  • 1 cup parmesan cheese
  • Salt and pepper to taste
  1. In a pot, melt the butter and add the orzo to sauté until the orzo is golden brown.
  2. Add the garlic and sauté for an extra minute or two. 
  3. Add the broth, cover and simmer for 20 minutes.
  4. Remove from the heat once all the broth is absorbed.
  5. Add the basil, parmesan, salt and pepper and stir until the cheese is melted.

Posted in Pasta, Vegetarian | Leave a comment

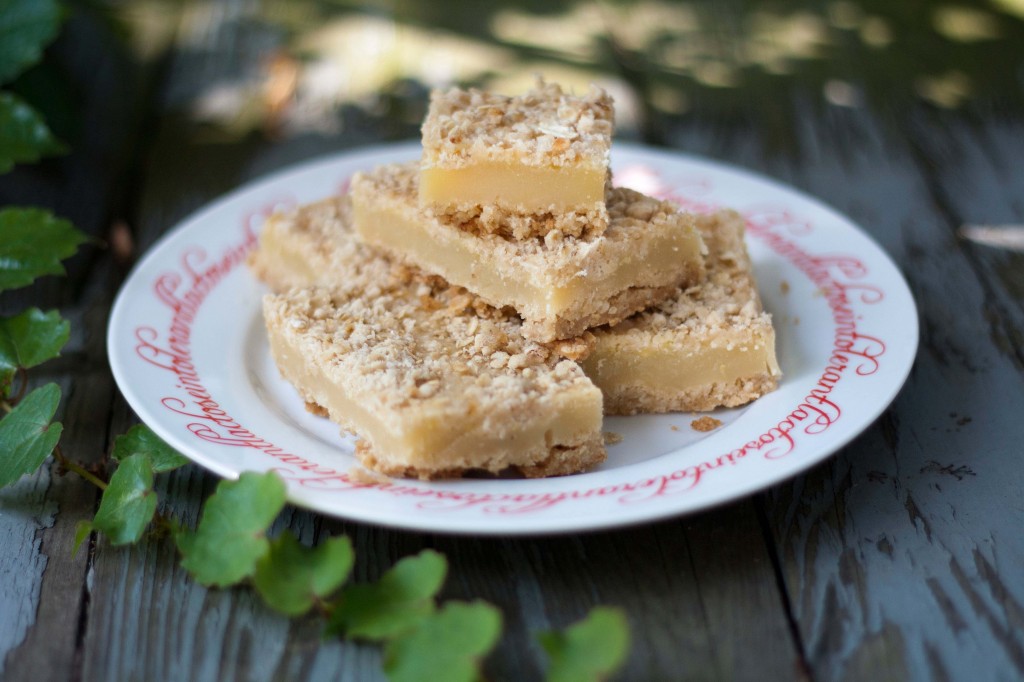
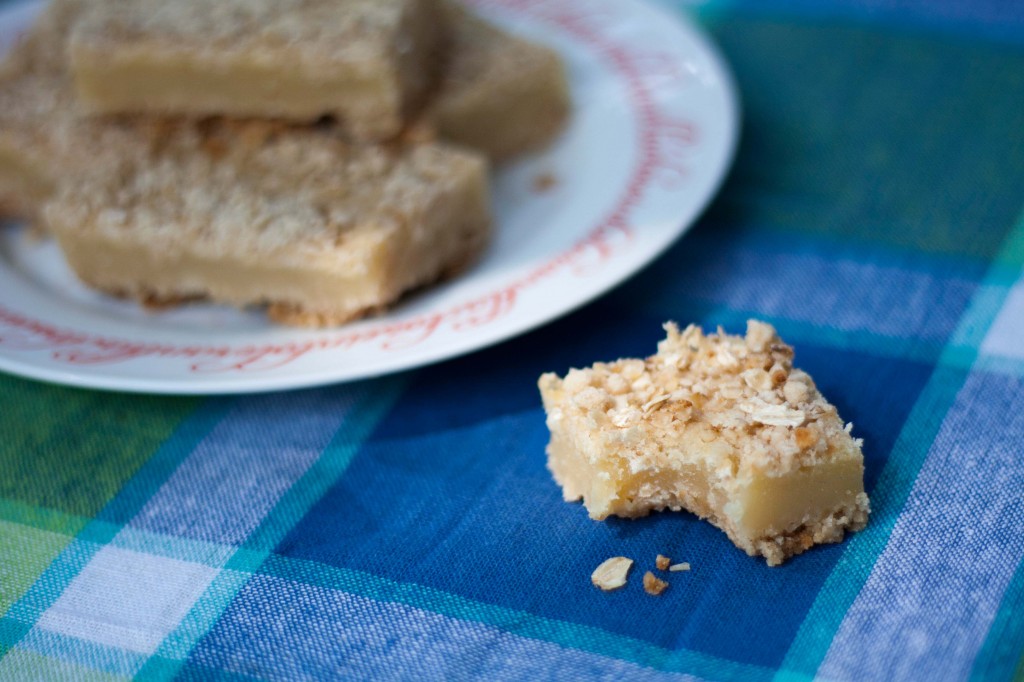
Lemon Crumble Squares

I feel like this recipe doesn’t even warrant an introduction. It’s just that good. So let’s just get on with the show…

(Adapted from The Pioneer Woman and Ina Garten)

Ingredients:

  • 1 1/2 stick butter, softened
  • 3/4 brown sugar
  • 1 1/3 flour
  • 1 cup oats
  • 1/2 tsp salt
  • 1 tsp baking powder
  • 1.5 cups sugar
  • 1.5 cups lemon juice
  • 6 room temp eggs
  • 1 cup flour
  • 2 tbs zest
  1. Preheat oven to 350 degrees F.
  2. In a large bowl, combine the butter and brown sugar with an electric mixer.
  3. In a separate bowl, sift together the flour, oats, salt and baking powder.
  4. Combine the flour mixture with the butter and brown sugar.
  5. Press half of the oat mixture into the bottom on an 9×13 in baking dish.
  6. Let the crust bake for 10-15 minutes then set aside to cool.
  7. For the filling, whisk together the sugar, lemon juice, eggs, flour and zest.
  8. Pour the filling over the bottom crust, top with the remaining crumble mixture, and bake for 30 minutes (until the filling is set). 
  9. Let cool then enjoy!

Posted in Dessert, Fruit | Leave a comment

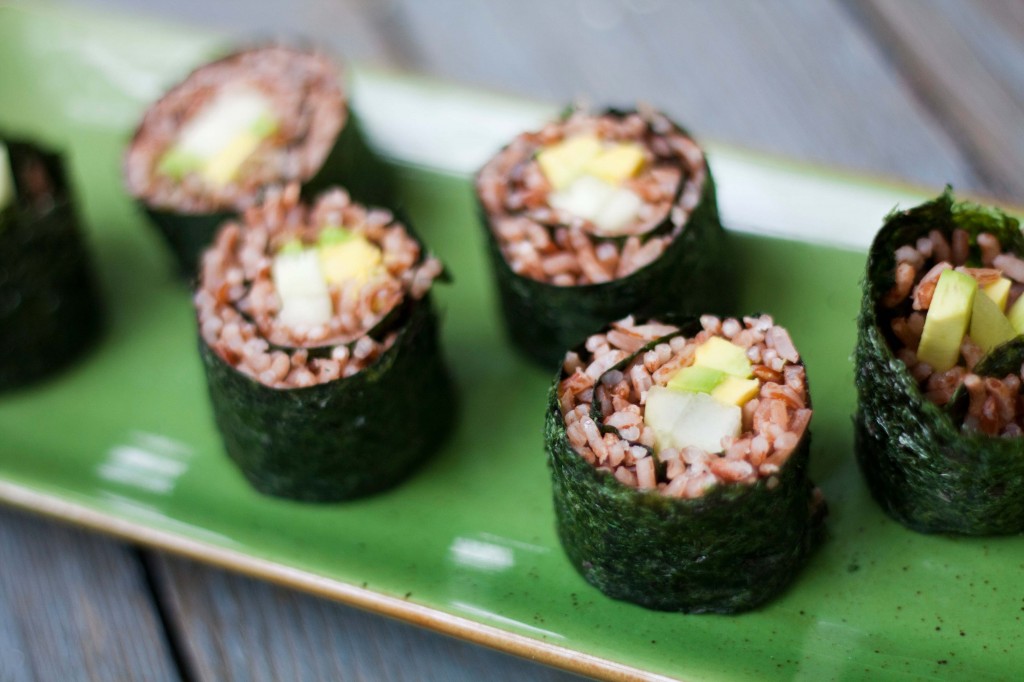
Avocado and Cucumber Maki Rolls

At some point in my future I will get a paycheck. That’s right! We are quickly nearing the point in my adulthood when I will no longer hemorrhage money on my education. Instead someone will be PAYING ME to use the knowledge I have spent 20-something years accumulating. And what will I be doing with this money? Buying sushi of course! I mean, what else should I be doing with that money? Oh right…paying back my loans. Well I guess I’ll do that too. Until that point, I guess I’ll keep making sushi for myself. I’ll admit that I’m a little wary when it comes to using raw fish…okay that’s a lie, I’m really just too cheap to buy sushi grade raw fish. But if you’re feeling up to it, there are plenty of great places to buy sushi grade fish (be sure to check out the selection at West Side Market).

What you need:

  • Sticky Rice (see recipe below)
  • Bamboo rolling mat (these cost about $1 at the Asian grocery store)
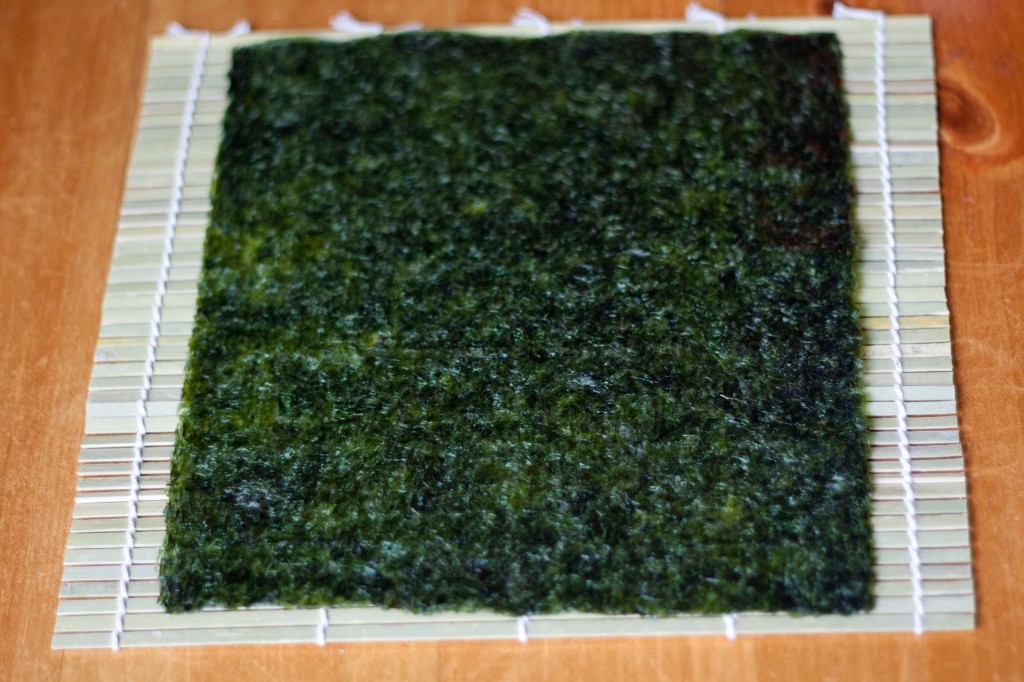
  • Nori Sheets (costs $2-$3 for 20+ sheets at the Asian grocery store)
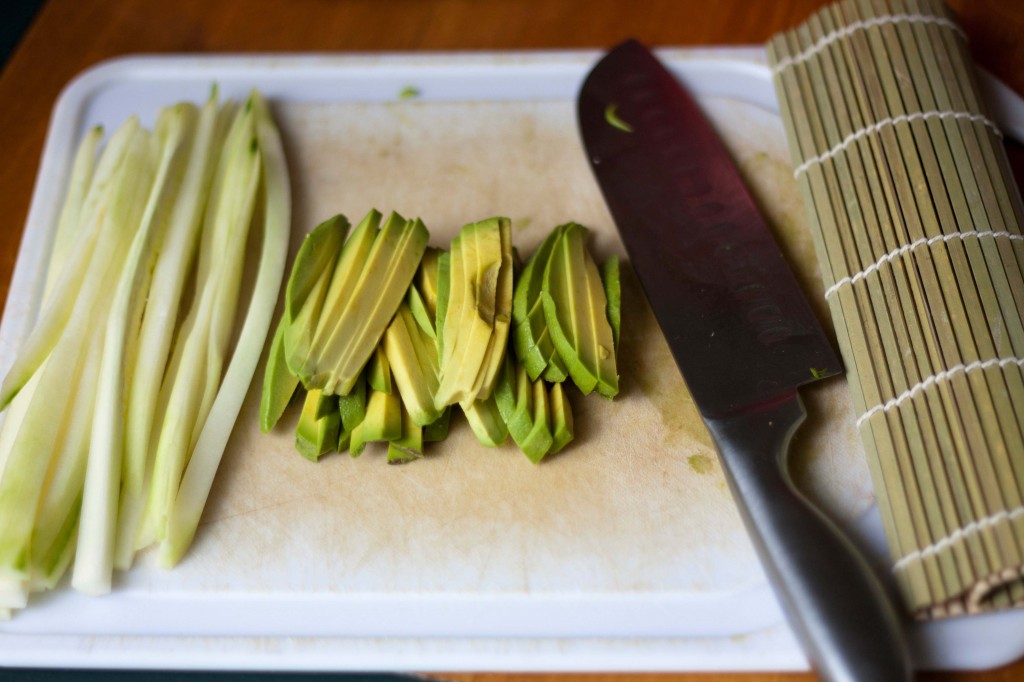
  • Avocado, cucumber, etc. (I usually use 3-5 avocados depending on the size, and 1-2 cucumbers for the amount of rice listed below)

Rice:

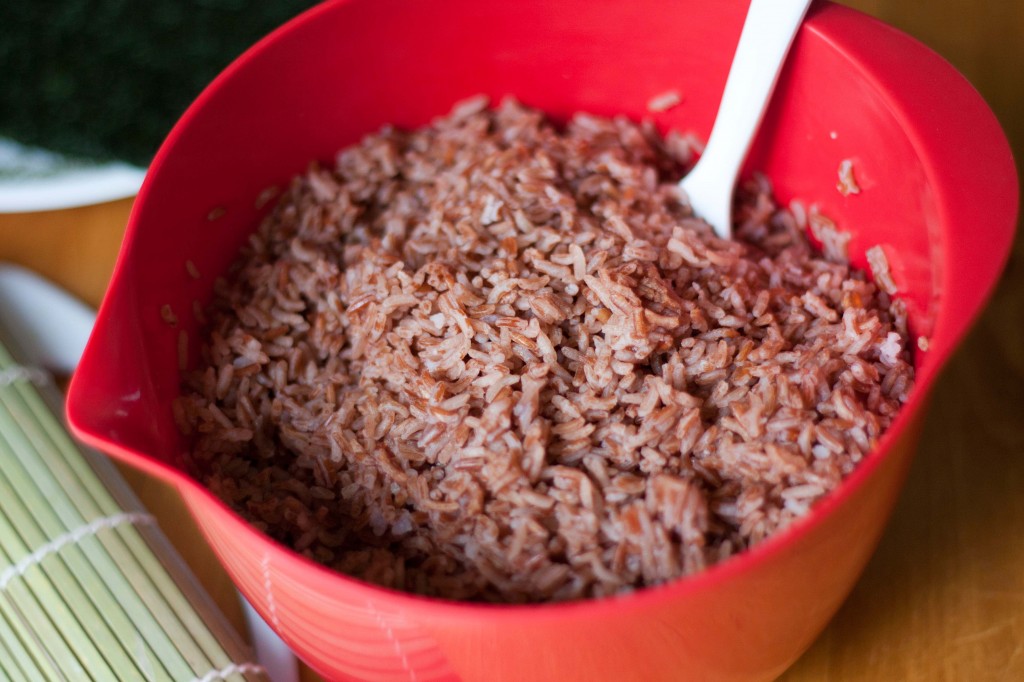
  • 3 cups uncooked Japanese short grain rice (Short grain rice is required to make sticky rice. I used a Madagascar pink rice in these pictures, because that’s what I had lying around, but it’s A LOT harder to work with.)
  • 3 1/4 cup water
  • 1/3 cup rice vinegar
  • 3 tbs sugar
  • 1 tsp salt
  1. Steam the rice in the 3 1/4 cup water.
  2. While the rice is cooking, heat the rice vinegar, salt, and sugar over medium heat until the salt and sugar dissolve (fyi, this makes some pretty vicious fumes).
  3. Once dissolved, cool the mixture in the fridge until the rice is done cooking.
  4. Combine the cooked rice and vinegar mixture. You’re supposed to do this in front of a fan in order to cool it down and remove the excess moisture, but I never do this because I’m too lazy to go find a fan…but it’s worth a shot if you’ve one lying around!

  • Slice veggies into small strips

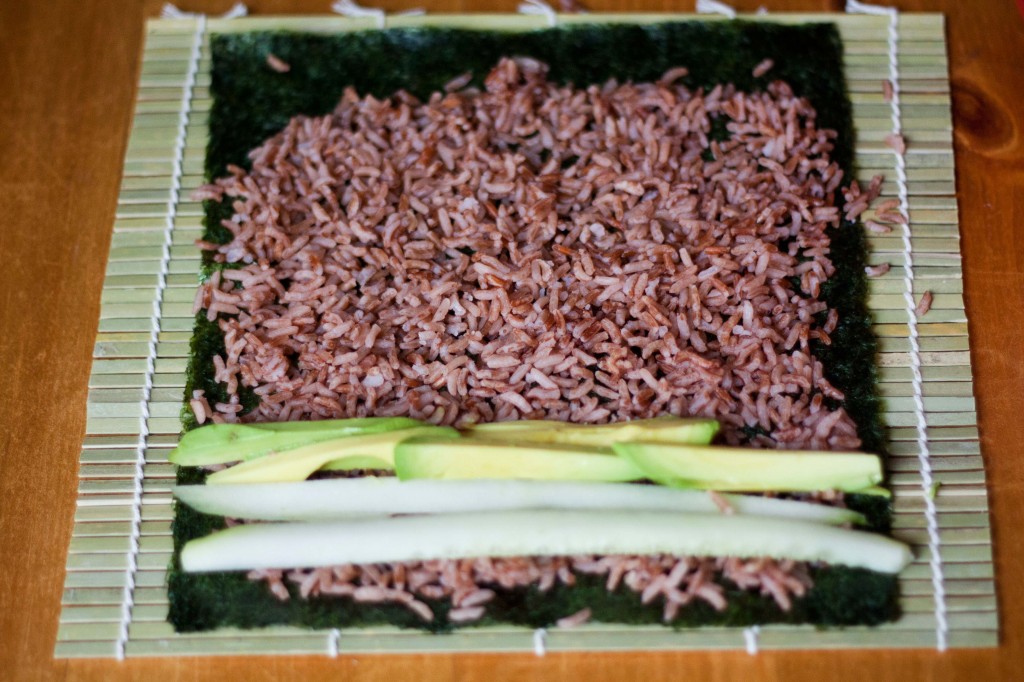
  • Spread a thin layer of rice over the nori, leaving the top 1 inch free of rice.
  • Arrange the veggies over the bottom fifth of the rice covered nori.

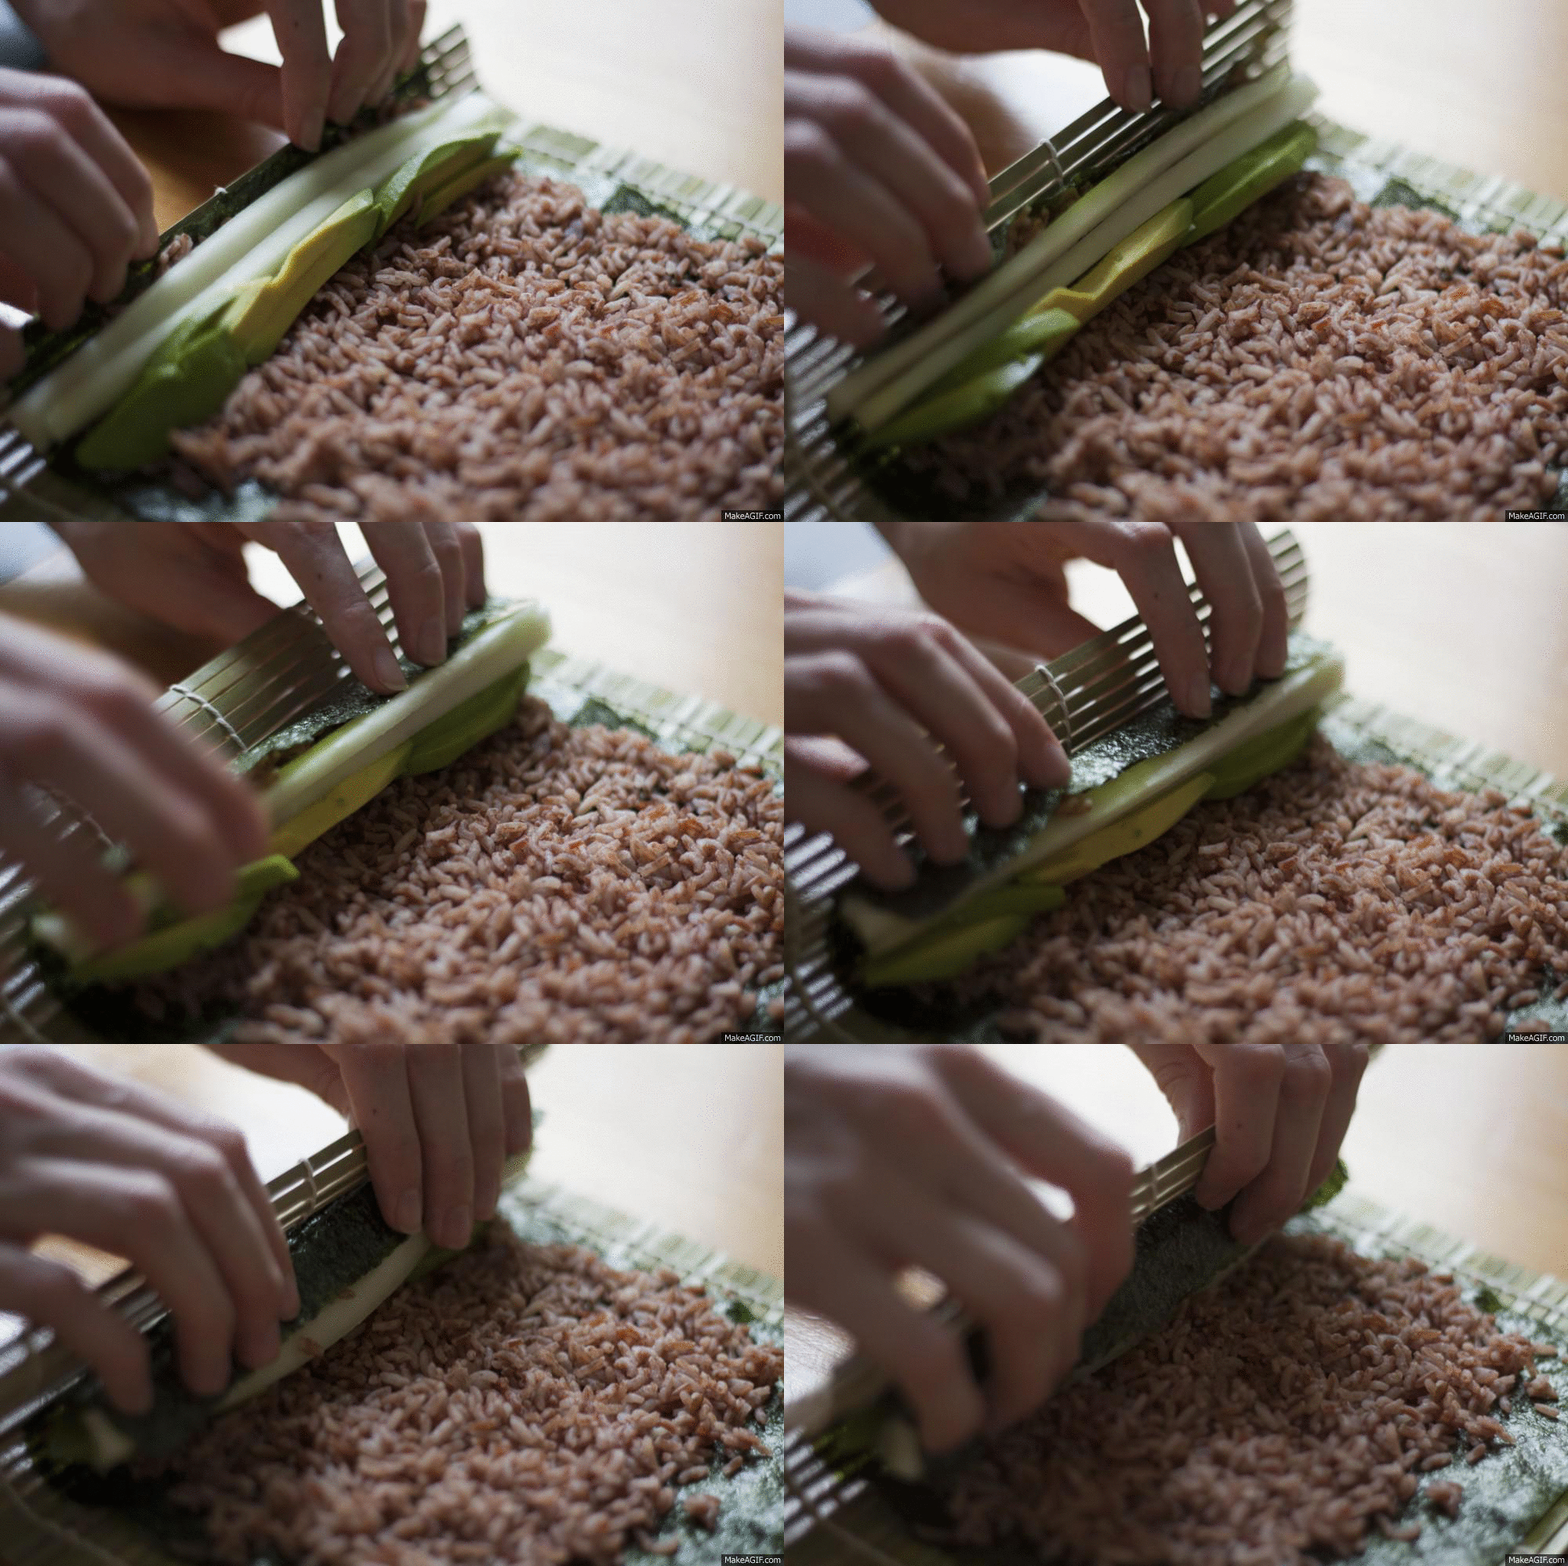
  • Holding the nori mat between your thumb and forefinger and begin rolling the nori around the veggies, stabilizing the veggies and end of the nori with the other fingers.

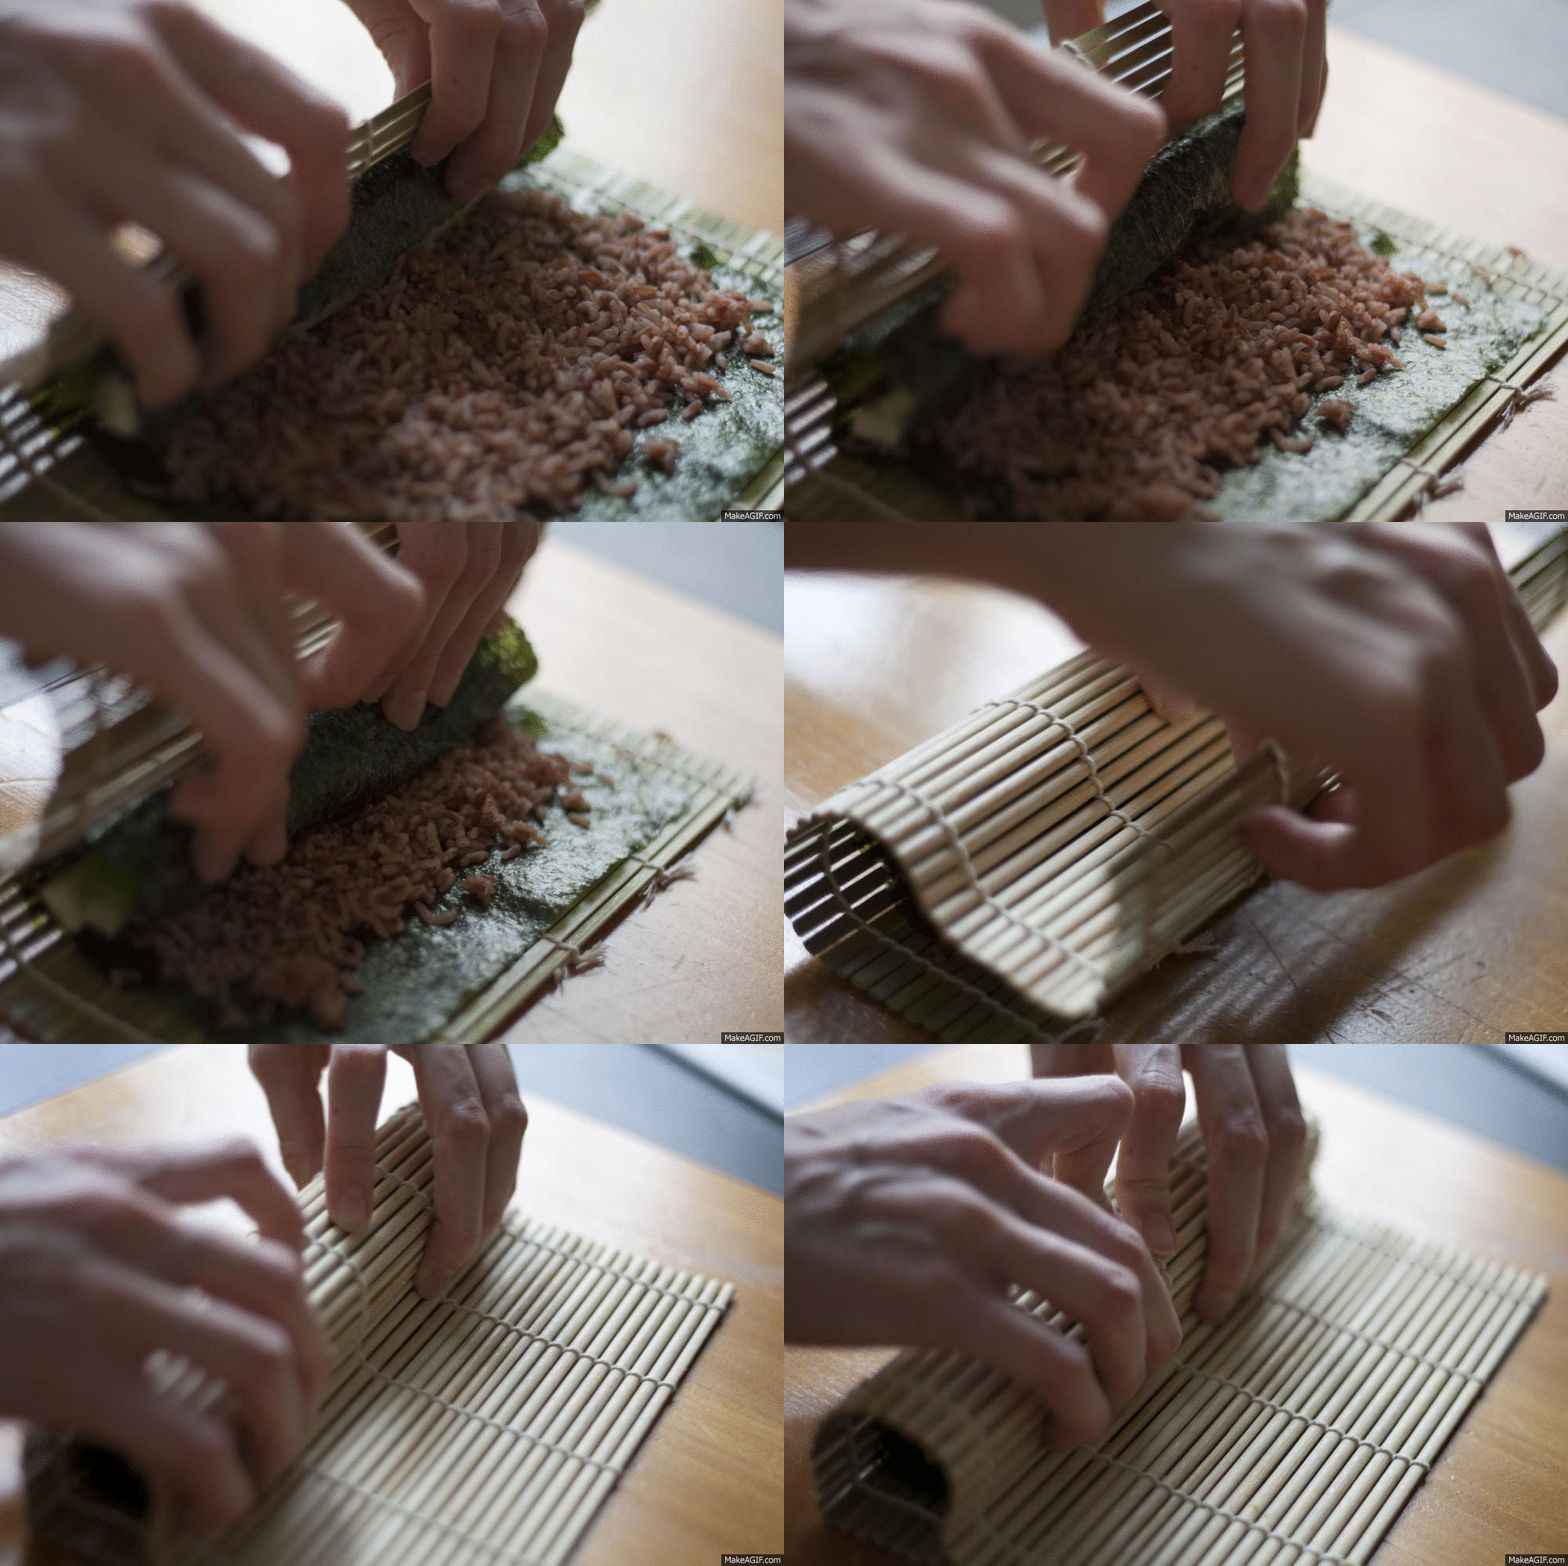
  • Once the edge of the nori meets up with the rice and forms a complete circle (I know that sounds weird, but I can’t think of any other way to describe it), be sure to guide the nori so it folds over onto itself as you continue to pull forward on the bamboo mat.
  • Continue pulling the bamboo mat forward until the nori forms a complete roll, and finish up by gently compressing the roll (see above).

  • Secure the “free edge” of the roll with a little bit of water (see above).
  • Slice the roll in half with a sharp knife (wetting the knife makes this easier).
  • Line two halves up and slice into thirds, leaving you with 6 totals pieces.
Posted in Snacks, Vegetarian | Leave a comment