-
Recent Posts
Recipes
January 2026 M T W T F S S 1 2 3 4 5 6 7 8 9 10 11 12 13 14 15 16 17 18 19 20 21 22 23 24 25 26 27 28 29 30 31 Yestermonths
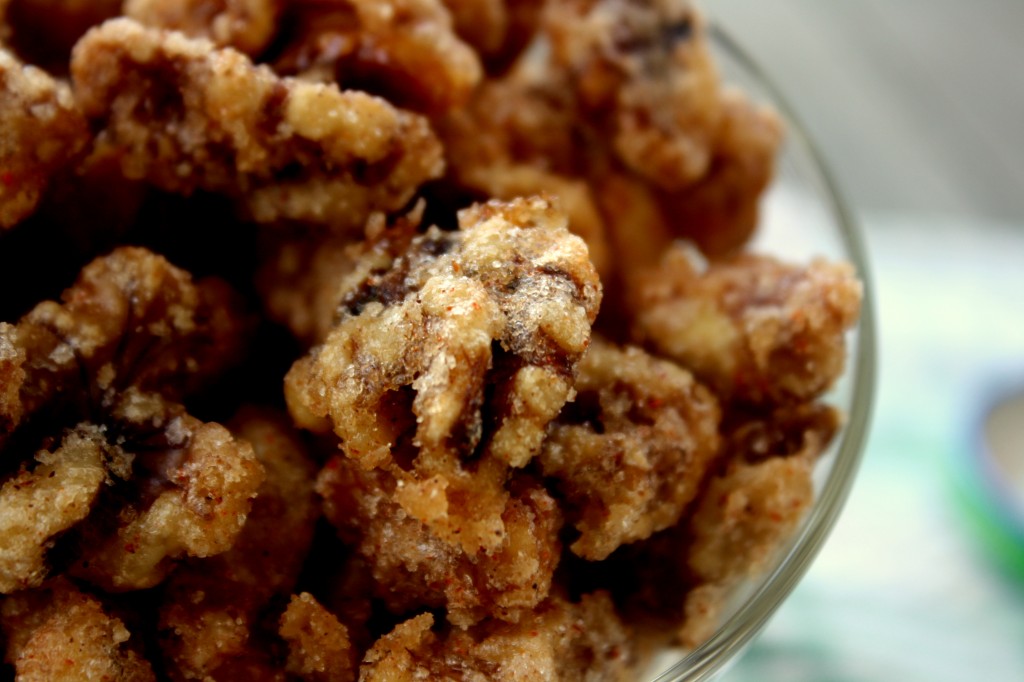
Sugar Spice Walnuts
Posted in Snacks
Leave a comment
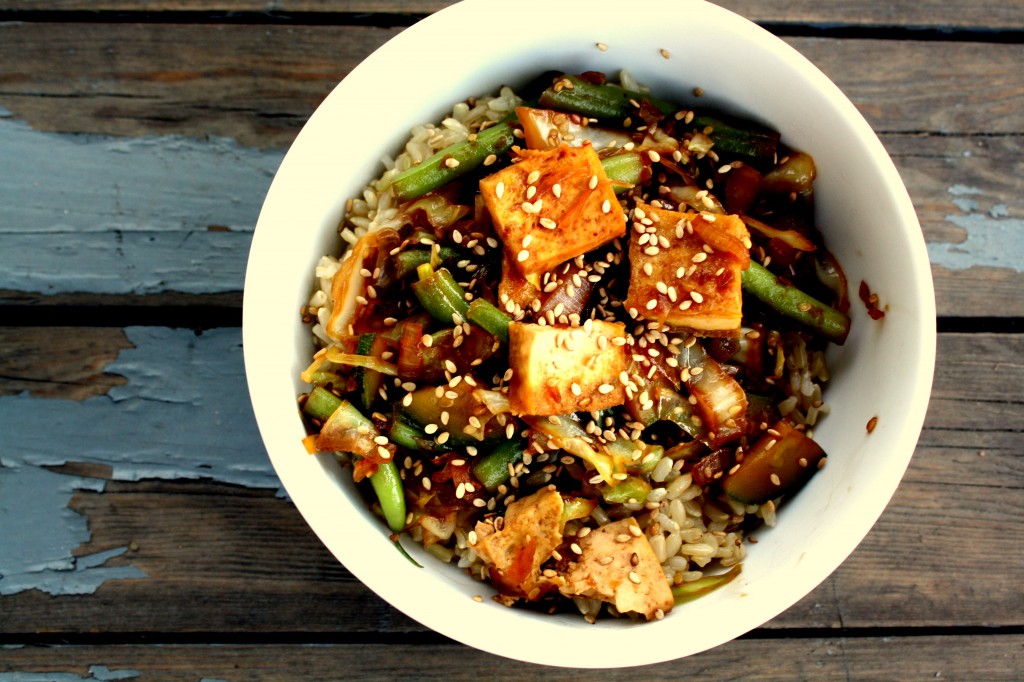
Veggies, Tofu and Rice – Ari’s take on comfort food
So I (Ari) grew up in a house with limited exposure to junk food. We didn’t have cereals with sugar, any ice cream, candy, etc…there were no frozen pizzas in my freezer or after school trips to McDonalds. We had salad with every meal, rarely ate meat, and dessert was something my siblings and I only expected on birthdays and holidays. Now, I should probably clarify that this is not something I’m complaining about. It taught me to not only eat, but enjoy healthy food. It also greatly influenced how I cook (and eat) today.
The other night, as Anita and I were eating the dinner I’m about to describe to you, we started talking about what we consider to be “comfort food”. We mentioned the biggies like mashed potatoes and stews, but not long into the conversation we realized that my definition of comfort food would not exactly fit with a “normal” person’s definition. For me, comfort food is something that tastes good when I’m eating it, and after I’m finished, I feel good about what I ate because I know my mother would probably approve of how healthy it was… Yes, I am an adult, and am more or less able to make my own decisions about what is good for me, but that little voice in the back of my head telling me to eat salads instead of french fries still sounds strangely like my mother’s. So I’m gonna dedicate this entry to my mom – the honey farming, house building, maple tree tapping woman that I love.

So there you go, today’s intro for one of my favorite dishes which I will call – Veggies, Tofu and Rice (creative, I know).
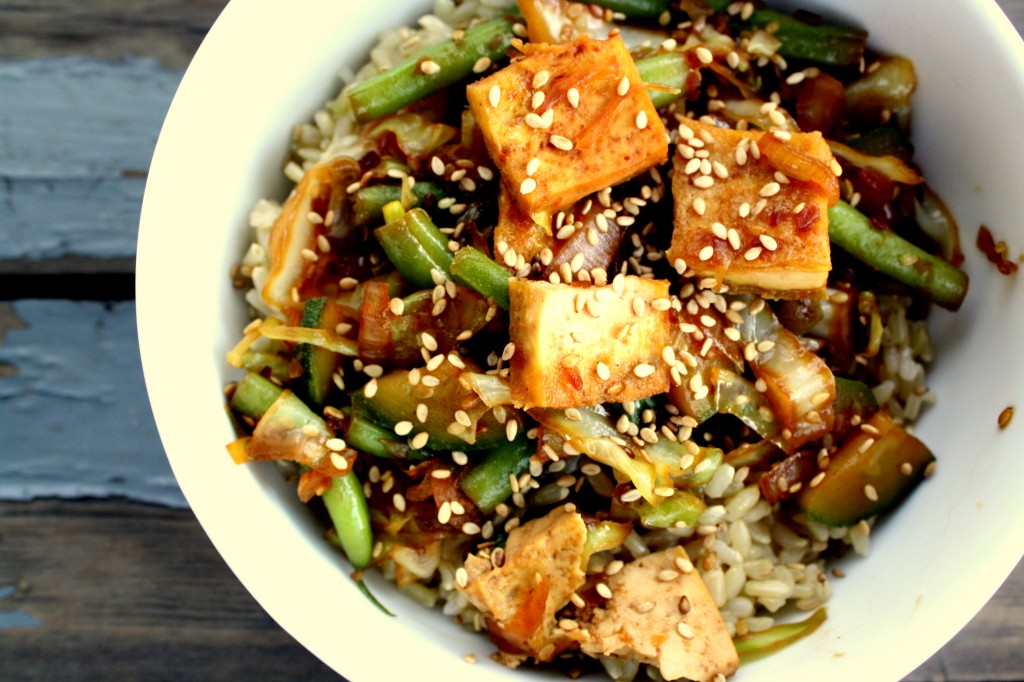
What you need (please note that the images posted below include green beans and zucchini rather than mushrooms and sprouted mung beans, but the recipe described below is a little tastier) :
- 1 brick of extra firm tofu
- 1 1/2 cups of sliced mushrooms
- 1 thinly sliced vidalia onion
- 1/2 a head of cabbage (shredded)
- 2 cups of sprouted mung beans (buy these at the asian market cause they’ll be wayyy cheaper)
- sesame oil
- sesame teriyaki merinade
- sesame seeds (optional)
- 2 1/2 cups brown rice (or white rice if you prefer)
- Cook the brown rice according to instructions on box or rice cooker and set aside for later.
- Cut tofu into small cubes and fry in about 3-4 tbs of sesame oil (enough to coat the bottom of the frying pan). You don’t need to fry it all the way through – only enough so that they don’t fall apart when they’re added to the vegetables.
- Saute the veggies in about 1 tbs of butter (it’s fine if you skip the butter) in a different pan than the tofu. I like to add the vegetables in the order of toughest to softest. Start with the cabbage and onions…wait for a few minutes…then add the mushrooms and sprouts.
- Once the cabbage has reached a good consistency (that one takes the longest), add the tofu to the pan and add 3-4 tbs of the sesame teriyaki marinade. Cook for a few more minutes and stir so the merinade coats everything.
- Serve the rice with the tofu/veggie mixture and top with some additional sesame seeds.
There you have it! A dish that satisfies my definition of “comfort food”.
Posted in Vegetarian
2 Comments
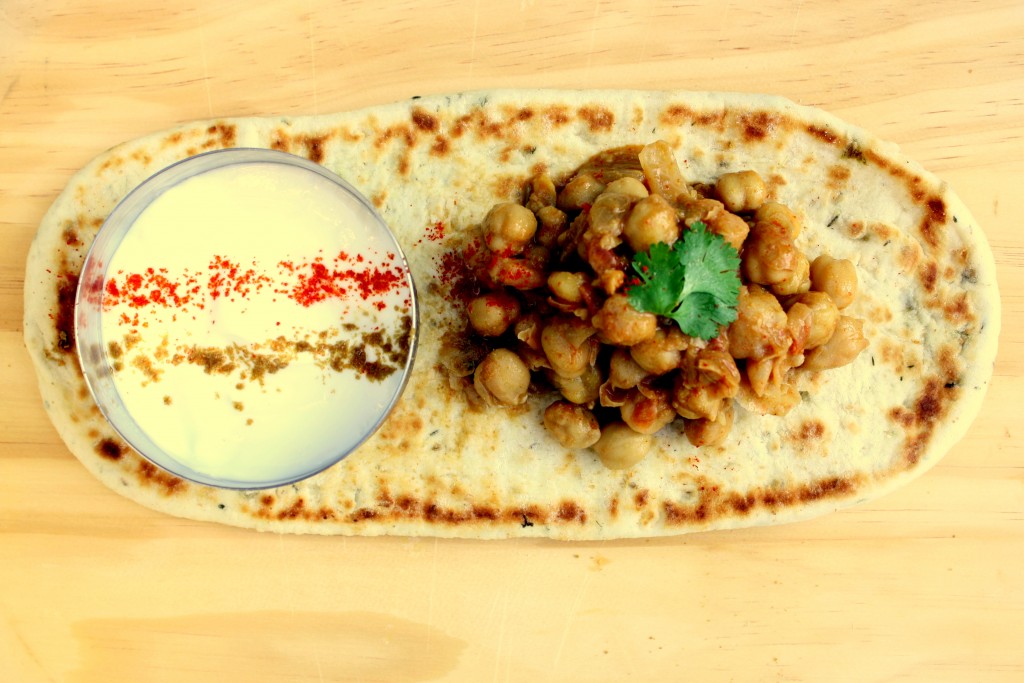
Chickpea Curry (Chana Masala)
Thanks again to Omri for the new site!
As if someone pressed an eject button, Ari and I were jettisoned to our respective homes this week for one last go at summer. I’m happy to be home and eager to get some additional cooking training before Year 2 begins on Monday.
Because we both love to cook (and to eat), aren’t huge fans of eating out, and have limited time, Ari and I are going to try to cook several meals on Sunday that we can eat throughout the school week. Fortunately, Indian food happens to keep well in the fridge and, as the spices meld, gets even better on day 2 or 3. I’m going to start with an easy recipe, and hopefully entice you to cook along with me as I tackle some of my family’s staple dishes.
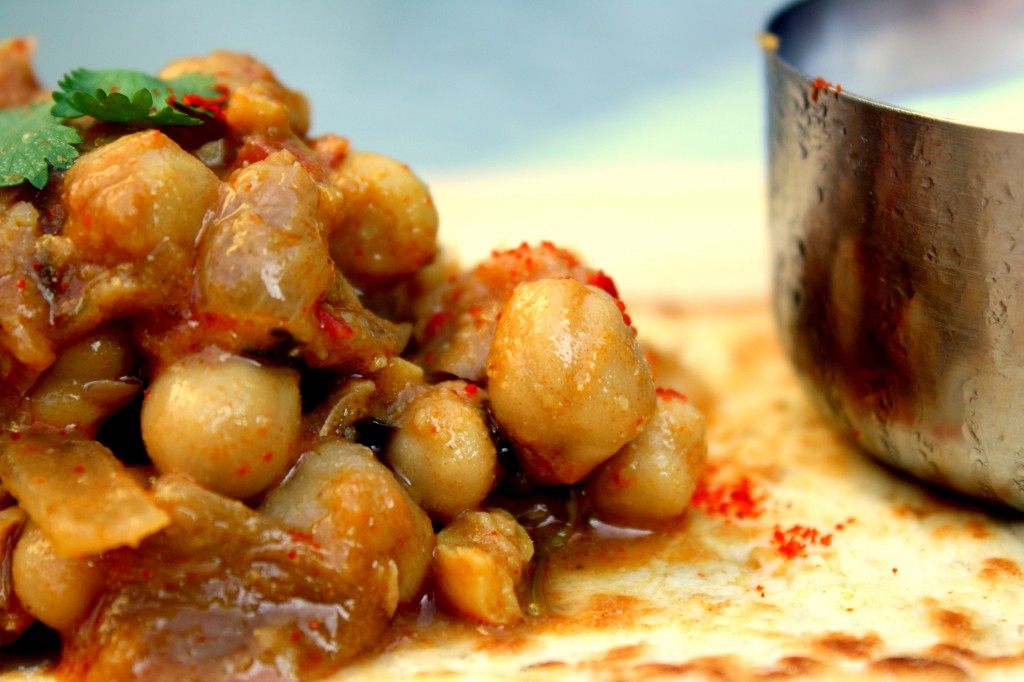
Chickpeas are inexpensive and filling, and they play a creamy role in this simple curry. Think of it as a spicy vegetarian chili. I’ll post later about the importance of the spices, but if you don’t have all the spices listed below don’t worry–the most important ones are the chili powder and cumin, followed by coriander if you have it.
Ingredients
- 1 large yellow onion, diced finely
- 4 tbsp neutral oil (i.e. canola)
- 3 cans garbanzo beans (16 oz each)
- 1 1/2 tsp chili powder (this is the only truly hot spice, adjust to taste)
- 2 tsp cumin powder
- 2 tsp coriander powder
- 14 oz can diced tomato
- 2 tsp amchur powder
- 1/8 tsp garam masala
- 2 tsp salt
In a stockpot or deep pan, warm the oil on the stove at medium-high heat. Add a small piece of onion and wait until it sizzles before adding the rest. Saute the onion until it becomes translucent and soft, about 5 minutes. Add the garbanzo beans, chili powder, cumin powder, and coriander powder. Stir to coat for about 3 minutes. Add the tomato and stir to break up the chunks. Add the amchur powder, garam masala, and salt to taste, and cook for 5 additional minutes, stirring occasionally. Then add 3 cups of tap water and stir well. Let cook on a medium-high flame, stirring occasionally, until the water turns into a thin, spicy gravy among the chickpeas. Adjust for chili powder and salt.
Garnish with cilantro as desired. Serve with rice and pita bread. For the spice intolerant, I recommend a side of plain yogurt to cut the heat.
Posted in Indian, Vegetarian
6 Comments
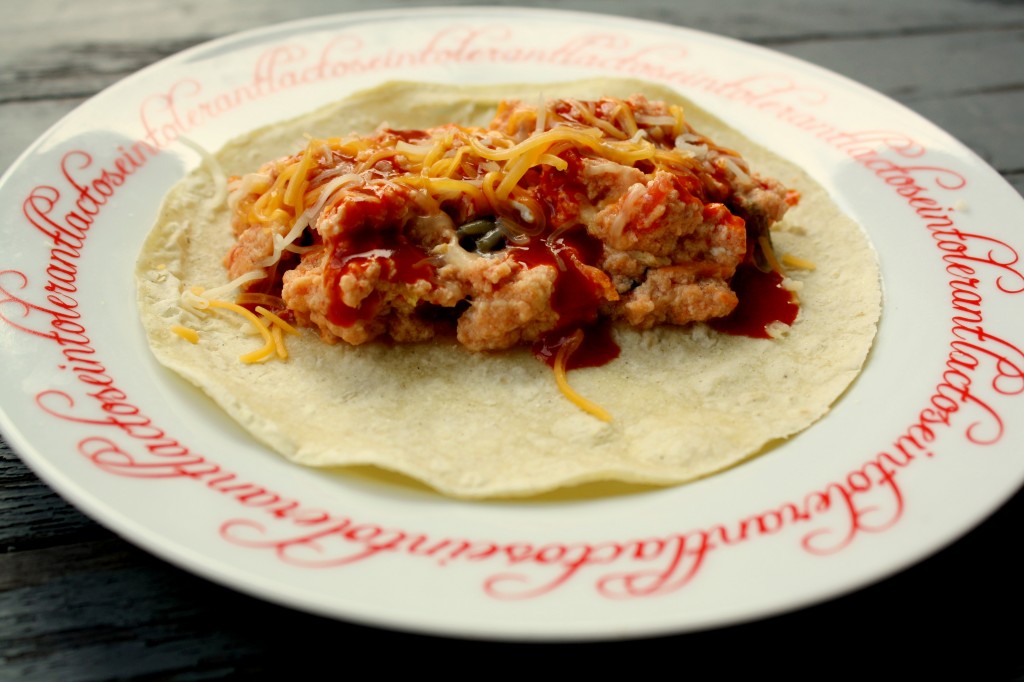
5 Minute Breakfast Taco
We’ve all been told since we first learned how to feed ourselves that breakfast is the most important meal of the day… Now I’m not entirely sure what about it makes it the “most important” (personally, I think any opportunity to eat should be taken advantage of), but I know that if I don’t eat anything before classes start at 8, I’m not only very grumpy, but I’ve got the attention span of a 5 year old. While there is a simple solution to this problem (duh, eat breakfast), it’s important to realize that getting up early to make a big breakfast takes away from one of my favorite things, sleep. In order to get my very necessary, early morning caloric intake, all the while maximizing the amount of time I get to spend in the dream world, I’ve come up with a delicious and nutritious 5 minute breakfast taco.
What you need (serves 1-2 people):
2 eggs
1/2 cup cottage cheese
1/3 cup salsa
crushed red pepper flakes (to taste)
2 corn tortillas (or flour if you prefer)
grated cheese (optional)
hot sauce (optional)
What you need to do:
1. Heat a frying pan on the stove. You can melt butter in the pan if you want, but it’s not necessary.
2. Whisk the eggs in a separate bowl and add them to the frying pan.
3. Add the cottage cheese, salsa and red pepper flakes.
4. Cook until the eggs are no longer runny.
5. Plate the egg mixture on the tortillas (you might need 3 tortillas depending on how big the eggs are).
6. Add cheese and hot sauce.
7. Eat up and run to school.


