Hoegaarden Gingerbread Cake

The nice thing about my roommate, and hopefully all roommates, is that she always has positive things to say about my cooking.  I’ve made the house smell like the nuclear apocalypse, with a week-long fallout wreak of oil and spices, and she still rubs her belly and tells me how good everything is.  This is a little disconcerting, because I’m positive that one day I’ll poison her and she’ll still be smiling as she lapses into a coma.  But for now, it’s useful–I can experiment with food for any occassion.
Last year I made this gingerbread cake from Smitten Kitchen for Ari’s birthday, and this time I changed the recipe because I have no fear and because I know she’d still love a flop. Here are the notable exceptions:
  • Hoegaarden Witbier (left over from the Mussels) instead of Guiness
  • 1/2 of the original recipe
  • Applesauce instead of oil
  • Blackstrap molasses + Honey to replace regular Molasses
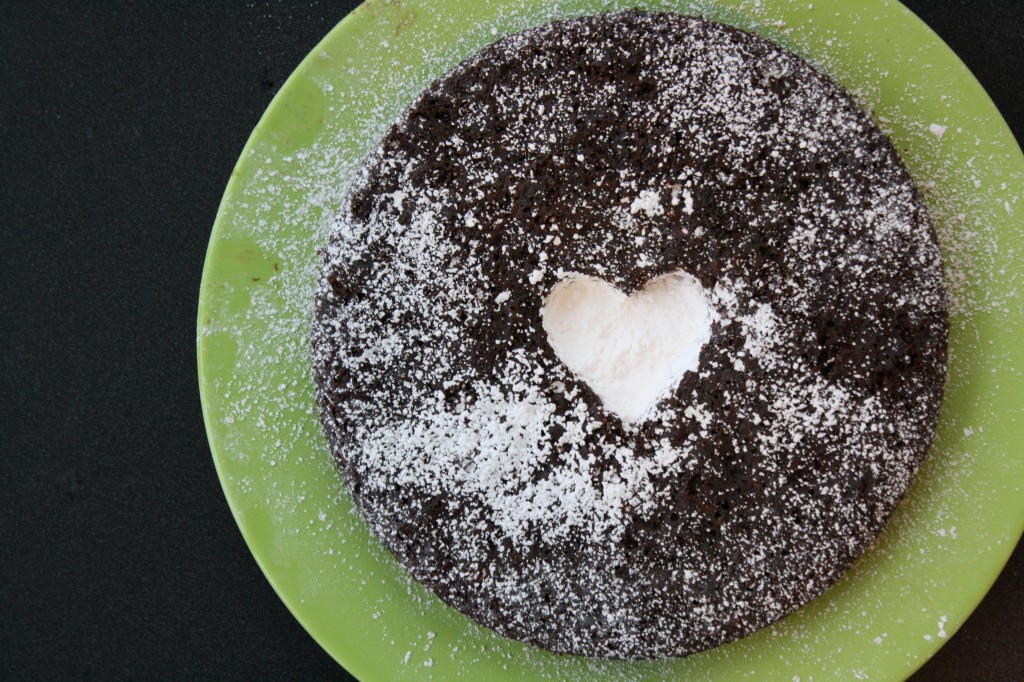
I think it turned out really well–the applesauce upped the moistness, and the Hoegaarden complemented the deep flavor of the ginger and molasses.  Ari liked it too.  She’s still alive, at any rate.

Ingredients

  • 1/2 cup Hoegaarden Witbier
  • 3/8 cup blackstrap molasses
  • 1/8 cup honey (to measure this, just eyeball the molasses and the honey into a 1/4 cup)
  • 1/4 teaspoon baking soda
  • 1 cups all-purpose flour
  • 3/4 teaspoons baking powder
  • 1 tablespoons ground ginger
  • 1/2 teaspoon ground cinnamon
  • 1/4 teaspoon ground cloves
  • 1/4 teaspoon freshly grated nutmeg
  • Pinch of ground cardamom
  • 1 1/2 large eggs (to measure this, beat one of the eggs and then eyeball 1/2 of it into the mixture along with one whole egg.  Make a 1/2 egg omelet with the other egg)
  • 1/2 cup packed brown sugar
  • 1/2 cup granulated sugar
  • 3/8 cup sweetened applesauce
  • Confectioners sugar for dusting

Heat the oven to 350F.  Boil the molasses/honey and beer over medium-high heat until it boils, then let it cool to room temperature.  Add the baking soda to this mixture.  Whisk together the egg, sugars, and applesauce in a large bowl, and mix all of the dry ingredients in a separate smaller bowl.  Whisk the beer mixture into the sugar mixture, then add the dry ingredients on top and mix just well enough to make the dry bits disappear.  Lubricate an 8″ baking pan and pour the batter into it.  Bake on the middle rack of the oven for 30 minutes–the cake is done when a knife inserted into the middle comes out without wet batter.  Cool for ten minutes before turning over onto a plate–this will help avoid sogginess from the cake’s own heat getting trapped in the pan.  Dust with confectioner’s sugar as decoration.  The cake tastes better on Day 2.
Posted in Dessert | 7 Comments

Snickerdoodles

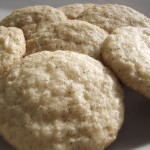
It’s that time of the year again! No, I’m not talking about the holiday season…I’m talking about finals week!! And what goes best with finals week? SUGAR (and caffeine if you are so inclined)! Now given the fact that I somehow need to be able to spit out everything there is to know about the brain tomorrow morning…and I seem to only have learned one hemisphere of it, I’m gonna leave you with a short, and very sweet post.
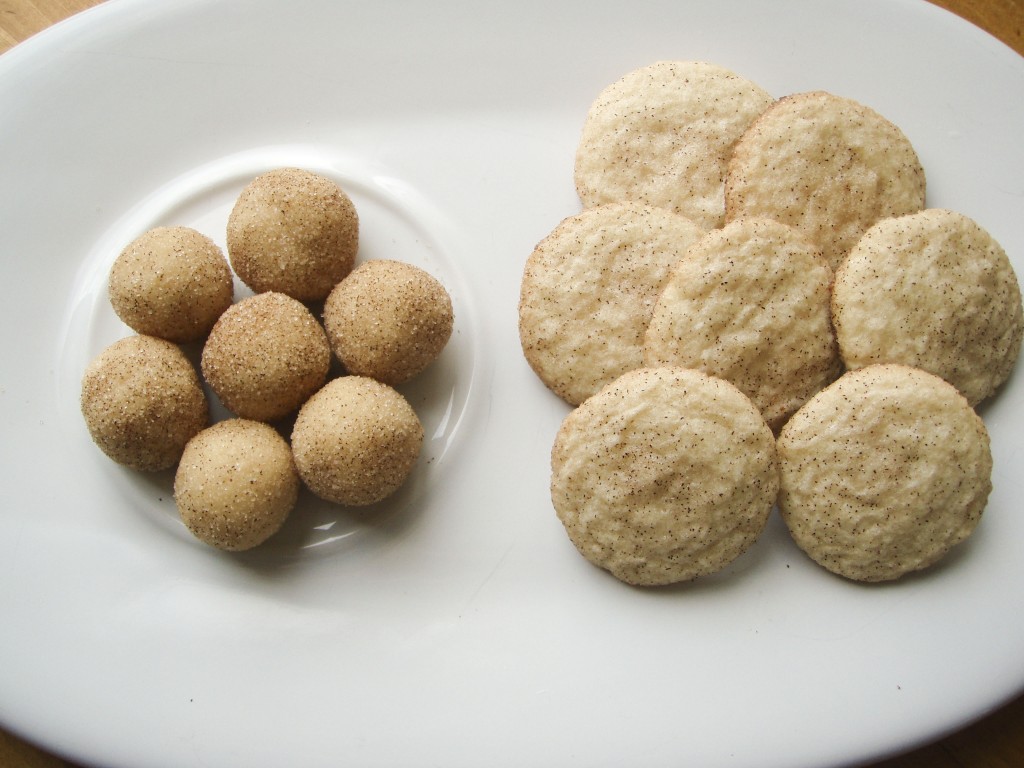
Here are some delicious snickerdoodles created using a recipe provided by my wonderful friend Lauren (who got it from her best friend, Maya…who got it from her sister…who got it from…?). Just a warning, this recipe makes a lot of cookies, and they are not exactly what I would call healthy…so make sure you have plenty of people to give these cookies to when you set out to make this recipe. I mean, it is supposed to be the holiday season of giving!

What you need:

  • 3 3/4 cups all purpose flour
  • 1/2 tsp baking soda
  • 1/2 tsp salt
  • 1/2 tsp cream of tartar
  • 1 cup (2 sticks) butter, softened
  • 2 cups sugar
  • 2 eggs
  • 1/4 cup milk
  • 1 tsp vanilla
  • Cinnamon Sugar (4 tbs sugar and 1 tbs cinnamon)

What you need to do:

  1. Preheat the oven to 375 degrees F, and grease or line your cookie sheet.
  2. Stir together the flour, baking soda, cream of tartar and salt (please notice I did not mention sugar).
  3. Beat butter for 30 seconds, then add sugar and beat until fluffy (2-3 minutes).
  4. Add the eggs, milk and vanilla; beat well.
  5. Add the dry ingredients to butter mixture, and mix for another minute or so.
  6. Form dough into walnut-sized balls and roll in cinnamon sugar mixture.
  7. Place 2 inches apart on sheet and flatten with the bottom of drinking glass.
  8. Bake for about 8 minutes.
  9. Enjoy!
Posted in Dessert | 1 Comment

Greek (Strained) Yogurt

If you’re reading from RSS, click through to see the tidied banner!

One of the best things I did during my senior year of undergrad is work at a European foods store at the West Side Market.  8am my first day, they slapped an apron on me and sent me into a crowd of cheese-seeking customers.  The restaurant that usually brought us lunch ran behind, so at about 3pm one of my bosses shaved some salami, havarti, and bread, grabbed whole milk Fage out of the fridge, and set up a table in the basement office so I could eat.
I’ve had few experiences more sensual than those 10 minutes alone in the basement below the store.  That Fage…oh my god.  Imagine eating your childhood idea of a thick, fluffy cloud.  Then add a bittersweet tang.  Yogurt heaven.
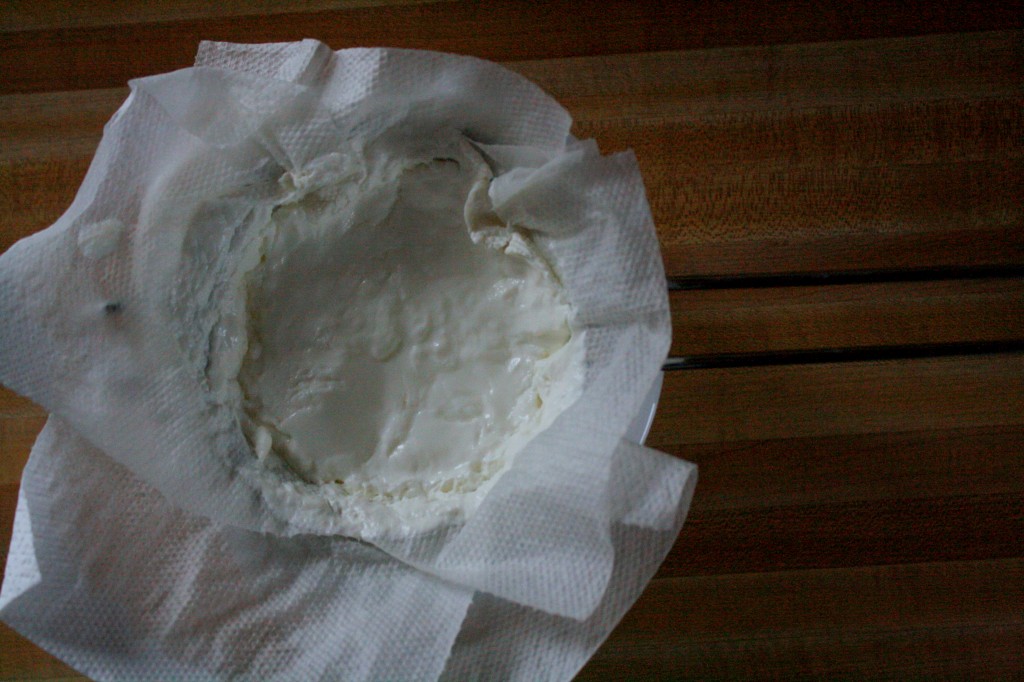
I started doing the homemade yogurt thing last year, and soon after that learned how to strain the yogurt through cheesecloth to reproduce that thick Fage texture (it’s usually smoother than it looks in the picture).  I’m not sure how food safe this is, but I’ve become lazy and now just strain through paper towels.  I beg of you, even if you’re not going to buy a yogurt maker, try straining some plain store-bought yogurt.  I use it as cream cheese on bagels, as a replacement for sour cream, as the base for tzatziki, or straight up with some honey.

Ingredient (is this recipe cheating?)

3 cups plain yogurt (store bought…or make your own)

Line a fine mesh strainer with 3 layers of paper towels.  Place over a bowl and gently fill the strainer with the yogurt.  Place in your fridge for 6 hours to let the water drain out of the yogurt.  If you’re using this for something else, keep in mind that the total volume will reduce by half.  Afterward, transfer to a tupperware container and store in the fridge for up to 2 weeks.
Posted in Snacks | Leave a comment

Mom’s Chili

As I’ve mentioned in recent posts, growing up in my household meant that you spent your childhood years thinking that well known dishes (for example pancakes) were meant to taste one way, only to be rudely awakened by the way it “normally” tastes when trying it in a restaurant or friend’s house for the first time. Chili was no exception to this rule. For me, chili is supposed to have crunchy wheatberries, be comprised mostly of chunky tomatoes, have little to no meat in it…basically, picture Skyline Chili and now try to think of the most opposite style of chili imaginable…that’s what I grew up eating.
I feel it’s important to mention that I am not at all upset by this discrepancy. I LOVE my mom’s chili. It’s delicious AND nutritious. The only downside is that whenever I want to eat it, I can’t just walk into a restaurant and order a bowl of chili. The fact is, over the past 22 years, this has limited me to only getting to eat this delicious dish when I was home and manage to convince my mom to make it. Well I decided I needed to do something about this during my last trip home. I forced my mom to teach me how to do it myself…and now that I know how, I can share it with all of you! So, with out further adieu, I’m proud to present my mom’s famous chili.
Side Note: When I make this dish, I make it as a vegetarian chili, but it’s very easy to make it into a chicken chili. I’m going to describe the dish below with the chicken, but if you want the vegetarian version, all you have to do is leave out the meat (I guess that was kind of obvious…).

What you need:

  • 1 large white or Spanish onion (diced)
  • 2-4 large cloves of garlic (minced)
  • 2 cans light red kidney beans
  • 1 28oz can crushed tomatoes
  • 2 14oz cans diced tomatoes
  • 2 pounds ground boneless, skinless chicken breasts
  • 1 ½ cups wheatberries, uncooked
  • 2 bay leaves
  • 2 tsps brown dijon mustard
  • 1 tsp Worcestershire sauce
  • 1 cup red wine
  • juice from one lemon

What you need to do:

  1. Cook the wheat berries in the rice cooker. You can to add two times the amount of water as the wheatberries (for example, this recipes calls for 1.5 cups of wheatberries, so cook them in 3 cups of water).
  2. Sauté the onion and garlic in olive oil.
  3. Add the canned tomatoes to the pot.
  4. Add the kidney beans, bay leaves, mustard, worcestershire sauce, red wine and lemon juice.
  5. Chop/grind the chicken breast to the consistency of group beef (I recommend using the cuisinart). Brown with butter and garlic salt, then add to the chili sauce.
  6. Add the cooked wheatberries when they’re done (this can be at almost any point along the process).
  7. Simmer the chili for 45 minutes to one hour.
  8. Enjoy!
Posted in Vegetarian | 2 Comments