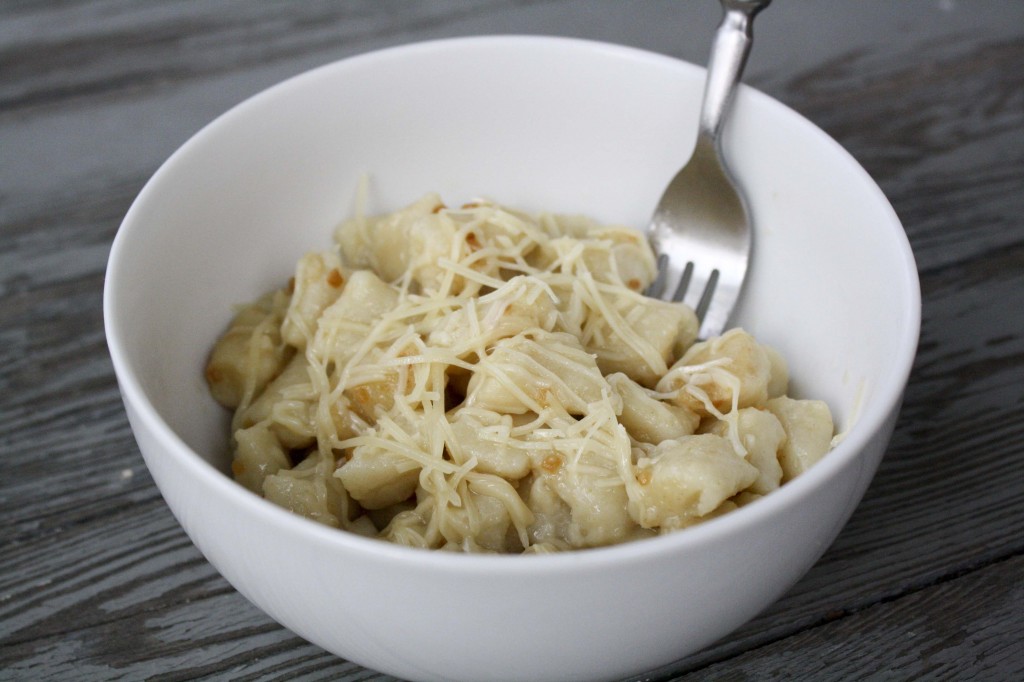
“Instant” Gnocchi

And we’re back…
After 6 long weeks of studying, one very tiresome 8 hour test, and 2 weeks of trying to recoup after said test, Anita and I are back in Cleveland, and one week into our 3rd year of medical school (well 3rd year technically started in feb, but I’ve come to think of the board study period as being in limbo between 2nd and 3rd year). Anita is beginning with her research block, and I am just starting to sink my teeth into my neurosurgery rotation…And now that we’re starting to settle into the rhythm of the new school year, we’re ready to resume our biweekly posting. Just like before, Anita will be posting every Wednesday and I will be posting Sundays…so (you better) get excited!
Now I realize that not everyone is familiar with the medical school curriculum, so for those of you who don’t know, rotations are essentially blocks of time ranging from a couple weeks to a couple months during which we are placed in a particular medical specialty (e.g. neurosurgery) and are told to pretend to be doctors…okay that’s not totally right, but that’s how it feels. Technically speaking, the last two years were supposed to teach us everything we needed to know about medicine, and the next two years are supposed to be about learning how to apply this new information…but sometimes I’m not too sure I accomplished the goal of the first 2 years…
This is how my day goes – I show up at 5 am every morning, armed with the new information I was assigned to look up the previous night, and feeling as confident as a half asleep, 3rd year medical student can. I login to the computer and check to see how “my” patient (don’t worry, I’m not actually responsible for any lives) has been doing since I saw him/her last. I wake them up to do a quick neuro exam (they don’t usually look too happy to see me), apologize profusely for interrupting their sleep, rush through the exam so they can go back to sleep, then run down to the radiology department so I’m not late for rounds. At this point, I’m still feeling pretty good about myself. My patient is looking good and I’m ready to present…then rounds begin.
Now it’s not that anyone is mean to us or anything like that, but as I hear the residents and attendings spew statistics, diagnostic algorithms and treatment options, my confidence starts to falter. I realize that as someone who has just finished their 2nd year of med school I’m not expected to know all this stuff, but that doesn’t change the fact that being surrounded by such intelligent, accomplished physicians is incredibly intimidating. The attending will turn to my and ask if I’m familiar with the concept of modular flexibility of carbon fiber as it relates to vertebral spacing…or something like that…and all I can do is reply no and try to wipe the “deer in the headlights” look from my face. He patiently explains to me whatever it is I was supposed to already know, and tells me to find a review article that relates to the complications associated with today’s procedure. I pull out my notecard and add yet another topic to the laundry list of things I have to look up before tomorrow’s rounds.
The rest of the day mirrors the first couple hours. I’m in a constant state of fear and overwhelming excitement. I honestly don’t know the answer to at least 1/2 of the questions I’m asked, but I try to stay enthusiastic and jump at the opportunity to learn a new procedure or statistic. This is a kind of learning I’m really not familiar with, but I’m really starting to enjoy it. Rotations seem to be the epitome of “hands on learning”.  I can spend all day reading about how to tie sutures, but until I try it on a patient for the first time, I haven’t really learned anything. Medicine is finally starting to take shape for me. I’m getting to see these conditions I’ve spend the last 2 years learning about, and while I’m unbelievably nervous to find out all I don’t know about my future career, simply put, I think I’m really gonna like the next two years.
Now on to the recipe…

What you need:

  • 2 cups of instant mashed potatoes (hence the name)
  • 1 egg + fill the rest of the 2 cup measuring cup with water
  • 2 cups of flour

What you need to do:

  1. Mix together the three ingredients.
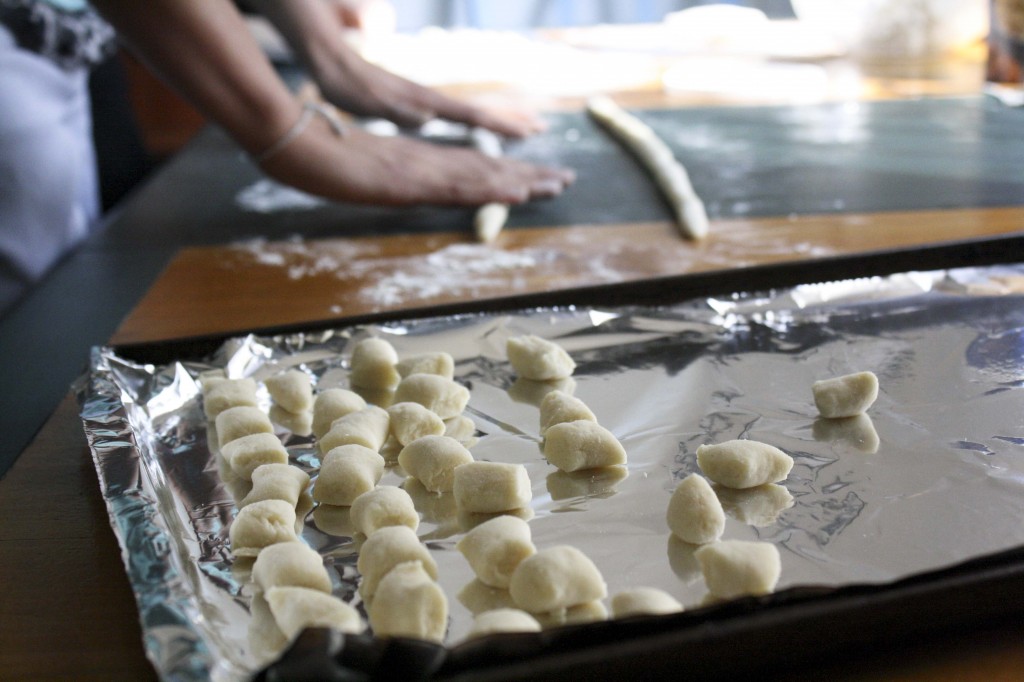
  2. Knead the dough into a large ball and cut it into 8 even pieces.
  3. Roll each section out and cut into 1/2 inch pieces.
  4. You can either freeze the uncooked gnocchi on a cookie sheet (make sure they’re not touching) or cook them right away by adding them to boiling water and letting them cook until they all float to the top.
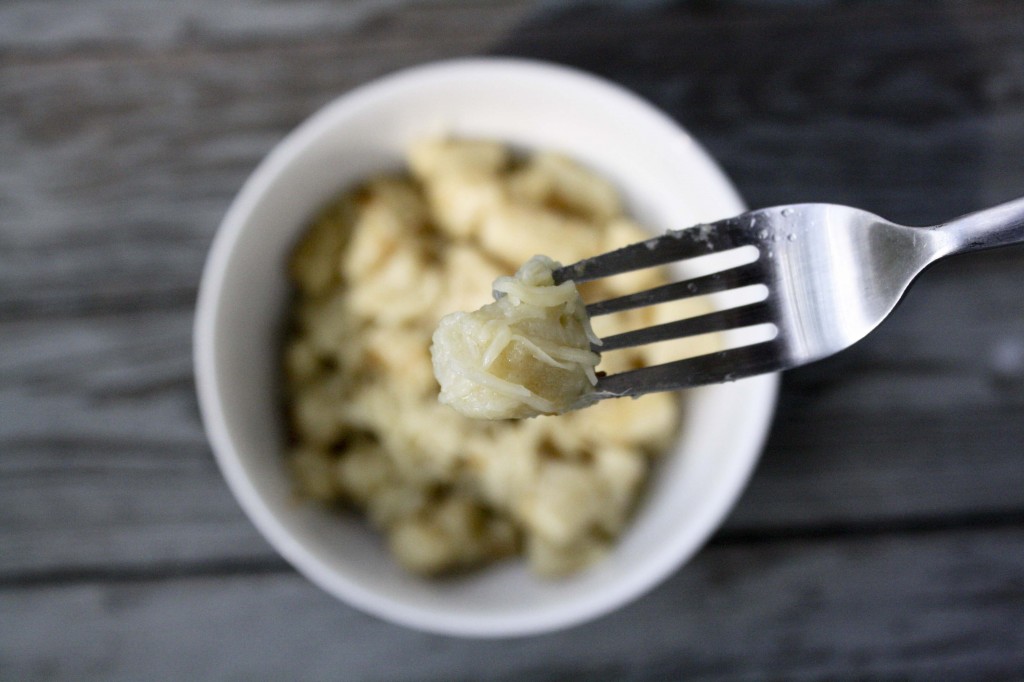
  5. The easiest way to serve them is in browned butter and garlic and topped with parmesan cheese (pictured above and below). Simply melt 3/4 of a stick of butter in a frying pan, add 5 cloves of garlic (minced), and stir the butter until it begins to brown. Be sure to keep an eye on it because it’s really easy to burn the butter. Add the cooked gnocchi to the frying pan and coat evenly with the “sauce”. Finally, top with parmesan, add garlic salt to taste and enjoy!

Posted in Pasta, Vegetarian | 2 Comments

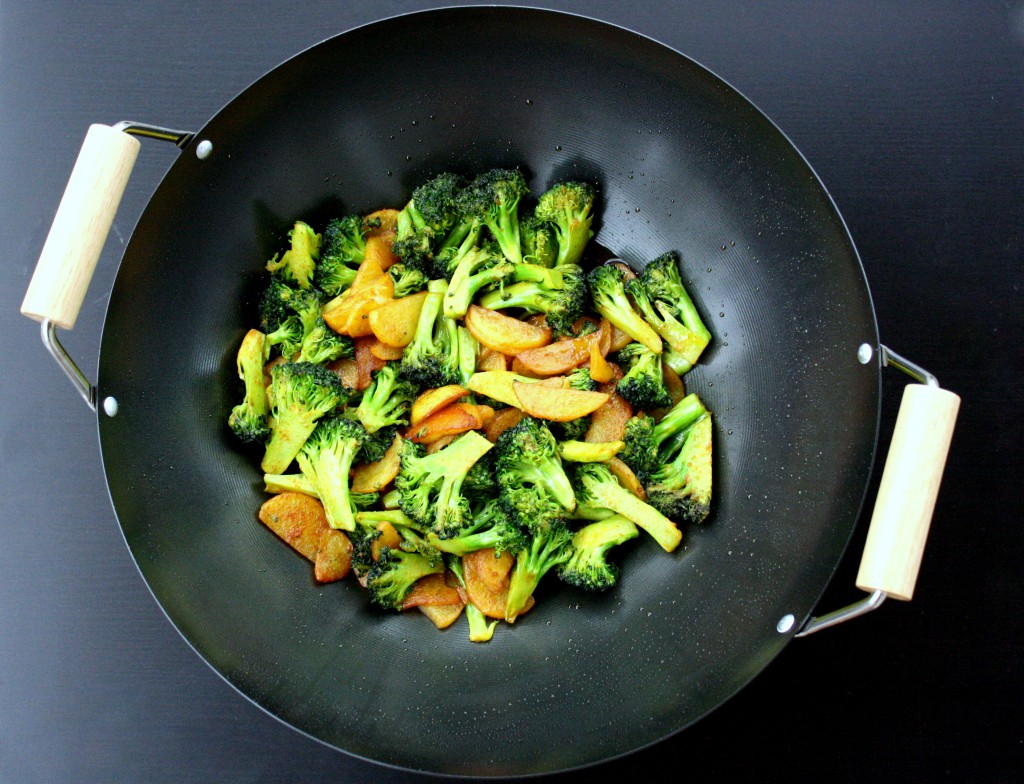
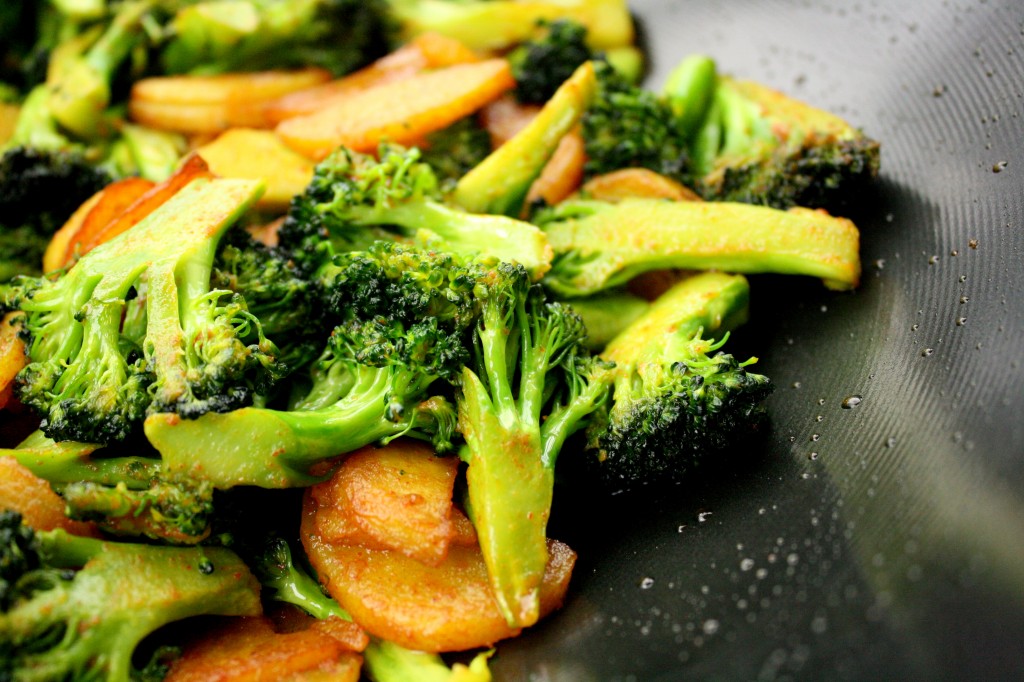
Gingered Broccoli & Potato Stir Fry (Broccoli Bajji)

My parents’ method of cooking has evolved over time, and it finally reached its acme with my dad’s retirement two years ago.
They now prepare the entire week’s dinners every Monday afternoon.  5-6 dishes are drummed into existence in a culinary exercise of almost military precision: in its efficiency it is both inspiring and mildly frightening.  While cooking this way saves them time, money, and energy, it would have been difficult to perform at any earlier stage in their lives — it took a combination of experience and circumstance that comes with 30+ years of marriage.  And it suits them incredibly well.

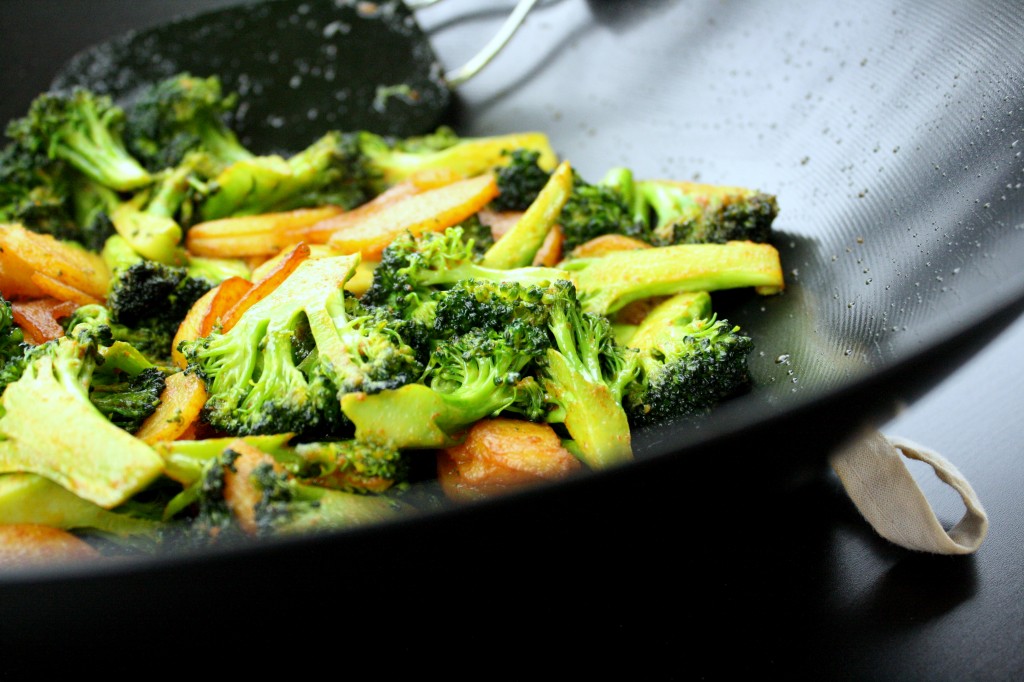
One piece of cookware that I see repeatedly washed and reused on these Monday afternoons is an old battle-worn wok.  Bought for the price of take-out at a general store in the 80s, my mom uses the wok for several Asian dishes, including the Indian stir fry above.  Although many newer and shinier kitchen tools have moved into the house since then, the wok remains my favorite because it has actually benefited from the passage of time.  Decades of use have seasoned its silver to scratched black, the mottled surface like the mysterious skin of the wise.  Over time, its abilities have been honed to match those of the people who wield it.
When I finally bought a wok of my own a few days ago, I was disappointed by its comparatively amateur gleam and polish.  But after making just two dishes it had already acquired three pleasing nicks at the bottom of the bowl.  Three down, a lifetime’s to go.

Ingredients (I bought my wok at Tink Holl, but you can also do this in a regular deep pan)

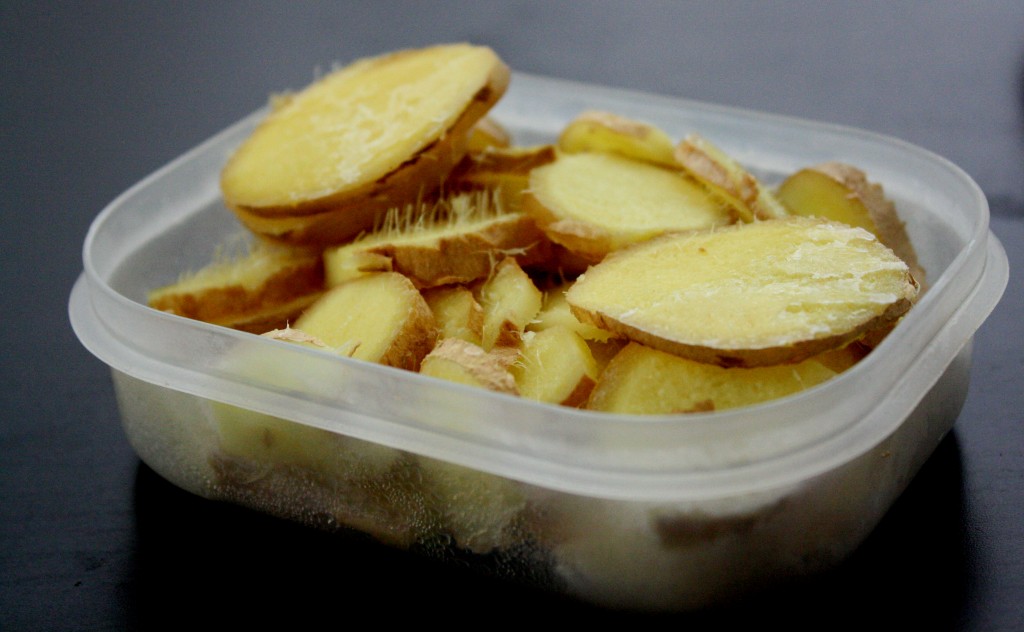
  • 5-6 slices of ginger, peeled (see photo above.  Use more if you like ginger!)
  • 4 Tbsp canola oil
  • 2 heads of broccoli, stem trimmed to release the florets, florets cut to medium size
  • 2 medium russet potatoes, cut into half circle slices (see photo above)
  • 1-2 tsp chili powder
  • 1-2 tsp turmeric
  • 1-2 tsp salt
Heat the oil over a medium flame, then add the ginger and let it fry until you can smell the ginger and the slices look more transparent (3-4 min).  Add the potato slices first; they take longer to fry.  Let them fry for about 10 minutes, stirring with a wooden spoon or spatula every so often to ensure even frying.  When the potatoes start to look like fries, taste one to see if the rawness is gone.  Add the broccoli and stir to coat;  allow the broccoli’s color to brighten, then add the spices and salt and fry for an additional ~10 minutes.  Toward the end of this last step, add half a cup of water to the fry to make sure the broccoli does not dry out.  Taste for doneness and seasoning before removing from the flame.


Posted in Indian, Vegetarian | 4 Comments

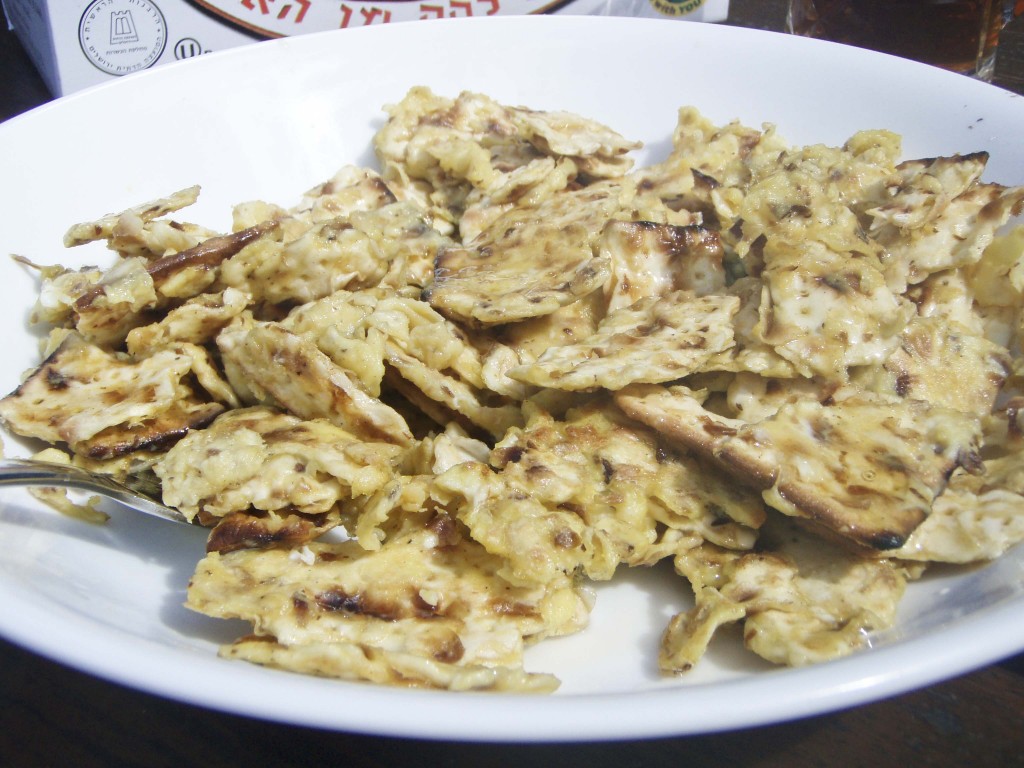
Matzah Brei (Fried Matzah)

I feel like everyone has a favorite dish that is only prepared during the holidays. These dishes are typically things we could make at any time during the year, but for some reason we don’t…no matter how much we enjoy eating this particular food, or how easy it is to make, our taste buds are given the difficult task of waiting patiently for that single day (or in this case week) during the year where we are given the opportunity to enjoy the delicious treat.
For me, Passover is definitely the holiday my taste buds await most anxiously. Given our weeklong abstinence from bread products, many other dishes have been created to “fill the void”. To be honest, there are so many incredible dishes I get to eat during Passover that it’s hard to miss bread. Whether I’m eating charoset, macaroons or gefilte fish (yeah I’m one of those weirdos that really likes gefilte fish), the fact is my stomach is left happy, and therefore I am left happy.

This particular dish is perhaps one of the easiest Passover meals to make…and as I write this, I’m left wondering why I don’t make it during other times of the year. It’s simple, yet absolutely delicious. In fact, it’s also a pretty versatile dish. Everyone makes it differently. Growing up, we always had it with maple syrup, but it can also be made as a savory dish (this is actually a new discovery for me, brought to light by one of my med school classmates). However you end up making it, I’m sure you’ll end up enjoying it.
But first, an interesting side story – the maple syrup I used in making and photographing this recipe is actually from my mom’s most recent batch of maple syrup. She boiled down over 100 gallons of sap to end up with just over 3 gallons of maple syrup. And now that maple syrup season has ended, we can officially move on to honey season. In fact, we spent most of the morning preparing the supers for our bees, which will be arriving on Friday!

What you need (makes 2 servings):

  • 3 pieces of matzah
  • 4 eggs
  • a little less than 1/8 tsp salt
  • maple syrup
  • butter (for the pan)
  • For those of you looking to make a “savory matzah brie”, try adding tomatoes, garlic salt, pepper, onions, rosemary, thyme, mushrooms, etc….and you probably want to leave out the maple syrup.

What you need to do:

  1. Crack the eggs into a mixing bowl, add the salt, and beat with a whisk.
  2. Holding the matzah over the bowl, break it into little chunks, and then mix until the matzah is evenly coated with egg.
  3. Let the mixture sit for 1-2 minutes while you heat the frying pan on the stove.
  4. Coat the bottom of the pan with a little butter (or nonstick substance) and add your matzah and egg mixture.
  5. Cook the matzah brei as you would scrambled eggs (don’t worry, the matzah is supposed to get soft).
  6. Transfer the matzah brei to a plate, add maple syrup, and enjoy!
Posted in Breakfast, Eggs | Leave a comment

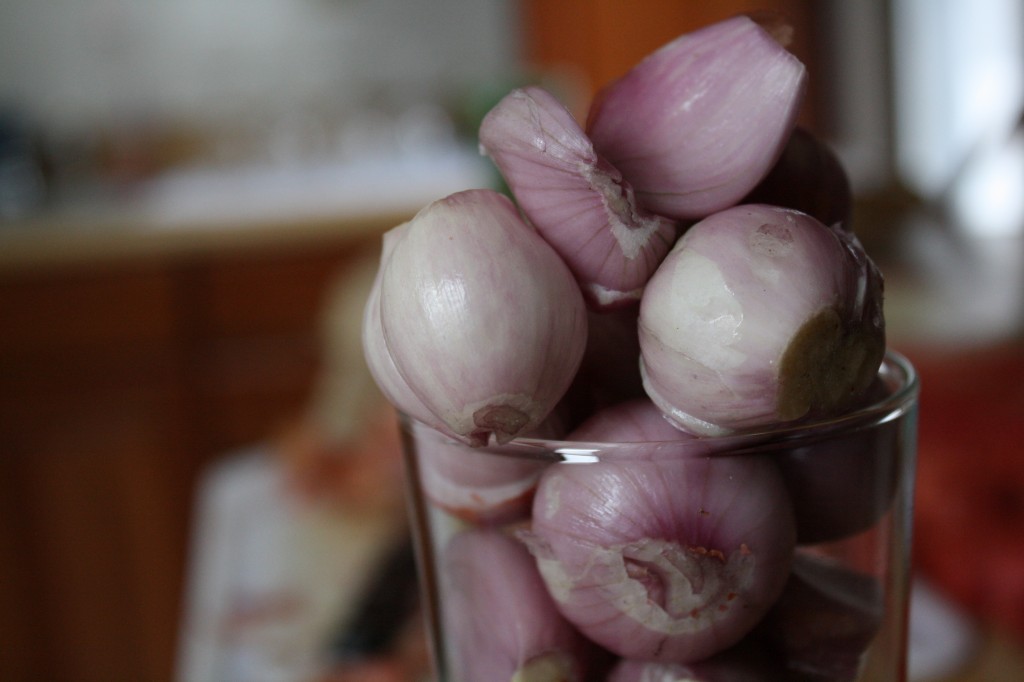
Buttery Shallots

I just saw Despicable Me last night, and all I can think about when I look at the picture above is minions.  And in a way that’s what these 40+ scallions were to me on the day I cooked them–nearly identical, fairly amusing, and f***ing neverending.
I had bought a small bag of these on impulse at Park to Shop in Cleveland, much in the way a normal person grabs a great shirt from the sale rack and lunges for the cash register.  I’d never made risotto with this recipe-specified root vegetable, and at $1 a bag these babies were my ticket to a shallot-y  Shangri-la.
But in the coming weeks the rice never left the back of my cabinet and the shallots hid in the fridge.  On top of that, I inherited another bag from a friend who said she didn’t like them.  The day Ari made her amazing Brie and Tomato Pasta, the bread I was going to make literally flopped, and I had to come up with another, more sinister plan.  Light bulb.
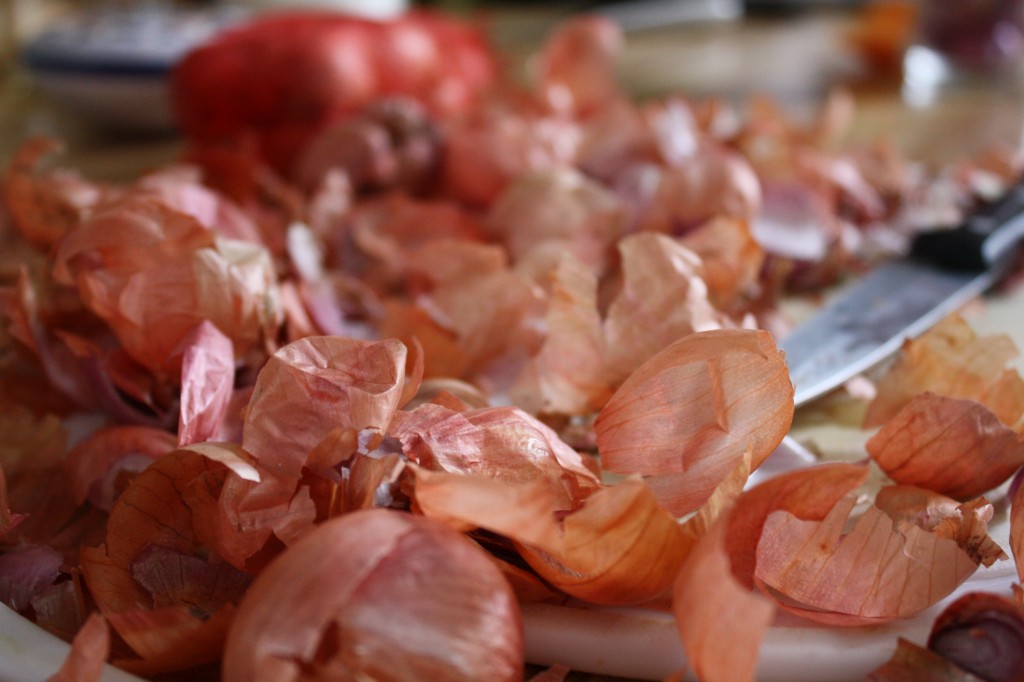
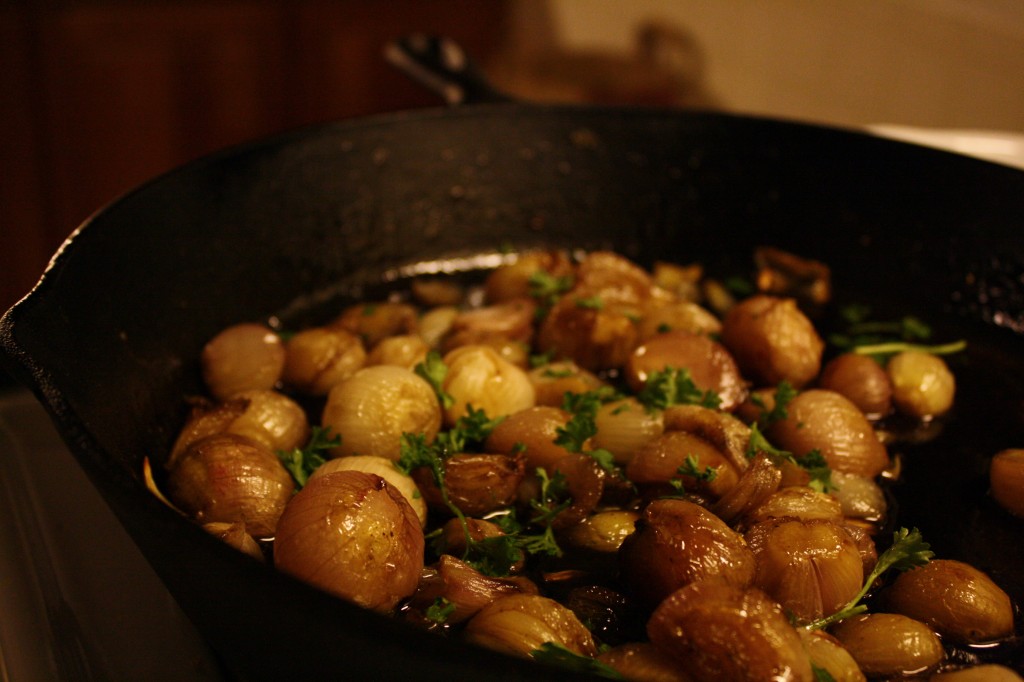
In the end, I used this recipe to asphyxiate the little shallots in a pool of butter and balsamic vinegar.  Delicious?  OMG yes.  But so would be a tub of melted butter with some balsamic vinegar in it.  I think you could do the same to any vegetable, so put this recipe aside for your own night of dastardly desperation.
Ingredients (not adapted.  Shamelessly taken from Smitten Kitchen.  She is my muse).
  • 3/4 stick unsalted butter
  • ~40 small to medium shallots (large ones should be cut in half)
  • 3 tablespoons brown sugar
  • 5 tablespoons balsamic vinegar
  • 1 tsp salt
  • 1/2 tsp freshly ground black pepper
  • cilantro, for garnish
Preheat the oven to 400F.  Use an oven-proof dish for this one.  If you don’t have a skillet, Deb says you can start the shallots in a skillet and then move it to a baking dish.  Add the shallots and sugar, and stir occasionally over medium heat, coating, for about 10 minutes.  Add the vinegar, salt, and pepper, and then deposit in the oven for at least 30 minutes, checking in and tossing with a wooden spoon every 10 minutes.  Taste and season as necessary, and then add the cilantro.
Posted in Vegetarian | Leave a comment