Spheres of Vitality

This July marks an important threshold in medical education — the maximum number of hours a medical student or resident is allowed to spend at the hospital without a break is now 16 hours.  No matter how tough life gets in the next year, I’ll never endure the 100+ hours a week my dad used to work during his own residency and fellowship.
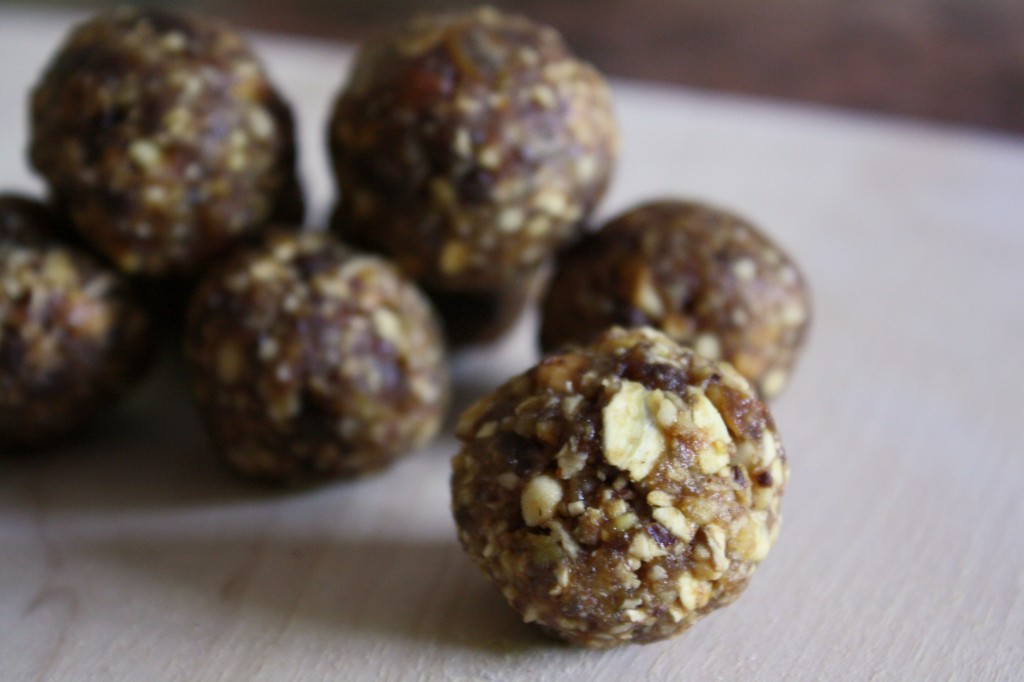
Even so: I was warned that during the two months of surgery, I should be prepared to eat lunch out of my white coat pockets, in an amount of time equal to a bathroom break.  Maybe even: during a bathroom break.  I searched around for some homemade, quick energy recipes and stumbled upon an energy ball made with nuts, fruits, chocolate, and something called maca powder.
My dad and I went to Clover’s Natural Market in my hometown to find this ancient Peruvian powdered root.  We finally accosted a sales clerk, who led us to the herbal pharmaceutical section.  “So…what’s the benefit of maca?” I asked, eyeing the yellowish dust.  “It’s supposed to be an energy enhancer,” she said to us.  “You know: endurance.  Vigor.  Sexual enhancement.”
Let us all take pause for a moment of awkward silence.
Anyway, I bought a couple of tablespoons and used it to make what I’m rebranding Spheres of Vitality.  They’re not ridiculously tasty — they taste healthy.  But I like them.  And according  to some studies, maca may have a viable role in wakefulness and energy as well as sexual enhancement and semen quality.  So: there is now an overeager third year medical student roving University Hospitals with ancient Peruvian proto-Viagra in her pockets.
Here’s wishing you a healthy and surgery-free summer.

Ingredients (adapted from tastespace)

8 dates, sliced
1/4 cup cashews
1/4 cup walnuts
1/4 cup rolled oats
2 tablespoons raw maca powder
1 tbsp vanilla extract
1 tbsp honey
1/4 tsp salt
a small palm of dark chocolate chips

Place everything in the bowl of a food processor and start pulsing on low.  You may need a little bit of water to get everything to come together.  Pulse until the big pieces of everything has broken up and the mixture is sticky enough to roll into balls.  Use clean hands to roll into balls the size of large marbles.  Place in a tupperware and store in the fridge for up to 2 weeks.
Posted in Breakfast, Snacks, Vegetarian | 2 Comments

Sweet, Sour and Spicy Tofu (with quinoa and collard greens)

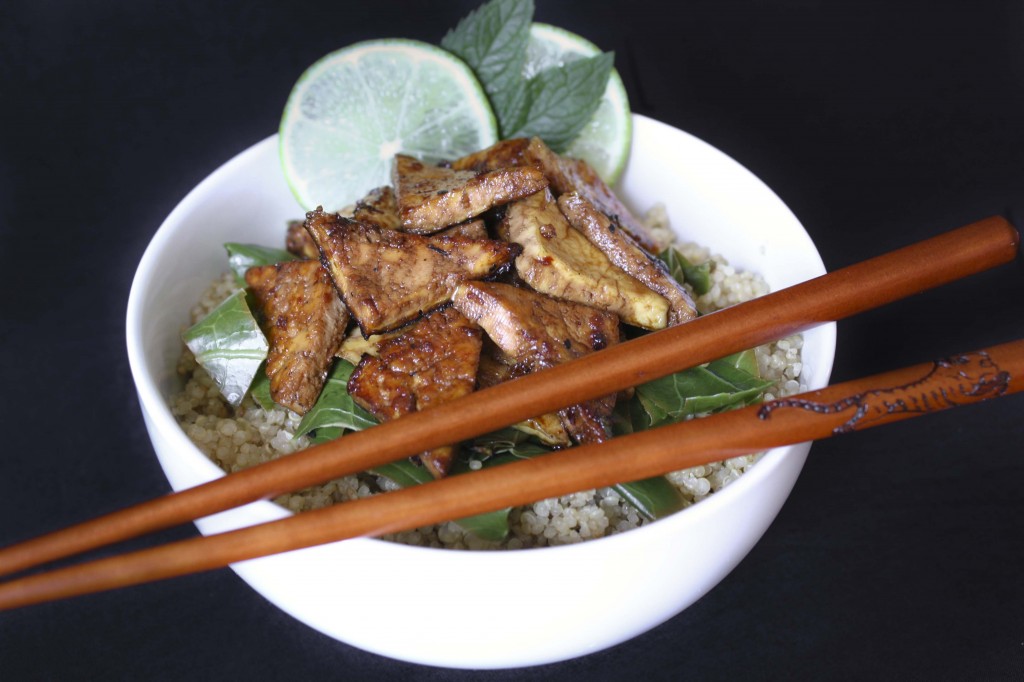
I’m gonna keep this post short and sweet. I’m currently in Nashville for the July 4th weekend, and to be honest, looking through the boyfriend’s old baby pictures with his family sounds a lot more fun than trying to be creative and coming up with a good backstory for this recipe. I would have more energy, but I just got back from canoeing for 13 miles in 100 degree weather (research block means I have to start working out again)…and to put it lightly, I’m feeling pretty pooped. So here’s a delicious and nutritious vegan recipe for those of you who will be looking to eat healthy after the hotdog and hamburger infested holiday that is the 4th of July.
Quick side note, for those of you who aren’t big fans of collard greens, you could also use kale, spinach, or some other dark leafy vegetable.
(Adapted from Vegan Yum Yum)

What you need for the tofu:

  • 1 block extra firm tofu (about 14 oz)
  • 3 tbs sugar
  • 3 tbs tamari (or soy)
  • 2 tbs fresh lime juice
  • zest from 1/2 of a lime
  • 1 clove of garlic, minced
  • 1/2 tsp salt
  • 4 mint leaves, finely chopped

For the quinoa:

  • 1 cup uncooked quinoa
  • Zest from 1/2 of a lime
  • 2 bruised cardamom pods
  • 1/4 tsp salt
  • 1 2/3 cup water

For the collar greens:

  • 1 bunch collard greens, middle veins removed
  • 3 tbs water
  • 1 pinch salt
  • 1 tbs lime juice


What you need to do:

  1. In a pot, mix together all of the ingredients for the quinoa and cover with a tight fitting lid.
  2. Set the pot on the stove, bring the water to a boil and then turn down the heat to simmer for 20 minutes (or until the quinoa is tender).
  3. While the quinoa is cooking, mix together the ingredients for the tofu glaze (everything in the first list minus the tofu). Whisk together the ingredients until the sugar and salt are dissolved.
  4. Slice the tofu into thin triangles and “dry fry” them by adding the pieces in a single layer to a non-greased pan and pressing down on the tofu so that it cooks in it’s own juices (that sounds wrong…). I recommend using a cast iron skillet if you have one handy, but a non-stick pan should work too. Once the tofu has browned on one side, flip the pieces over and do so the same on the other side.
  5. Once the tofu is “fried”, add the sauce and stir to coat the tofu. Turn off the heat, and let the sauce reduce a little (it will get stickier and form a glaze).
  6. For the collard greens, remove the “middle vein”, stack the leaves, and then cut them into thin slices.
  7. Add the greens to a wok with the water, lime juice and salt. Cover with a lid and cook on high for about 4 minutes until tender).
  8. Plate the quinoa, tofu and collard greens and enjoy!
Posted in Vegetarian | 2 Comments

Baked Mashed Cauliflower

In August, when I’m deep into my surgery rotation, I’ll be celebrating the four year anniversary of attempting to cook for myself full-time.
Almost four years ago I moved into the Village, Case Western’s newly-built upperclassman undergraduate housing.  For the first time I had a stove and an oven a few steps from my bedroom, and I dispensed with the cafeteria meal plan like a child her water wings.  I also craigslisted a food processor and a blender, and RTA/biked to the opposite ends of Cleveland to retrieve them.
My first food processor ever was a tiny minion-sized thing that was supposed to be used for chopping garlic and shredding parmesan.  It choked on canned chickpeas, and if I ran it for more than half a minute it would emit a smell that I can only describe as melting Barbies.  But it was mine, and together we made many a grainy hummus.

Last year I inherited an awesome processor/blender from my mom.  I repurposed my old blender into a bedroom lamp, and I think the only remnant of the food processor is a blade lingering in the utensil drawer.
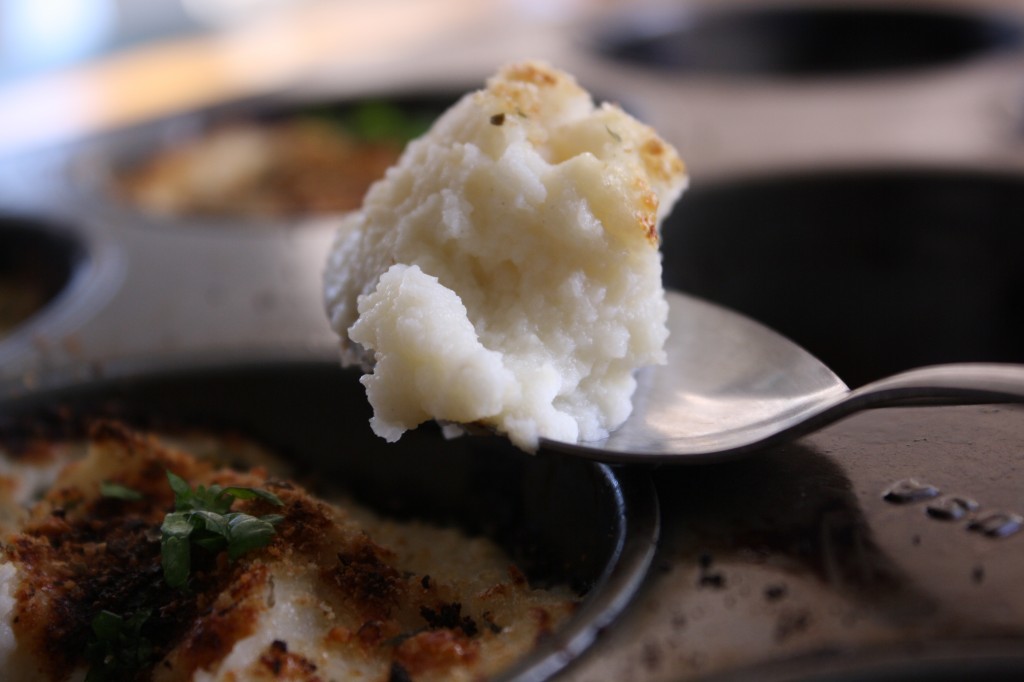
Four years since I started cooking, the only things that are consistently edible are family recipes.  The rest are just stabs in the dark with a butter knife.  However, after 5-6 jabs at this dish I have finally produced a tasty version of mashed cauliflower.  You need a food processor to make it.  But the results are creamy and satisfying, the kind of thing that makes all of this personal growth worth the effort.

Ingredients

  • 1/2 head cauliflower (I’m going to have to estimate the other ingredients because I actually used a couple of handfuls of florets and the core of the vegetable)
  • 1.5 Tbsp butter
  • 1 Tbsp sesame oil
  • 3 cloves garlic, sliced
  • salt to taste
  • grated parmesan, breadcrumbs, and freshly ground black pepper for the top
Steam the cauliflower until it is extremely tender — like, you breathe on it and it’s going to fall apart.  Place the cauliflower in the food processor.
Toast the butter and sesame oil over medium-high heat in the skillet.  When the butter is becoming brown, turn off the heat and add the garlic.  Hold the skillet and swill the butter so that the garlic becomes lightly fried.
Turn on the processor to “low” and add the butter-garlic mixture slowly.  As the mixture becomes pureed increase the speed until it becomes smooth.  I didn’t have to add water but you may need to add a little.  Add salt to taste.
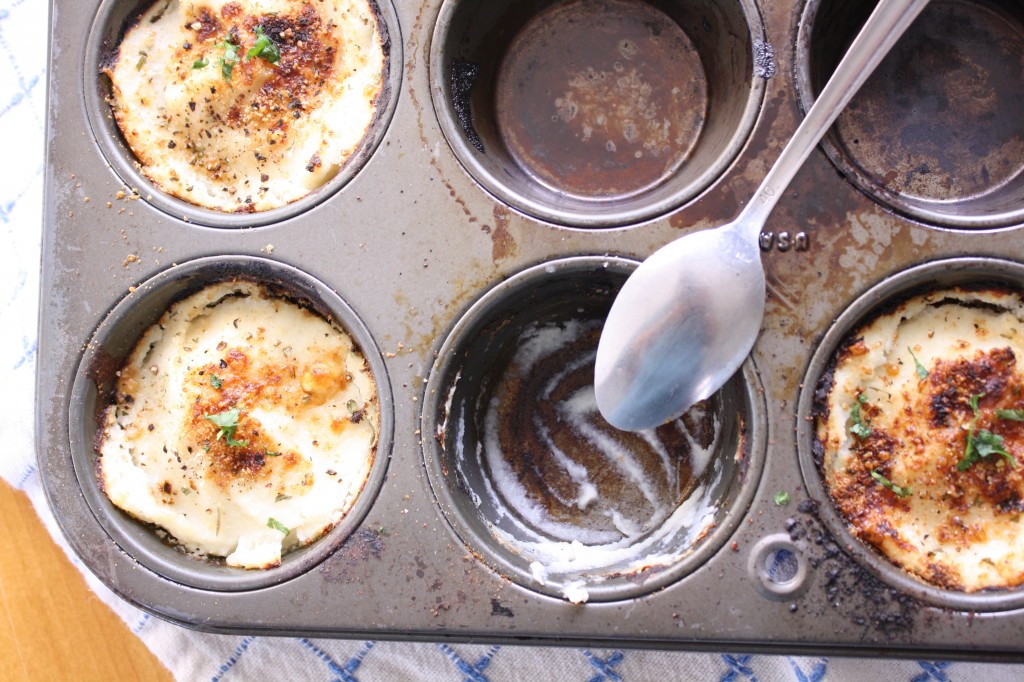
Preheat the oven to broil.  Put the mashed cauliflower into a muffin tin or ramekins (anything oven safe) and sprinkle parmesan, bread crumbs, and pepper on top.  Put the lot under the broiler and check every 2 minutes to see if the top is browning.  Serve warm.
Posted in Vegetarian | 8 Comments

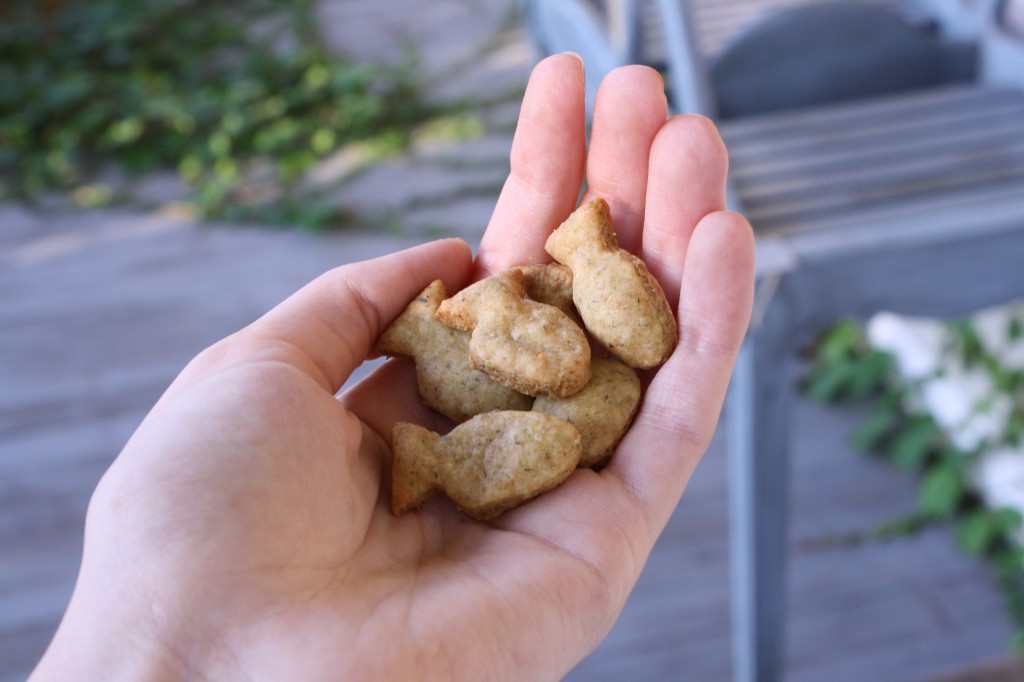
Whole Wheat Goldfish Crackers

One set of rotations down! Many, many, many more to go.
Friday marked the end of my 2 month stint in neurology and psychiatry, and it was certainly an interesting 2 months. During that time, I sutured my very own patient closed, saw many diseases I had only read about in textbooks (e.g. tertiary syphilis…which is technically supposed to be more or less nonexistent), and had some pretty interesting run-ins with psych patients. My favorite interaction took place between myself and an acutely manic bipolar patient (you can skip forward to the recipe if want as many of you have probably already heard the story)…
I was sitting at the computer, getting ready to head home when he walked up to me and whispered, “Hey! Miss!” I turned to him and he proceeded in a whispered voice, “Just so you know, I’ve decided not to be a cannibal anymore, but if I was, I would eat you. And it’s a good thing your hair is greasy because I wouldn’t even have to grease the pan.” He then walked away chuckling to himself…
Yup! Inpatient psych at Metro is definitely a unique experience!
Anyway, now that I’m done with those rotations, I’m on my 4-month block of research which means I get to enjoy my evenings again (cue applause and “woohoos”)! It also means no tests for 4 months!!!!! With this extra time, I’m looking forward to cooking without feeling guilty about the fact that I’m not studying. This particular recipe is one that I’ve been meaning to try out for 4 months, but between boards and rotations, I just didn’t have the time until this weekend. Hope you all enjoy the results of my first weekend of freedom!

(adapted from Smitten Kitchen)

What you need (makes about 100 crackers):

  • 1 1/2 cups of grated sharp cheddar
  • 4 tbs of butter, cut into chunks
  • 1/2 cup whole wheat flour
  • 1/4 cup all-purpose flour
  • 1/4 tsp onion powder
  • 1 tsp za’atar spice (optional)
  • 1/4 tsp salt
  • fish cookie cutter (you can buy one, or, if you’re cheap like me, make one out of folded aluminum foil)

What you need to do:

  1. Preheat the oven to 350 degrees F.
  2. Combine all of the ingredients in a food processor and run the machine until everything is evenly combined into a ball of dough (takes about 2 minutes).
  3. Roll the dough into a ball and flatten slightly. Cover the dough in plastic warp and place in the freezer for 20-30 min.
  4. Remove dough from the freezer, and, on a lightly floured surface, roll out to about 1/8 inch thick.
  5. Use your cookie cutter to form each cracker and place them on an ungreased cookie sheet.
  6. Bake the crackers for 10-12 minutes (until the edges start the brown).
  7. Let cool and enjoy!

Posted in Snacks, Vegetarian | Leave a comment