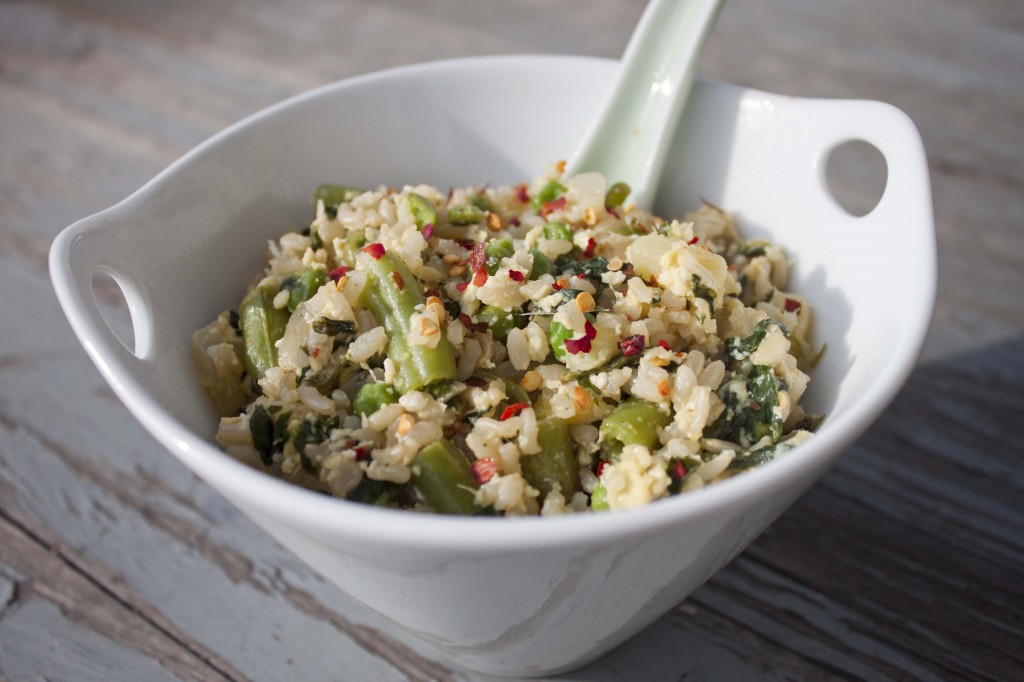
Veggie Fried Rice (aka how to cook up everything you’ve got in your fridge)

If you were to come over to our house, and take a look in our fridge, I can all but guarantee you would find the following items:
  • Garlic
  • Ginger
  • Diced Onions (I always seem to cut too many)
  • Homemade Yogurt
  • Tomatoes
  • Parmesan Cheese
  • Brown Rice (again, I always cook too much)
  • Wheat Bread
  • Eggs (usually at least 2 dozen worth)
  • Frozen Veggies (peas, green beans, broccoli, soy beans, spinach…you take your pick, we’ve probably got it)
  • Of course, we buy other things for particular dishes, but I think it’s important to always have a few staple items on the grocery list. These are the kind of things that you can rely on when your leptin levels start to rise (aka you’re hungry) and you don’t have any leftovers sitting around. Now I’m sure we can all come up with a few things to do with onions, tomatoes and eggs (for example vietnamese omelets…one of my all time favorite dinners), but it can sometimes be a little harder to use up something like old brown rice. Well have no fear! I’ve got the perfect recipe for you! I actually came up with this recipe about a week ago when I was getting desperate for something relatively nutritious, but quick to make (you can only survive on peanut butter and honey sandwiches and ramen for so many weeks). I took a look in my fridge and started throwing stuff together in a large frying pan. Lucky for me, it turned out quite tasty, and now I get to share it with you.

    What you need:

    • 4 cups cooked brown rice (the longer it’s been sitting in your fridge the better)
    • 4 eggs
    • 1 cup frozen peas
    • 1 cup chopped frozen pineapple
    • 1 cup frozen spinach
    • 1 1/2 cup chopped frozen green beans
    • 3/4 cup diced onions
    • 1/4 cup minced ginger
    • 3-4 cloves minced garlic
    • 1/4 cup oil (peanut, veggie or olive work great)
    • 1 1/2 tbs soy sauce
    • Garlic salt (to taste)
    • Crushed red pepper (optional)
    • Whatever else you have lying around and want to get rid of…here are a few other suggestions from friends: mushrooms, chicken, ham, etc.

    What you need to do:

    1. Heat the oil in the frying pan (make sure you’re using an extra-large pan), and throw in the garlic, ginger and onions. Let them heat up until the onions start to get soft.
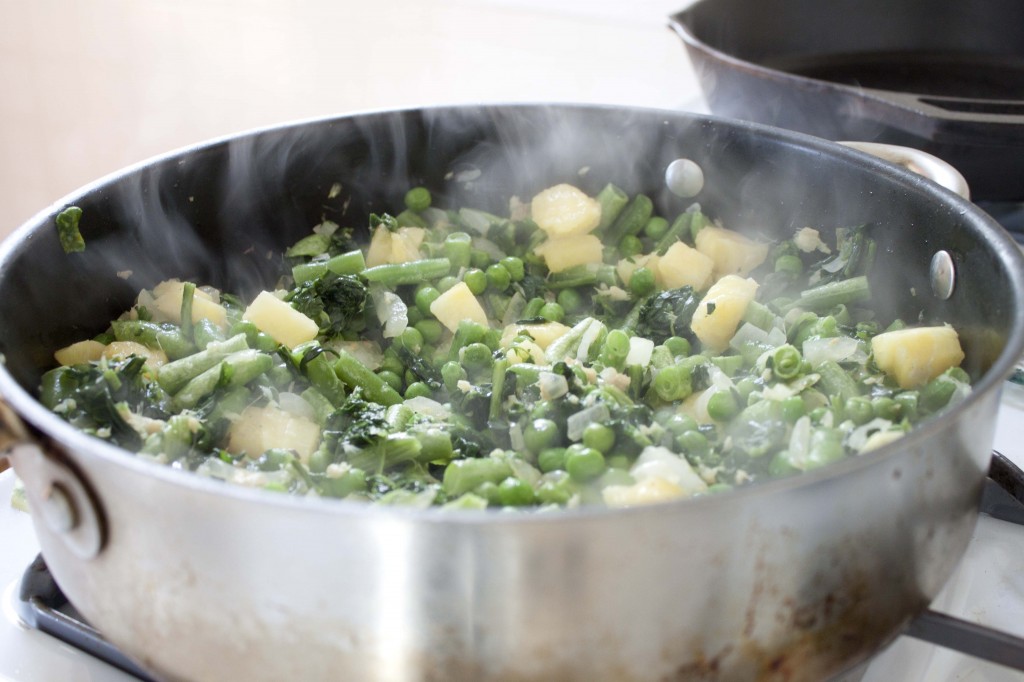
    2. Toss in the green beans, spinach, peas and pinapple. Let them heat up until they are mostly defrosted (no need to defrost ahead of time).
    3. Add the rice and mix everything together.
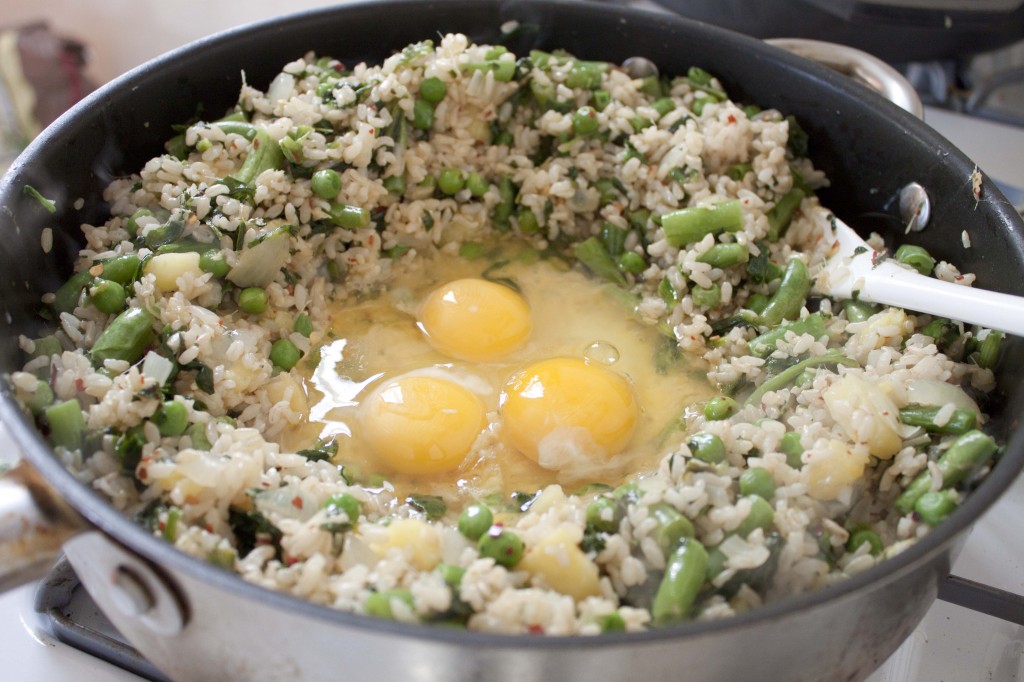
    4. Create a well in the center of the mixture (see picture) and add your 4 eggs. You can either beat them before adding or once they’re in the pan. Try to keep them separate from the other ingredients and let them cook until until they’re the consistency of cottage cheese (that’s kinda a weird comparison) and then mix everything together.
    5. Add the soy sauce and let cook for 4-5 additional minutes.
    6. Be sure to taste test and add garlic salt or crushed red pepper if you want a little additional salt or spice.
    7. Enjoy!
    (As a separate note, please send us good thoughts this week! Anita’s boards are on Thursday and mine are on Friday!)
    Posted in Eggs, Vegetarian | 2 Comments

    Brown Sugar Tofu & Brussel Sprouts

    You know how you should never attempt to shop for food on an empty stomach?  There should be a similar adage for medicine — never attempt to name pathology when you’re hungry.  The following is a list of terms that sounds more like a grocery list than a collection of medical findings:
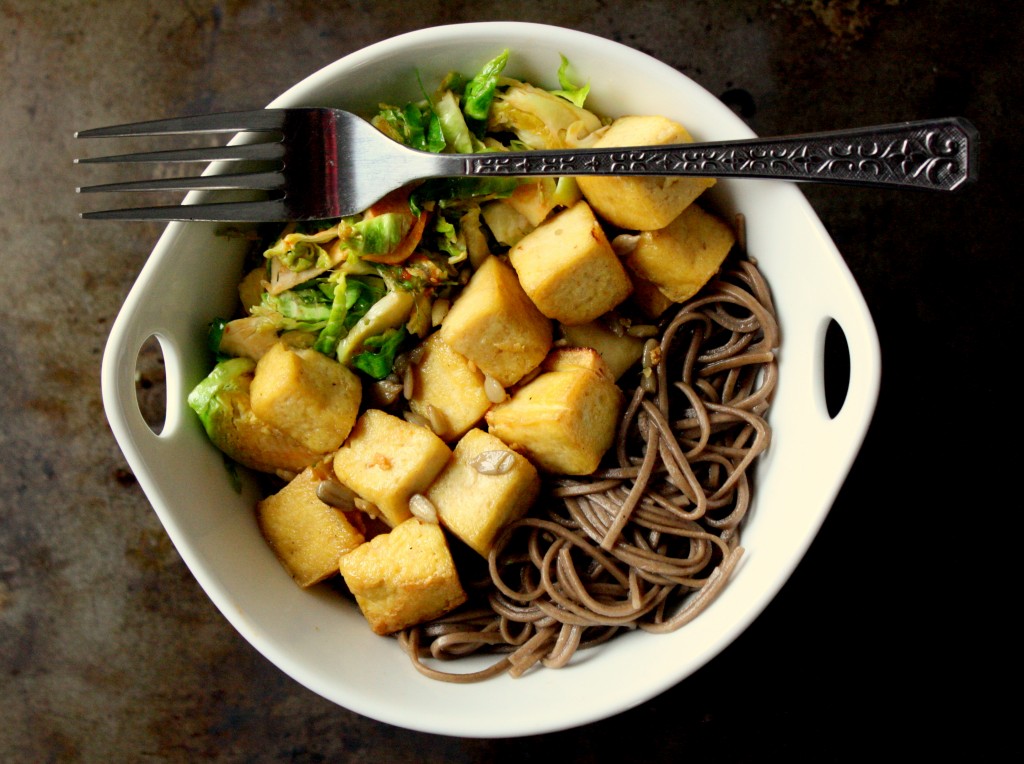
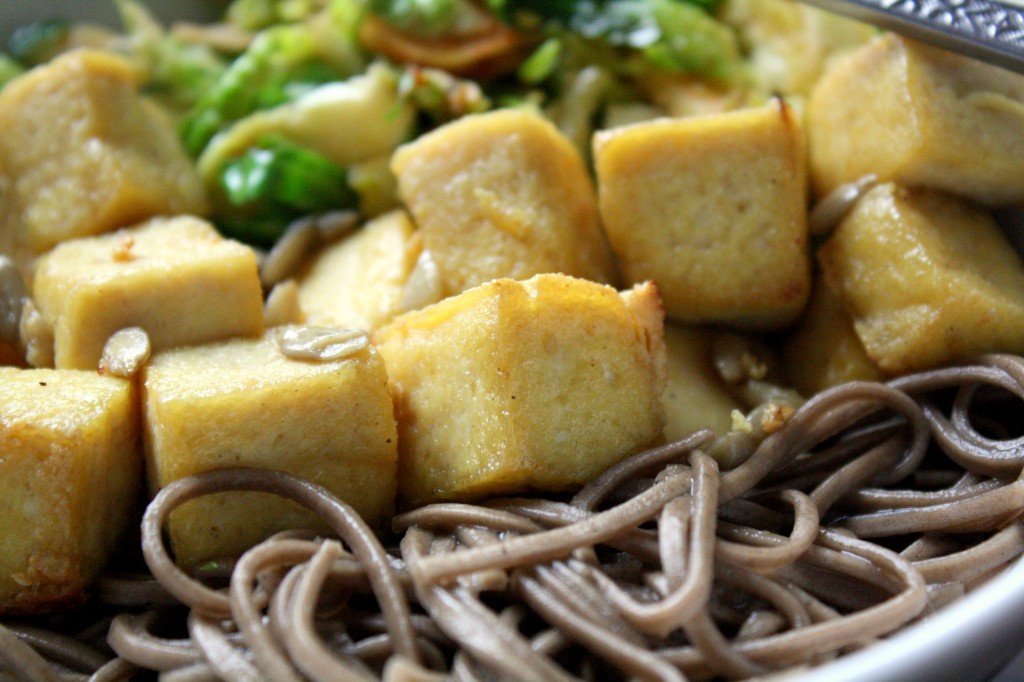
    In other news, I finally figured out how to pan-fry tofu  nicely, thanks to one of our favorite cookbooks.  Ari always does a good job but my tofu has a tendency to sputter and spit and give me little oil burns whenever I try to cook it.  The solution for me is to both press and freeze the curd–this dries it a little and also gives it a meatier texture.  And although nothing in our medical school textbooks has been named after the ingredients in this dish, I’ve been told that brain tissue does have the consistency of soft tofu.  Hope you enjoy!

    Ingredients (adapted from 101cookbooks)

    • 8 ounces extra firm tofu pressed, cut into cubes, frozen, and thawed (see below)
    • Enough oil to coat the bottom of a 12” skillet
    • 3-4 cloves garlic, minced
    • 3 + 1 Tbsp brown sugar
    • Salt
    • 1-2 Tbsp Sriracha, chili sauce, or hot sauce
    • 1/3 cup hulled sunflower seeds (or any nut chopped to that size)
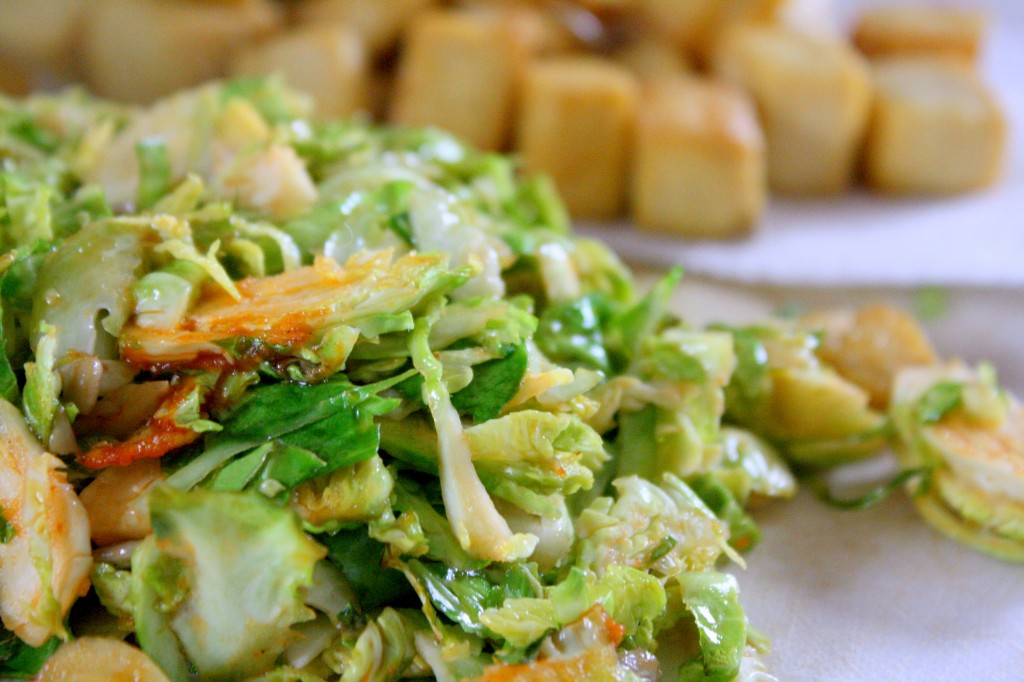
    • 15 brussels sprouts — cut off the end and then slice the globe
    • Rice, noodles, or tortillas
    For the tofu: Split the block of tofu in half, then place the halves on a cutting board with paper towels on top and below.  Put a cookie sheet on top of the halves and balance a few cans on top.  Let sit for 30 minutes.  Afterward, place the halves in tupperware and carefully cut a grid in each half (you’re making cubes, but not separating them).  Freeze for at 1-2 hours or overnight.  Pull out the tofu and thaw it on the countertop or in the fridge.
    Heat the oil in the 12” skillet over medium-high heat.  Add the tofu and half-cover it to protect your skin against any oily backlash.  Fry the tofu on each side, turning gently until all sides are golden.  If you find that your tofu cubes are going to touch each other, you might have to do this in two batches.  When the tofu seems golden-brown and firm, add 3 Tbsp of the brown sugar and the Sriracha/chili sauce, and 1-2 tsp salt.  Carefully incorporate, and then add the seeds/nuts and let them toast for a minute.  Lift the tofu and seeds onto a paper towel-lined plate, and add the brussel sprouts (you shouldn’t need to add more oil if you didn’t drain the skillet).  Lightly sautee the brussel sprouts to wilt them slightly without letting them go limp.  At the end, add the last Tbsp of brown sugar.  Serve with your carbohydrate of choice and more hot sauce if desired.
    Posted in Vegetarian | 5 Comments

    Honey Brioche

    “Qu’ils mangent de la brioche” – Queen Marie-Antoinette

    With all the stress of studying for exams, it sometimes gets difficult to remember to take care of the basic life necessities. Despite my 18+ years of exam taking, I have not become immune to these effects. In fact, a week ago noticed that I was starting to sleep less, I was ignoring my twitching muscles that were trying to every-so-politely trying to tell me to haul my butt to the gym, and, worst of all, I was forgetting meals. It pains me to admit that to myself. I mean, I’m supposed to be a foodie, and what self-respecting foodie ever misses a meal?! Upon coming to this realization, I immediately bought a ticket home. The simple fact is I wasn’t taking care of myself, but I was going to find someone who could…and who better to take care of you than your parents? So last Saturday I boarded a bus and headed home to continue the relentless studying, but this time, in the presence of two incredibly accommodating parental figures. They made sure I ate my meals, left me alone during study time, and then dragged me up from the basement (which I have now lovingly started referring to as my “study dungeon”) to spend an hour or two in the presence of “real people” and watch a movie. At times it felt pretty pathetic that I had reached the point of not even being able to make my own breakfast, but that was quickly forgotten when my mom would present me with my incredible omelet breakfasts, complete with freshly squeezed grapefruit and orange juice. My concerns were pushed even further from my mind when I got to eat my dad’s world famous (at least in my world) pizza. With this relaxing…well maybe relaxing isn’t the right word…rejuvenating week behind me, I thought it would be appropriate to share another one of my parents’ edible creations. This week’s recipe is my mother’s take on a Brioche. A brioche is a French pastry-like bread, that is sometimes baked with fruit or chocolate and can be served as a breakfast or dessert.  Traditionally, a brioche is sweetened with sugar, but my mother, being who she is, has come up with a much healthier version of this tasty treat, and managed to include her favorite ingredient – honey.
    Just a warning – this recipe is a bread machine recipe. I realize not everyone has easy access to one of these, but I’ve got an easy fix for that! Drag yourself over to the nearest thrift store, and I can all but guarantee that you will find one for less than $10. It’s a worthwhile investment if for no other reason than there is no better way to make your house/apartment/dorm room/etc. smell absolutely delicious than by baking a fresh loaf of bread.
    Okay…now on to the good stuff.

    What you need:

    • 3 eggs
    • 1 stick butter, softened
    • 1/3 cup warm milk (heat in the microwave for 10-15 sec)
    • 2 1/2 tbs warm water
    • 1/2 tsp salt
    • ¼ cup honey (the more honey you add, the spongier the bread)
    • 3 cups flour
    • 1 ½ tsp yeast

    What you need to do:

    1. Add the ingredients to the bread machine in the order listed above except for the yeast.
    2. Once you’ve added the flour, make a small indentation in the flour pile and add the yeast.
    3. Set the machine to “white bread” cycle for 3.5 hours at medium crust.
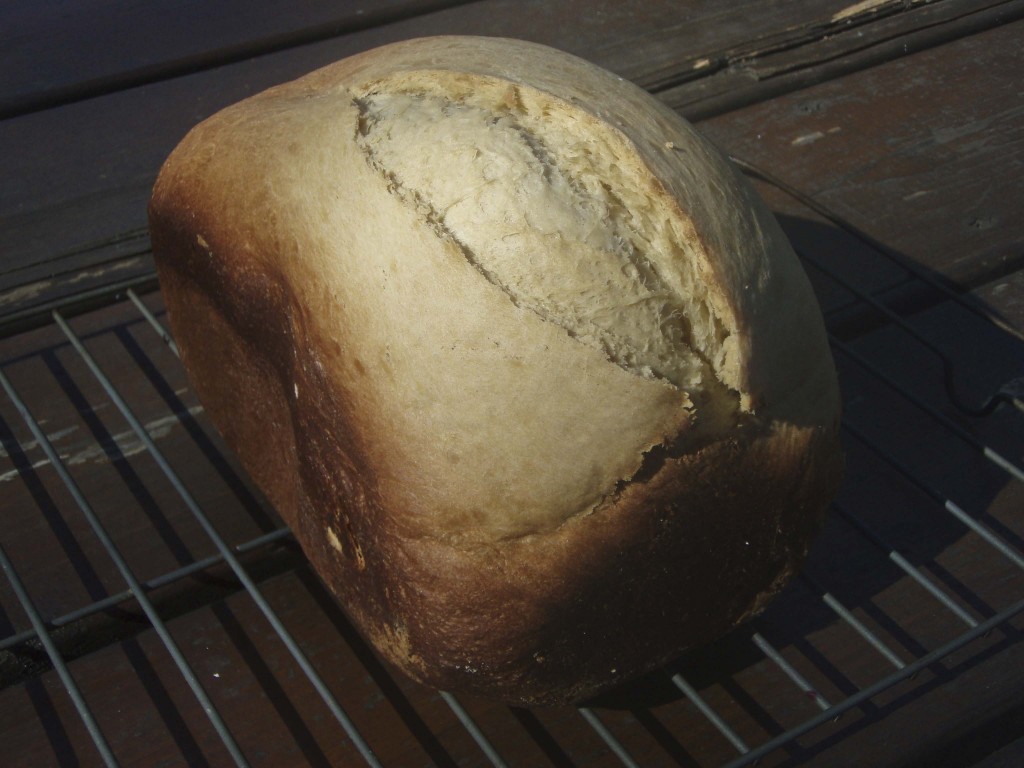
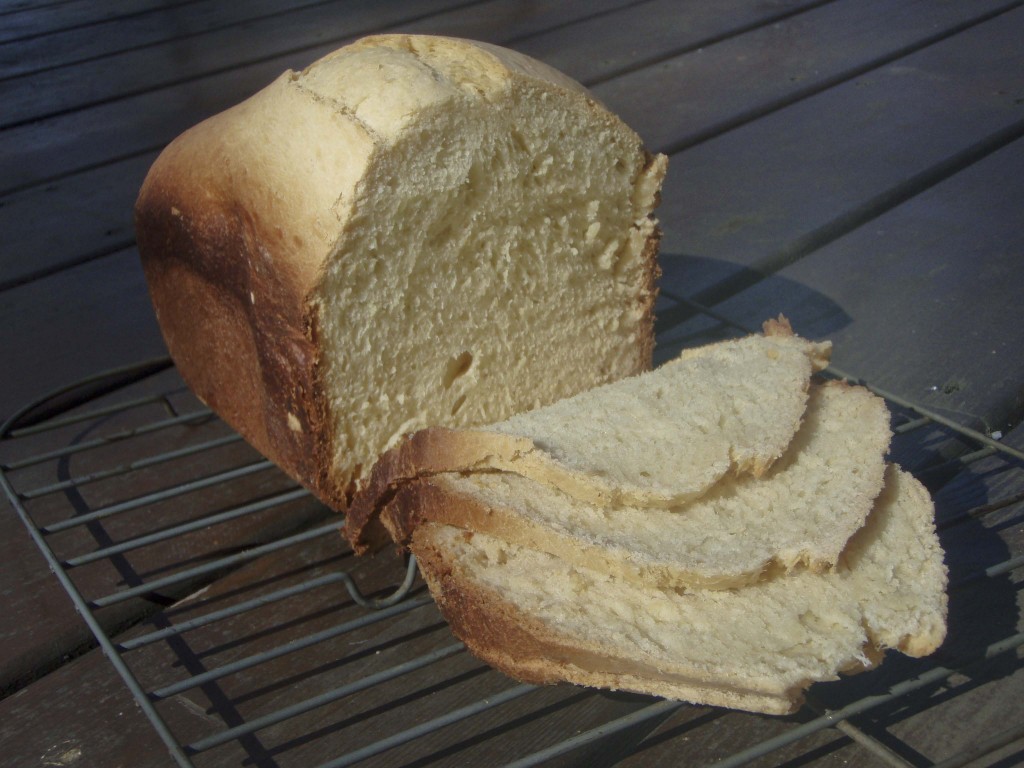
    4. Once it’s finished baking, immediately remove from the bread machine and allow to cool on a baking rack.
    5. Enjoy! (I recommend toasting it and adding some tasty sunflower butter)
    Posted in Bread, Dessert | 1 Comment

    Honeyed Chicken Tagine with Raisins & Apricots

    A small note before the post — we’ve made the decision to slow our roll in the final stretch before Step 1.  Look for our posts on Sundays only for the next few weeks.
    Ari and I regularly count our blessings regarding our decision to come to Case med.  Two of these blessings are our classmates (and friends) Myles and Sarah.  They also went to Case undergrad with us and have fed us amazing meals.  In addition, Myles has been giving us pointers on our food photography (for more of his work, check out Myles’ photography blog).  We are delighted to have them as our first guest authors!
    Sarah and I are honored to be the first guest bloggers on Braised Anatomy!  During our last gourmet get-together, we made a Moroccan recipe from a cooking apparatus called a tagine (pronounced  Ta-jean).

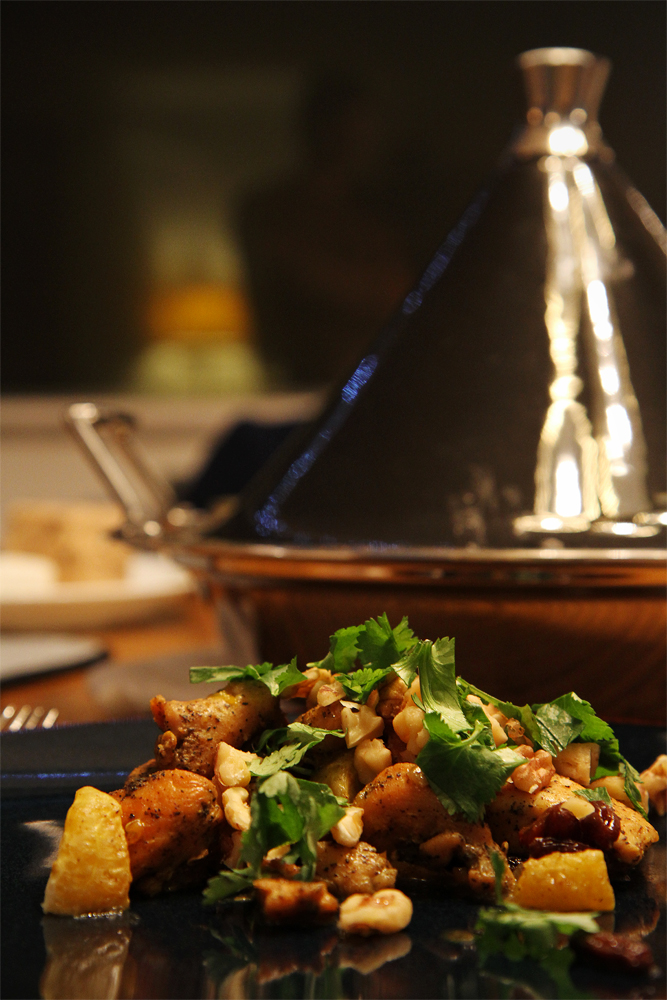
    Here’s the basics on a Tagine:  the word tagine has two meanings, first is for the actual cooking apparatus and second is for the traditional Morracan stews that are created within the tagine.  So yes, you can have a tagine from a tagine….so when I talk about tagine, I mean the cooking apparatus.
    Moroccan food is famous for rich and succulent meats that literally fall off the bone, delicate yet complex sauces and stews, and unique combinations of spices and flavors that will almost always bring a smile to your face!  The tagine is crafted to meet all of these Moroccan cuisine trademarks.  The shape of the tagine is akin to putting a witches hat on the top of a fry pan (except that both the hat and the pan are traditionally made out of terra cotta, which is also used for roofing).  The tagine’s “hat” acts to condense and recirculate water vaporized from the stuff being cooking in the pan portion.  This keeps everything in the bottom extremely moist and succulent.  As you see in the photos, our tagine is has a metal bottom and terra cotta lid.
    If you are like the 95% of the world without direct access to a tagine, I would recommend using a cast-iron dutch oven or a nice wide-based pot to make this recipe.
    So onto the recipe: honeyed chicken with raisins and apricots!
    I know, your taste buds are already craving for this mouthwatering culinary masterpiece!  The approximate cooking and prep time is about 1.5 to 2 hours, so plan accordingly.

    The ingredients:
    • 1 tablespoon olive oil
    • Salt and pepper (lots to coat the chicken)
    • 1 whole chicken or three or four boneless, skinless chicken breasts
    • 3 small yellow onions, diced (the kind that come in the mesh bag)
    • 2+ cloves of garlic, chopped
    • 1 tablespoon of chopped ginger or dried powdered ginger
    • 2 tablespoons honey
    • 1 teaspoon cinnamon
    • ½ teaspoon salt
    • ½ teaspoon coarsely ground pepper
    • ½ teaspoon turmeric
    • ¾ cup chicken broth (water works well too)
    • 1 cup dried apricots (fresh oranges work just as well)
    • ½ cup raisins
    • 1 tablespoon butter
    • ¼ cup chopped almonds or pecans
    • 2 tablespoons fresh chopped cilantro
    So after you collect all of your ingredients, prep all of your portions before you start cooking, because things get a little complex in the middle and require rapid additions of spices with limited amounts of time.
    The process:
    First prep your meat.  If you are using a whole chicken, chop it up appropriately into smallish pieces.  If you are using breast meat only, I would recommend chopping it up into 2 inch squares.  Next organize all of your ingredients and get ready to cook!
    Heat up 1 tablespoon of olive oil in the base of the tagine on medium high heat.  While this is heating, rub down your chicken with generous amounts of salt and pepper.  Add these spices with enough to evenly coat the outside of the chicken.  When the oil has heated, put the chicken into the base of the tagine.  You should hear it sizzling.  Brown the chicken for about five minutes per side.  You don’t have to cook the chicken through at this point, just enough to lock in juices and flavors.  When lightly browned, remove the chicken to another bowl and set aside.
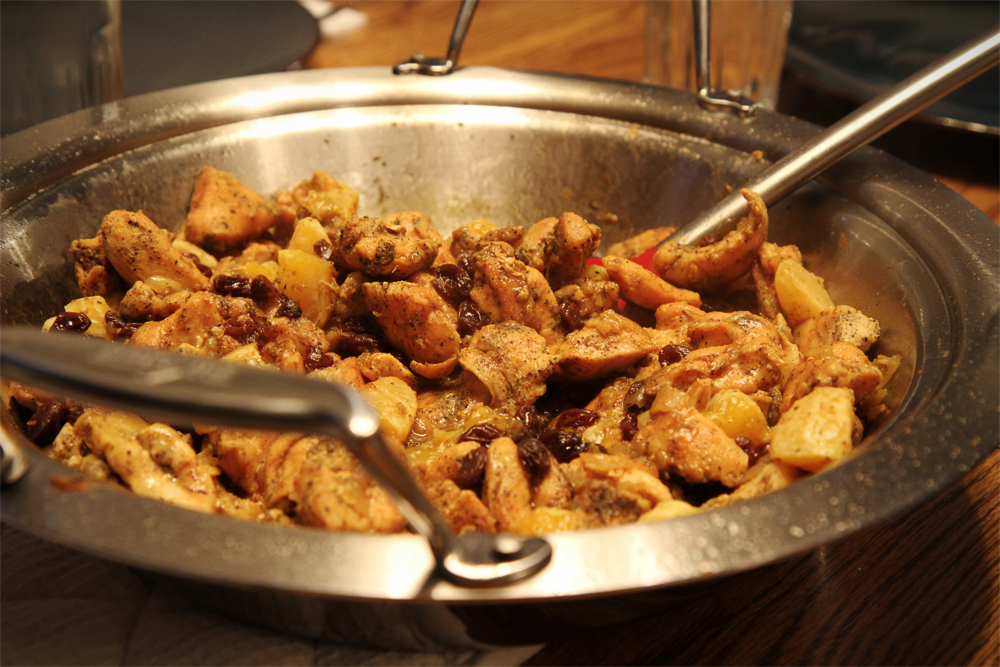
    Now add the onion, garlic, and ginger to the base of the tagine and sauté for a minute or two, just enough to brown the onions without burning the ginger (still at medium-high heat).  Next add honey, cinnamon, salt, pepper, and turmeric to the onion/garlic/ginger mix and stir for about 30 seconds.  Finally, add the chicken back to the base of the tagine with all spices and onion.  Add your chicken broth (or water) and cover with your tagine lid (witches hat).  Turn the heat to medium low and simmer for 30 minutes.  Relax!
    After 30 minutes has elapsed, quickly add apricots (or oranges) and raisins to the base.  Don’t let too much of the moisture escape by keeping the lid off of the tagine for extended periods of time.  Simmer for another 30 minutes.
    While this is simmering, brown your almonds or pecans and set aside.  Prep and chop your cilantro.
    The time you have been waiting for has arrived!  The chicken should be done and ready to plate!  Using a nice broad spatula or large spoon, plate the chicken with a bit of the honeyed raisin/apricot sauce.  Add your browned almonds and a bit of cilantro to the top and watch your guests gawk over your creation!
    Posted in Guest Post | 1 Comment